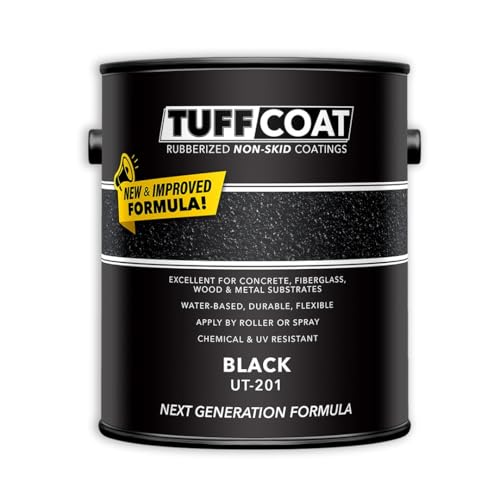
Painting neoprene can be a rewarding project that breathes new life into your gear, whether you’re looking to customize a wetsuit, improve the look of dive gear, or revamp your neoprene accessories. However, painting neoprene requires the right materials and techniques to ensure a durable and professional finish. In this guide, we’ll explore the best practices for painting neoprene, the types of paints to use, and tips for achieving the best results.
Table of Contents
- Why Paint Neoprene?
- Types of Paints for Neoprene
- Preparation Before Painting
- The Painting Process
- Drying and Curing
- Maintaining Painted Neoprene
- Frequently Asked Questions
Why Paint Neoprene?
Painting neoprene serves various purposes. It can enhance the visual appeal of your gear, allowing for customization that fits your style. Additionally, applying paint can help protect the neoprene from UV rays, abrasions, and wear and tear, extending its lifespan. Moreover, a fresh coat of paint can help in repairing minor scuffs and scratches that accumulate over time.
Types of Paints for Neoprene
Choosing the right paint is crucial for achieving a successful finish on neoprene. Not all paints adhere well to flexible surfaces like neoprene, so it’s essential to pick the right type. Here are some recommended options:
1. Acrylic Paint
Acrylic paints are water-based and can be a good choice for painting neoprene. They dry quickly and are available in a wide range of colors. However, you must ensure that the specific brand you choose is suitable for flexible materials.
2. Fabric Paint
Fabric paints are designed for use on textiles and often have the flexibility needed to withstand the movement of neoprene. They bond well and can withstand washing and exposure to water.
3. Spray Paint
Spray paints can be used for larger areas or when a smooth finish is desired. Make sure to select a spray paint that is specifically formulated for use on rubber or flexible materials. Always work in a well-ventilated area when using spray paint.
Preparation Before Painting
Preparation is key to ensuring paint adheres properly to neoprene. Follow these steps to prepare your surface:
1. Clean the Neoprene
Start by cleaning the neoprene surface with mild soap and water to remove dirt, oils, and residues. Rinse thoroughly and let it dry completely.
2. Sand the Surface
For better adhesion, lightly sand the area you plan to paint with fine-grit sandpaper. This will create a rough surface for the paint to grip onto.
3. Use a Primer (Optional)
Applying a primer designed for rubber or flexible materials can enhance adhesion and durability. Choose a primer that is compatible with the paint you intend to use.
The Painting Process
Once your neoprene is prepped, it’s time to paint. Follow these steps for the best results:
1. Set Up Your Workspace
Choose a well-ventilated area to work in, preferably outdoors or in a garage. Lay down a drop cloth to protect your work surface from paint splatters.
2. Apply the Paint
For brush-on paints, use a high-quality brush to apply an even coat. If using spray paint, hold the can about 6 to 12 inches away from the surface and spray in light, even coats to avoid drips.
3. Allow for Drying Between Coats
If you’re applying multiple coats, allow each coat to dry thoroughly before applying the next. Follow the manufacturer’s recommendations for drying times.
4. Finish with a Clear Coat (Optional)
For added protection, consider finishing with a clear coat designed for flexible materials. This will help seal the paint and improve durability.
Drying and Curing
After painting, proper drying and curing are crucial for the longevity of your paint job. Here’s how to ensure your painted neoprene is ready for use:
1. Allow to Dry Completely
Let the neoprene dry completely in a well-ventilated area. Depending on the type of paint used, this could take anywhere from a few hours to a couple of days.
2. Avoid Moisture
While the paint is curing, avoid exposing the neoprene to moisture or heavy use to prevent damage to the paint layer.
3. Test Before Use
Once dried, gently flex the painted area to ensure the paint has adhered properly. If you notice any cracks or peeling, consider redoing that section.
Maintaining Painted Neoprene
To keep your painted neoprene looking fresh and vibrant, proper maintenance is essential. Here are some maintenance tips:
1. Clean Gently
When cleaning painted neoprene, use mild soap and lukewarm water. Avoid harsh chemicals or abrasive scrubbing, as they can damage the paint.
2. Avoid Direct Sunlight
Store your painted neoprene gear away from direct sunlight to prevent fading and deterioration of the paint.
3. Inspect Regularly
Regularly inspect your painted neoprene for signs of wear. Address any issues promptly to prevent further damage.
Frequently Asked Questions
A: No, regular latex paint is not designed for flexible surfaces like neoprene and may crack or peel over time.
A: With proper care and maintenance, painted neoprene can last several years, but exposure to harsh conditions can reduce its lifespan.
A: Yes, but use mild soap and water. Avoid machine washing or using harsh chemicals.
A: If you notice peeling or cracking, you may need to sand the affected area and repaint it to restore the finish.
Conclusion
Painting neoprene can transform your gear and provide additional protection against wear and tear. By selecting the right type of paint, properly preparing your surface, and following the painting process diligently, you can achieve a professional-looking finish that enhances the functionality and appearance of your neoprene items. Remember to maintain your painted neoprene with gentle cleaning and proper storage to ensure it remains vibrant and durable for years to come. Whether you’re customizing a wetsuit or refreshing your dive gear, painting neoprene is a fun and rewarding project that can lead to impressive results.