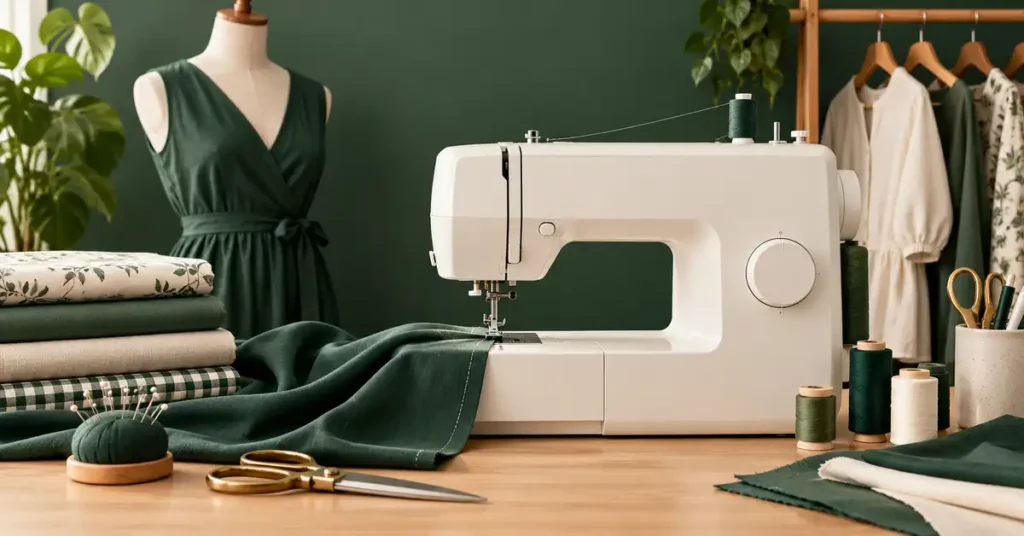
The best sewing machine under $500 should solve a practical sewing problem rather than simply add a larger stitch menu. At this budget, package contents and operating controls can vary substantially between offers. This guide compares household candidates for garments and crafts, explains worthwhile electronic conveniences, and uses waistband construction as a project example so you can judge a complete setup by the work it helps you finish at home.
As an Amazon Associate, Practical Textile earns from qualifying purchases. Product links may earn us a commission.
Quick Answer
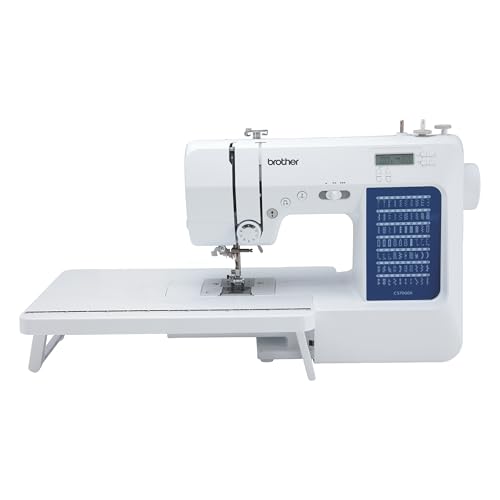
Compare the Brother XR9550 for electronic pace control and its table package, Singer 7285Q for a quilting-oriented household setup, and Singer 4452 for mechanical operation with useful accessories. Check the current delivered offer before calling it under $500; no fixed price or stock is promised.
This guide compares published specifications and project fit; it does not report hands-on testing.
Brother XR9550
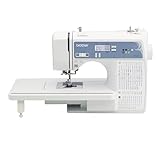
Check table, feet, and the controls required by your projects.
Singer Patchwork 7285Q
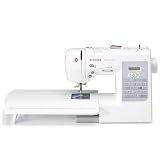
Confirm the exact package and correct bobbins.
Singer Heavy Duty 4452
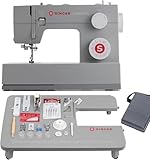
Compare the even-feed kit with the actual need.
Check Price on AmazonThis is a 4452 Holiday Bundle offer. Included accessories may differ from other 4452 packages.
Where the Extra Budget Should Help
| Machine | Useful reason to compare | Limit to understand |
|---|---|---|
| XR9550 | Speed control and outside support | Quilting feet have different roles |
| 7285Q | Electronic controls and listed accessories | External table does not enlarge the throat |
| 4452 | Mechanical operation and even-feed accessory | No independent electronic speed slider |
Brother XR9550: Controls for Varied Sewing
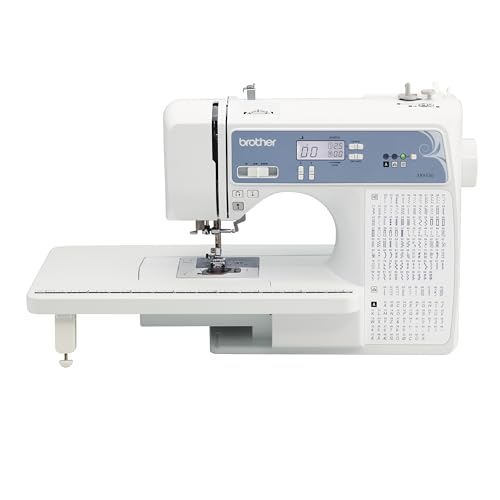

The XR9550 is worth comparing when controlled sewing pace and a table are useful to your household projects. The speed slider can matter more than a decorative count when joining short seams or learning to stop accurately. Test the controls yourself rather than watching a seller run a long sample.
Identify each supplied foot. A spring-action quilting foot is not an even-feed walking foot. Sewing lettering also remains different from importing an embroidery design and letting a machine move a hoop. Buy the functions you need, not the function implied by a broad sewing-and-quilting description.
Singer 7285Q: Match the Package to the Work
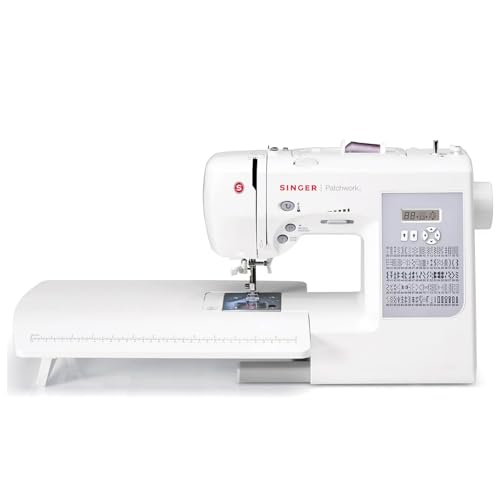
The 7285Q offers a different computerized household package to investigate. Needle positioning and speed control can support planned pivots and deliberate starts. They do not prepare fabric or guarantee that a stretch waistband will recover correctly.
Confirm the seller’s table and feet, especially when the condition is used or open-box. Use the specified bobbins for the exact model. A bundle is valuable when the included items serve your operations; a large collection of extras is not a substitute for appropriate internal working space.
Singer 4452: Mechanical Sewing Can Still Be the Right Choice
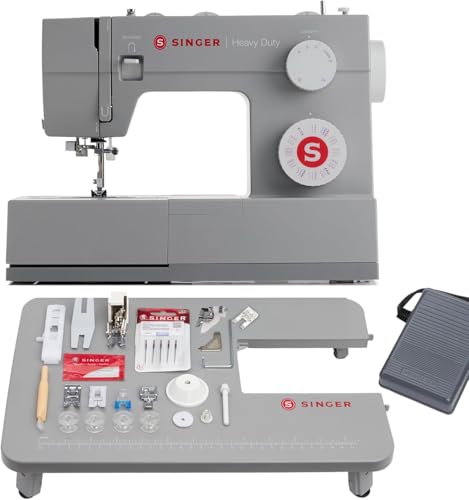
The 4452 belongs in the comparison if you prefer direct mechanical controls and need its particular accessory package. The walking-foot attachment operates within household capacity. It does not provide industrial compound feed or make every layered construction suitable.
Try a short seam, a supported buttonhole, and the thickest realistic transition. The foot controller must feel manageable without an independent electronic speed limit. If that control is essential to you, compare a model that actually supplies it.
Five Useful Benefits and Two Tradeoffs
- Several operating styles can meet the same project goal.
- Useful pace controls support deliberate detailed work.
- Needle positioning can help planned turning points.
- Compatible included feet can reduce separate spending.
- A table can improve support beside the needle.
Two compromises remain: household space can constrain bulky work, and not every feature-rich package serves the same garment operations. Check the project rather than assuming price alone establishes capability.
Our Brother guide, 4452 review, and clothing guide provide context. Compare operating styles and the quilting requirements when narrowing the choice.
Project Preparation and a Repeatable Sewing Setup
A waistband is a useful garment example because it tests construction planning, fabric recovery, gathering, and finishing. Use the following preparation checks to judge the shortlisted machine through a real sequence rather than an isolated straight seam.
Compare casing and attached methods
A casing encloses the elastic inside a fabric channel. It can allow later elastic replacement when access is planned, and it keeps the elastic away from direct skin contact. The channel must be wide enough for the elastic and correctly finished. A casing that is too narrow encourages folding or twisting; an excessively loose channel may allow unwanted movement.
An attached method stitches the elastic to a garment edge or waistband component according to a particular construction. It can control the elastic’s position and create a different appearance, but it also asks the seam to stretch as required. An ordinary non-stretching straight seam should not be assumed to suit a waist that must expand considerably when dressing.
Choose from the garment and material requirements rather than treating one method as universally more professional. A comfortable gathered skirt, fitted activewear garment, and pair of woven lounge pants have different construction needs. Read the pattern instructions and make a representative sample when changing the specified waistband style.
Measure the body and the dressing opening
Measure where the waistband will sit, not automatically at a general size-chart waist point. Also measure the widest area the closed garment must pass over. A waistband can feel comfortable once in place but fail to stretch far enough to be pulled on. This is particularly important when a woven garment has no separate opening.
Fit the actual elastic temporarily before cutting away all extra length. Allow for the intended overlap or join and test it in the position where it will be worn. Elastic products with the same width can differ in firmness and recovery. A fixed instruction to subtract the same number of inches from every waist measurement is therefore not a reliable universal rule.
Check the garment’s fabric opening too. Stretchy elastic cannot make a non-stretch fabric ring larger than its sewn circumference. If the fabric waist opening is too small to pass over the hips, the design needs a suitable opening or a different construction. Stretching the elastic harder does not change that fabric limit.
Plan a casing example accurately
For a simple illustrative casing, suppose the elastic is three-quarters of an inch wide. The channel needs additional space to move freely, plus the chosen raw-edge fold or seam allowance. The exact allowance depends on fabric thickness and construction. Calculate the folds on paper and test a short sample rather than making the channel exactly the same width as the elastic.
If turning the garment edge into a casing, mark the first narrow fold and the final casing depth. If using a separate waistband, account for its attachment seam as well. Clearly distinguish finished width from cutting width. Mixing those measurements can produce a channel that is too narrow even when the original arithmetic looked correct.
Consider how seams will sit inside the channel. An unfinished bulky allowance can obstruct the elastic-threading tool. Press or arrange the allowances as the construction requires and keep the insertion opening accessible. A small amount of planning here can prevent the elastic from catching halfway around a nearly finished garment.
Sew an enclosed casing
Prepare the fabric edge according to the chosen method, pressing or basting the folds if the material permits. Sew the casing line evenly, leaving a clearly marked opening for the elastic. Keep the width consistent around the garment. A narrow section at one seam can stop the elastic even when the rest of the casing is roomy enough.
Secure one end of the elastic so it cannot disappear into the channel. Feed the other end through with a suitable safety pin or threading tool, moving the fabric along gradually. Keep the elastic flat. If it twists, correct it before joining the ends rather than hoping the gathers will hide the twist.
Temporarily join or overlap the ends and try the garment. Check comfort, recovery, and dressing access. Once satisfied, make the permanent join using a method appropriate to the elastic and machine. Stretch the join gently to inspect it, distribute the gathers, and only then close the insertion opening.
Sew an attached elastic waistband
Read the pattern’s exact method and use an elastic intended for that application. Some elastic products are suited to being stitched through differently from others. Choose a compatible needle, thread, and stretch-capable stitch according to the material and machine instructions. Test the seam through the amount of stretch the garment needs before sewing the complete waist.
Divide the elastic and garment waist into matching sections. Match those points, then distribute the material between them. Stretch only the part the method requires while keeping the garment fabric controlled. Pulling both layers indiscriminately can distort the waist and make the stitch line uneven.
Sew at a manageable pace and keep the elastic clear of accidental folds. Stop to check the underside before continuing around the whole waist. If the pattern requires turning the elastic inward and stitching again, test that complete folded construction too. A seam that stretches correctly before the second pass may behave differently after the final fold.
Distribute and control gathers
After joining the elastic, spread the gathers evenly around a casing. Place the garment on a flat surface and compare corresponding sections. A dense bunch at one side can make the garment hang unevenly even when the elastic length is correct. Section marks make it easier to restore a balanced distribution.
Some constructions include small securing stitches at selected seams to reduce movement. Use them only where suitable and keep enough stretch for dressing. Stitching across every part of a free-moving casing can unintentionally change the waistband into another construction. Decide what should remain free before adding extra lines of stitching.
Try the garment while sitting and moving, not only while standing in front of a mirror. Check that the waist does not roll, dig in, or allow the garment to slide excessively. Make changes while the insertion opening or unfinished seam still provides access. It is easier to adjust a temporary fit than a fully enclosed waistband with many decorative rows.
Plan for care and later replacement
Follow the care needs of the fabric, elastic, and trims together. Elastic recovery can change with use and care, so inspect a favorite garment’s waistband rather than assuming its original length remains appropriate indefinitely. Replace deteriorated elastic with a compatible product and reassess the fit.
When designing an accessible casing, keep a note of the elastic width and join method. That makes later replacement more straightforward. If the waistband is attached permanently, understand that changing the elastic may require opening more stitching. Repair access is a useful design choice, but it should not leave an unfinished opening that catches or unravels during wear.
Understanding Sewing Machine Tension
Tension in sewing machines refers to the amount of pull exerted on the thread during stitching. Both the upper thread and the bobbin thread need to be properly balanced for flawless sewing. If the tension is too tight or too loose, it can result in a variety of problems, such as thread breakage, uneven stitches, or fabric puckering.
When sewing, the upper thread and bobbin thread interact to create stitches. The upper tension is controlled by a dial or knob, while the bobbin has its own tension setting, usually adjusted using a small screw. Proper tension allows the threads to interlock smoothly, creating a secure stitch without pulling the fabric apart or causing it to bunch up.
Several factors can influence sewing machine tension, including:
Frequently Asked Questions
Is a machine near $500 always better than a cheaper one?
No. A necessary control, suitable handling, or useful complete package can justify the difference. Extra selections you never use may add little value for the actual project.
Are these offers permanently below the limit?
No. Verify price, condition, tax, delivery, and missing essentials. Only a specific qualifying offer belongs inside the budget; a previous promotion is not a permanent price.
Will a computerized machine sew elastic automatically?
No. The operator chooses a suitable method and supports the material. Test the actual fabric and elastic, including recovery and dressing access, rather than relying on a category label.
Do I need a walking foot?
It depends on the operation and compatible accessory. A foot used for layered forward sewing differs from a spring-action quilting foot or a standard garment foot.
What should I test first?
Complete a modest real project with the intended materials, control changes, and finishing. Keep a successful sample and settings so future troubleshooting has a known reference.
Final Recommendation
Spend the budget on useful controls, compatible tools, and a complete supported setup. XR9550, 7285Q, and 4452 provide different household approaches. Compare the delivered offers and use the garment sample to decide which arrangement actually improves your sewing.