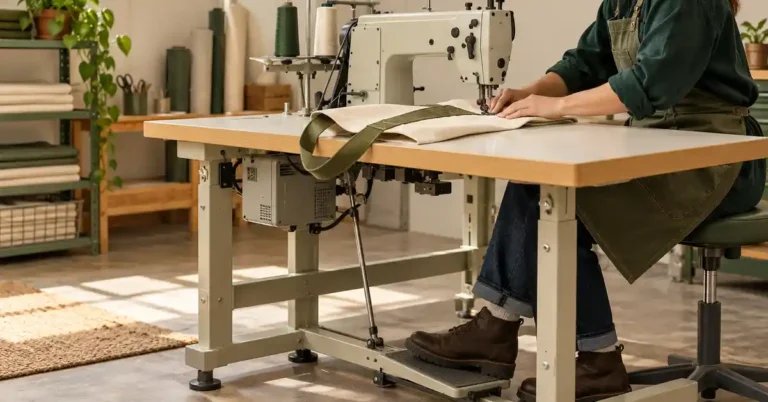
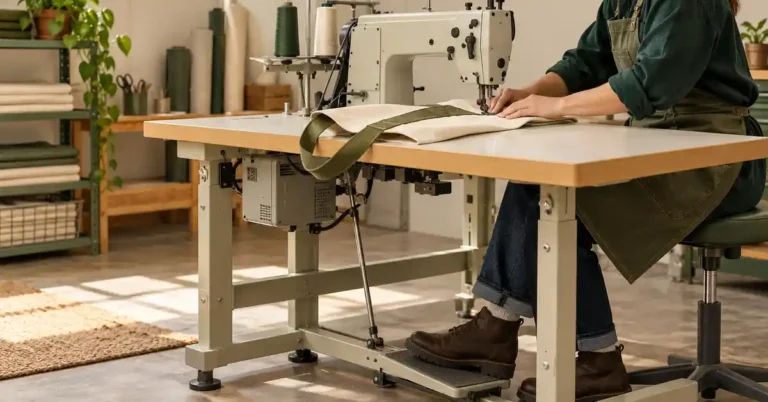
The best sewing machine for quilting depends on which part of quilt making you expect to do at home. Accurate piecing, layered straight-line work, and free-motion stitching create different priorities. This guide compares versatile household and straight-stitch options, explains what a quilting label does not guarantee, and connects equipment choice to realistic construction examples so you can buy a machine that fits the process rather than an impressive accessory photograph.
As an Amazon Associate, Practical Textile earns from qualifying purchases. Product links may earn us a commission.
Quick Answer
Compare Brother XR9550 when general sewing and quilting share a machine; compare Juki TL-2010Q or Brother PQ1600S when a specialized straight-stitch role fits the work. None becomes a longarm simply by adding a table. Match the complete station to project bulk, control, and the sewing functions needed outside quilts.
This guide compares published specifications and project fit; it does not report hands-on testing.
Brother XR9550
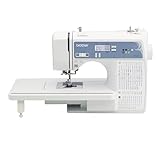
Compare ordinary stitches, speed control, and the foot package.
Juki TL-2010Q
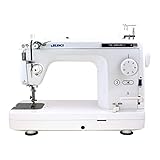
Appropriate only when missing zigzag and buttonholes are acceptable.
Check Price on AmazonThis is a TL-2010Q bonus-pack offer. Confirm the seller’s included accessories and US warranty.
Brother PQ1600S

Check support, controls, and the exact included equipment.
Choose the Quilting Role
| Task | Useful priority | Compare |
|---|---|---|
| Piecing and mixed sewing | Seam guidance and household versatility | XR9550 |
| Repeated straight sewing | Specialized controls and support | TL-2010Q |
| Straight-seam quilting station | Project handling and compatible feet | PQ1600S |
Brother XR9550: One Machine for Mixed Projects
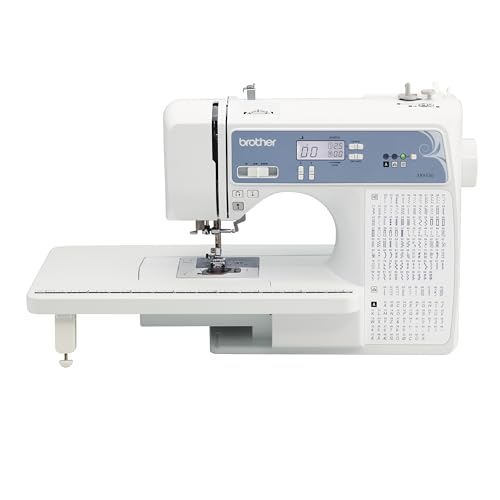

The XR9550 combines ordinary sewing with quilting conveniences such as speed control and a table package. It is useful to compare if quilts are part of a wider household sewing routine. The machine still needs a suitable foot and setup for the particular method.
Do not assume the supplied spring-action quilting foot is a walking foot. Likewise, a wide table supports fabric outside the bed without moving the tower farther from the needle. Test a sandwich and turn it through the movements required by your intended pattern.
Juki TL-2010Q: Straight Stitching With Deliberate Tradeoffs
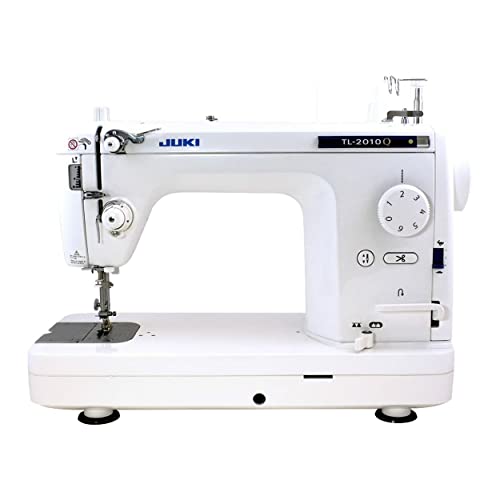
The TL-2010Q is a straight-stitch machine. Its controls and support deserve comparison for suitable quilting and repeated seams, but it does not provide ordinary zigzag or buttonholes. A buyer needing those functions should keep another machine or compare a versatile model.
Use the speed and needle-position controls during a realistic sample. The purchase should solve a repeated task, not simply replace a familiar machine with a specialized one whose missing functions become inconvenient later.
Brother PQ1600S: Evaluate the Complete Straight-Seam Setup

The PQ1600S provides another specialized straight-stitch comparison. Its feed and finishing functions should be demonstrated using the exact project setup. Pin feed is not industrial compound feed, and straight-stitch specialization does not establish capacity for every dense material stack.
Check the supplied table, feet, controller, and support arrangement. Ask to operate the knee lifter or other controls from your own comfortable position. A function is useful when the actual station makes it easy to use repeatedly.
Five Useful Qualities and Two Limits
- Controlled starts for small pieces.
- Clear seam guidance with suitable feet.
- Support that prevents project drag.
- Comfortable repositioning and visibility.
- Repeatable settings and accessible instructions.
Two limits remain important: household working space can constrain bulky quilts, and specialized straight-stitch models sacrifice other sewing functions. Neither compromise should be hidden by a broad quilting label.
See our quilting category guide, Brother comparison, and Janome comparison. The quilted jacket guide and walking-foot guide connect the equipment to construction.
Project Preparation and a Repeatable Sewing Setup
Rag-quilt construction and needle selection illustrate why quilting is more than a single stitch test. Use these examples with the pattern and machine instructions to identify measurements, finishing, and handling needs before comparing equipment.
Plan a rag quilt as its own construction
A rag quilt deliberately places suitable exposed seam allowances where they can fray into a textured finish. The fabric choice, seam allowance, batting arrangement, clipping, and washing plan all affect that result. Do not assume that every fabric will fray attractively or that a conventional quilt pattern can be converted simply by leaving raw seams visible.
Begin with a small sample made from the actual proposed layers. Stitch the planned seam, clip according to the method while keeping clear of the structural stitching, and clean the sample as the materials allow. Evaluate the texture, loose fibers, thickness, and drying behavior. That small test can prevent an entire quilt from becoming an unsuitable experiment in fabric fraying.
Draw the block layout and record which surfaces should face outward. When several squares are layered before joining, label the stacks so the orientation remains consistent. Keep any batting positioned as the selected rag-quilt method requires. A piece that extends into a seam where it should not be can change the bulk and exposed-edge result.
Use rag-quilt measurements consistently
Distinguish the cut-square size from the internal finished block width. As an arithmetic example, an eight-inch square loses a half-inch allowance at each of two joined opposite edges, leaving a seven-inch internal span between seam lines. Edge treatment and the outer row construction still affect the full quilt dimensions. Do not multiply a cut-square measurement and call the result the finished quilt without accounting for joins.
Make a written cutting list for front, back, and any middle layer. Check usable fabric width, directional prints, and the quantity of each color. Arrange the blocks before sewing so you can see the overall balance. Photograph the layout or label rows, particularly if you need to clear the workspace between sessions.
Sew the units and rows in a consistent order, checking orientation at every stage. Keep the work supported so its weight does not drag against the needle area. The intersections can become thick as the quilt grows; test that stack before assembling all the rows. A machine that handles one small block may still need careful support for the combined project.
Clip and finish a rag quilt carefully
Use the clipping method and spacing appropriate to the chosen pattern and fabric. Keep the tips clear of the actual seam line. Cutting a structural stitch can create an opening instead of a controlled frayed edge. Work in good light and check the seam after clipping a short section before repeating the action around the whole quilt.
Follow the material and pattern instructions for washing and managing loose fibers. A first wash may release considerable lint, so plan the process around the equipment’s care instructions rather than treating it like an ordinary small garment. Inspect the dried sample and quilt for missed structural seams or clipped stitches before considering the project finished.
Plan cutting from an existing quilt
Inspect the quilt for weak fabric, damaged stitching, stains, and areas that are too thick for the intended construction. A sentimental quilt deserves a complete paper layout before any cut is made. Photograph it and mark the proposed placement so you can assess which motifs will remain visible and which will disappear into seams.
Do not assume that the quilt’s outer dimensions equal usable jacket yardage. Pattern-piece shapes, damaged areas, seam allowances, and motif direction can reduce the available layout. A narrow remaining section may not hold a sleeve even when the total area appears generous. Test every piece on paper before making the first irreversible cut.
Consider whether a simpler garment or a smaller project would preserve more of the valued material. Cutting an existing quilt is a design decision, not a requirement for making a quilted jacket. New purpose-made panels can provide more control over size, fabric, care, and the placement of seam intersections.
How to Choose the Right Needle
Choosing the right needle is essential for achieving the best results in your sewing projects. Here are some factors to consider:
Always match the needle type to the fabric you are working with. For example, use ballpoint needles for knits and universal needles for woven fabrics.
The type of thread you choose can impact your needle selection as well. Heavier threads require larger needles, while finer threads work better with smaller needles.
Consider your sewing technique. If you are quilting, use a quilting needle. If you are embroidering, opt for an embroidery needle. Each needle type is designed to enhance specific sewing techniques.
Common Issues with Needles
Even experienced sewers can encounter problems with needles. Here are some common issues and how to solve them:
Skipped stitches can occur due to a dull or incorrect needle. Always use the appropriate needle type and size for your fabric, and replace needles regularly to avoid this issue.
If your thread keeps breaking, check the needle. A needle that is too small or damaged can cause excess friction on the thread. Switch to the correct needle size or replace it if necessary.
Puckering can happen when the needle is too small for the thread or fabric. Make sure to choose the right needle size according to your project requirements.
Build a small useful needle supply
Buy the types needed for the projects you actually plan to make. A modest organized selection is often more useful than a large mixed assortment whose system and applications are unclear. If the machine is shared, label compatible packages clearly and keep specialist needles apart so another user does not assume every needle is suitable for ordinary sewing.
Keep a record when replacing a needle after a strike, difficult seam, or visible deterioration in stitching. There is no single interval in this guide that proves every needle remains sound until a particular hour. Follow the needle and machine manufacturers’ guidance and inspect the actual result. Change a questionable needle rather than working around an obvious defect.
Compare two needle choices without mixing variables
Prepare two fresh pieces of the same fabric and the same intended layer stack. Keep thread, stitch, foot, and handling consistent, and compare only two suitable documented needle choices. Label each sample before sewing so the results cannot be confused later. Include the seam intersection or embroidery density that matters to the project.
Inspect stitch formation, thread condition, visible holes, and the relaxed fabric. If both samples fail similarly, the needle may not be the only cause. Return to threading, bobbin compatibility, support, and the actual design or seam. If one sample works, record the whole combination rather than keeping only the needle number.
A useful example is changing from a light woven practice sample to a heavier backed embroidery construction. The original needle choice should be reassessed through the manufacturer’s guidance and a new sample. That does not justify automatically choosing the largest needle in a packet; the aim remains a compatible thread-and-material combination with no unnecessary damage.
Measure a sewn and pressed strip set before judging a quarter-inch setup. The foot provides guidance, but cutting, thread, pressing, and the exact seam allowance combine to determine the finished size. Keep the sample with its settings and repeat it after a significant change in materials. This is a more useful acceptance reference than assuming a foot’s name guarantees every block measurement. For layered work, create a separate sandwich sample; successful piecing does not establish the same performance through batting and backing. Evaluate both the stitch and how comfortably the supported project moves around the machine.
Frequently Asked Questions
Does quilting require a special machine?
Many suitable household machines can piece and handle manageable quilt projects. Specialized equipment becomes relevant when the method, repetition, working space, or control requirements justify it.
Will more stitches make better quilts?
Not automatically. Accurate cutting, seam guidance, pressing, suitable support, and comfortable control often matter more than decorative selections for the actual construction.
Can a straight-stitch machine make clothing?
It can perform appropriate straight seams, but it does not replace zigzag, buttonholes, or every stretch operation. Consider the full wardrobe of tasks before choosing specialization.
Is a walking foot needed for every quilting method?
No. Piecing, layered forward feeding, and free-motion work use different tools and setups. Match the compatible foot to the operation rather than buying one accessory for everything.
How should I test a bulky project?
Use representative layers, support the weight, and test repositioning as well as stitch formation. A small flat sample does not reproduce the handling problem of a large quilt.
Final Recommendation
Choose XR9550 for suitable mixed household work, or compare TL-2010Q and PQ1600S for a defined straight-stitch role. Let the quilting process and workspace decide. A good station supports the whole project, not only the few inches passing beneath the foot.