
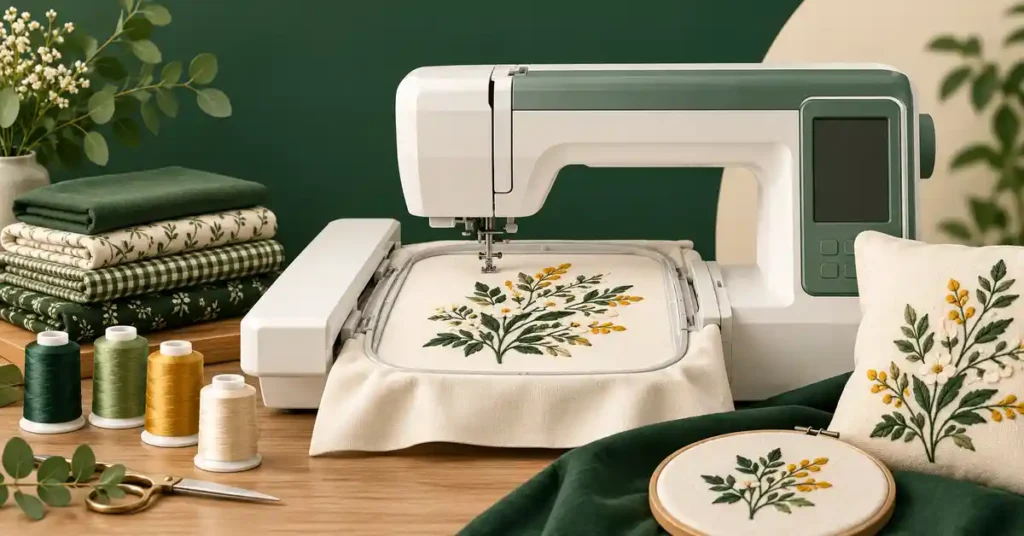
Poolin sewing machine reviews need careful model identification because ordinary sewing, dedicated embroidery, and combination products use similar names across the range. A buyer wanting garment seams should not accidentally choose an embroidery-only machine. This guide compares the documented EOC sewing roles, explains which controls need confirmation, and connects the choice to a modest first project so you can evaluate the exact machine, usable package, and support before purchasing it.
As an Amazon Associate, Practical Textile earns from qualifying purchases. Product links may earn us a commission.
Quick Answer
Compare EOC01RE as its specifically documented computerized sewing offer and EOC02RE when its advertised speed slider, start/stop control, and table suit the work. Do not transfer features between EOC02, EOC02RE, EOC03, and embroidery-only EOC06. The Amazon boxes below identify different-brand sewing comparisons only.
This guide compares published specifications and project fit; it does not report hands-on testing.
Brother CS5055
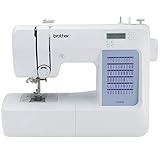
Compare actual selection controls without assuming a speed slider.
Brother XR9550
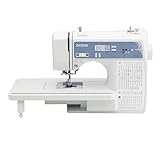
Check the complete table and foot package.
Brother GX37
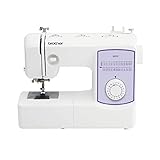
A direct-control alternative, not a Poolin listing.
Poolin Names That Must Remain Separate
| Product | Reviewed role | Important check |
|---|---|---|
| EOC01RE | Marketed computerized sewing model | Applications versus selectable stitches and exact controls |
| EOC02RE | Computerized household sewing | Advertised functions and actual revision |
| EOC02 | Separately named sewing offer | No automatic transfer of RE specifications |
| EOC06 | Dedicated embroidery | Not an ordinary seam-making replacement |
EOC01RE: Clarify the Selection and Operating Method
The EOC01RE page describes a computerized sewing machine and advertises stitch applications. That count does not by itself establish the number of independently selectable patterns or every electronic convenience. Obtain the matching manual and ask for the controls required by your project.
If a speed limit, needle-position memory, automatic trimming, or another function is essential, request an explicit demonstration. The word computerized is not enough. A useful purchase test includes selecting a seam, changing a setting, and returning to a known setup without assistance.
EOC02RE: Evaluate the Advertised Conveniences
Poolin’s EOC02RE page advertises 200 stitches, an LCD, seven feet, a needle threader, speed slider, start/stop operation, and a wide table. These are reasons to investigate the exact machine, not a substitute for checking the unit and package supplied.
Pace control can help with deliberate work, while a table supports material beside the needle. Neither makes fabric guidance automatic or enlarges the internal working space. Test a short seam, a planned turn, and the relevant closure using the real project fabric.
The EOC02 name without RE is a separate offer. Ask which revision appears on the label and whether the manual corresponds to it. Similar photographs and adjacent product pages should not be combined into an invented specification.
Keep Embroidery Capability Separate
A dedicated embroidery machine moves a hooped item through a compatible design. Ordinary sewing joins and finishes guided seams. Poolin EOC06 serves the embroidery-only role and should not be selected for general garment construction by mistake.
Combination products require their own documented identity. Do not infer sewing capability from a similar EOC03 name or from accessories recommended elsewhere on a store page. Confirm the complete model and demonstrated operation before buying.
Five Reasons to Investigate and Two Reservations
- The sewing range offers distinct household configurations.
- Explicit pace controls can serve detailed operations.
- A display can make selected settings visible.
- A listed table can support suitable projects.
- A defined foot package can reduce separate shopping.
Two reservations deserve resolution: close model names can create specification confusion, and published features do not establish your local parts or service route. Ask for exact documentation and practical support terms.
Compare Other Brands Without Mislabeling the Offer
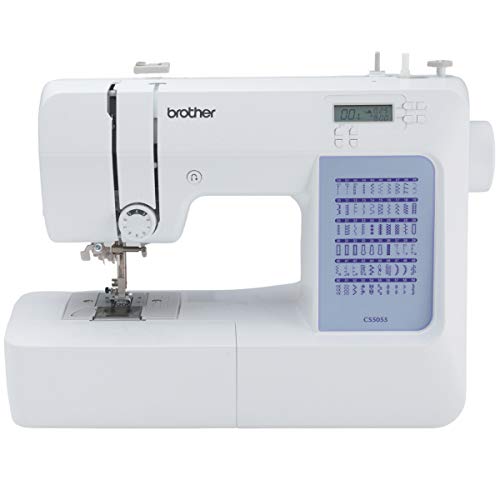

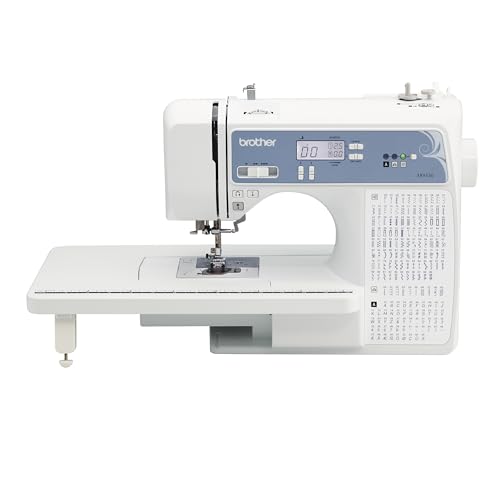
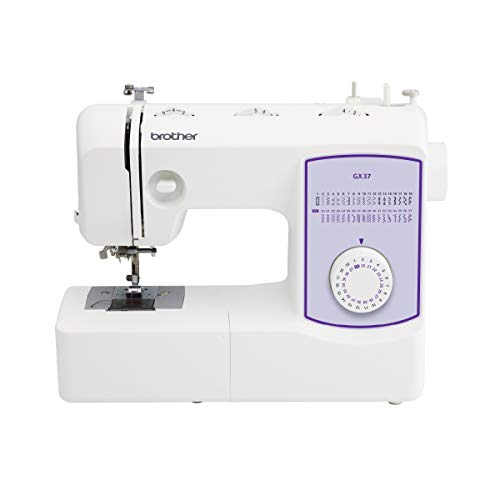
These Brother boxes identify separate alternatives. CS5055 provides electronic selection but not a separate speed slider; XR9550 and GX37 have different control approaches. Compare usable equipment, instruction, and complete cost rather than treating the machines as interchangeable.
See our Poolin embroidery guide, Poolin buying context, and Brother comparison. The scrunchie guide, garment guide, and operating-style comparison help define a useful first project.
Project Preparation and a Repeatable Sewing Setup
A modest scrunchie or another clearly instructed starter item can test independent setup on the exact Poolin model. These preparation examples help separate fabric and pattern problems from a missing control or an unresolved machine fault.
Fit and join the elastic
Attach the threading tool securely to the elastic and secure the opposite end so it cannot disappear into the tube. Feed the tool through while distributing the fabric gathers. Keep the elastic flat as you work. A twist can create a stiff spot and make the finished loop behave unevenly, even if the outside fabric initially looks normal.
Temporarily overlap the ends and test the intended fit before making the join permanent. Consider how many wraps the scrunchie will need for the chosen hairstyle and whether it can stretch without excessive pulling. Elastic should return after stretching. If the sample remains stretched out, changing the fabric rectangle will not correct poor elastic recovery.
Join the elastic using a method suited to that elastic and your machine. For a flat overlap, secure the ends with enough stitching to hold them without repeatedly perforating a tiny weak line. Test the joined loop by stretching it gently before enclosing it. Trim only after the join is secure and you are satisfied with the fit.
Close the fabric neatly
Slide the unfinished fabric end into the prepared folded end, keeping the seam lines aligned. Check that the elastic is clear of the closing area. A narrow machine-stitched closure is quick but leaves a visible line; a careful hand closure can be less obvious. Either can be a good choice if the fabric edges are enclosed and the join is secure.
When closing by machine, distribute the fabric away from the elastic join so the whole area is not excessively bulky. Stitch through the intended fabric layers without accidentally catching the elastic. When closing by hand, take small stitches through the folded fabric edges and secure the thread ends inside. Inspect for a gap that could open during wear.
Rotate the gathers around the elastic to even them out. The join does not have to become completely invisible to be functional, but it should not form a scratchy or unusually stiff patch. Compare the finished scrunchie with the sample measurements you recorded. Note what you would change before cutting the next rectangle.
Change the size deliberately
For a narrower scrunchie, reduce the rectangle’s width while retaining enough space to turn the tube and insert the elastic. For a fuller one, increase the fabric length or width and test how the heavier gathers behave. Very wide fabric around a small elastic loop may look dramatic but feel bulky. Change one measurement at a time so you can identify what improved the result.
For a simple comparison exercise, keep the same elastic and make two fabric tubes with different lengths. Compare fullness and how evenly the gathers distribute. Then keep the preferred fabric rectangle and compare elastic lengths. This separates appearance from grip and creates a more useful personal pattern than repeatedly changing both measurements without keeping notes.
If adding a decorative bow, make it a separate piece that attaches securely and does not interfere with stretching. Avoid loose decorations or detachable pieces where they could create a hazard for a young child. A plain fabric scrunchie is a sensible first version because it lets you judge the basic construction without extra bulk or complicated joins.
Solve common scrunchie problems
Do not solve a weak seam by repeatedly sewing over the same tiny damaged spot. Open enough of the area to inspect sound material, then repair it securely or replace the piece. If the elastic has deteriorated, replacing only the outer fabric does not restore its stretch. Keep spare matching elastic if you plan to repair a favorite scrunchie later.
Evaluate plus-size sewing patterns specifically
Look at the actual measurement range and the pattern’s fitting information rather than relying on the plus-size category label. Check whether your relevant measurements are included and whether the instructions explain blending or adjustments. A broad marketing label can hide important gaps in the information needed to choose a size confidently.
If several measurements fall into different sizes, follow a documented adjustment method and check adjoining seams afterward. Enlarging every piece by a fixed printing percentage changes lengths, curves, seam allowances, and other details together. That is not the same as a deliberate pattern adjustment for your body and the intended design.
Choose a fitting sample where appropriate and assess movement, closures, and the garment’s intended underlayers. Fit is about the relationship between a pattern, fabric, and person, not a judgment about the person’s body. Keep notes that describe practical changes, such as adding length or adjusting a seam, so the next version begins from useful information.
Finish one pattern before building a large collection
Complete the main construction, fit, seam finishes, closure, and hem. Try the item in its intended use and record what should change. A second version of a suitable pattern can teach more than abandoning each project as soon as the exciting first seams are sewn.
Organize the files and notes after completion. Keep the original and altered versions distinct so an accepted fit change is not lost. When using another fabric later, sample its behavior rather than assuming the previous version proves every material combination.
A sensible first-project routine
Choose a practice sample that you can replace easily. Your first goal is to understand placement and setup, not to discover every feature at once.
Brother’s hooping and alignment guidance covers secure fabric, correct frame attachment, suitable stabilizer, and a clear movement area. Refer to the instructions that apply to your model. Hooping guidance and alignment troubleshooting.
Keep the first sample and a short record of its setup. If you change fabric or backing later, that record gives you a baseline. Change one part of the setup at a time so you can identify which decision affects the result.
Before you place the order
Confirm the model and edition, seller, new or renewed condition, accessories, return window, electrical requirements, and applicable warranty. For an imported machine, check support in the country where you will use it. Ask about training or demonstrations when those are important to your purchase.
Compare the total cost of reaching your first completed project. Include necessary consumables and any design or software costs. Keep optional extras separate so you can postpone them until you understand why you need them.
If selling embroidered items is your goal, make a sample of the intended product before committing to customer work. Time your own preparation, color changes, finishing, and inspection. Those steps affect a business plan even when the machine’s advertised stitching speed looks impressive.
Choose around the first projects you will actually finish
A useful embroidery machine for beginners fits the intended design size, sewing needs, budget, and available support. Narrow the choice with three representative projects, compare the exact packages, and request a sample or demonstration of the work that matters most.
Our buying starting point is small and specific: decide whether you need sewing, verify design dimensions, and plan one complete practice project. That gives you a reason to choose among the seven options and a clear way to judge the purchase after it arrives.
Frequently Asked Questions
Is every Poolin machine a sewing-and-embroidery combo?
No. The range includes different sewing, embroidery-only, and combination roles. Confirm the full model and demonstrate the ordinary sewing operation if that is your intended use.
Are EOC02 and EOC02RE identical?
Do not assume identical specifications. Match the product label, manual, controls, and package rather than extending the RE page to another named offer.
Does a stitch-application count equal built-in stitches?
Not necessarily. Applications can describe uses of a selection. Ask for the actual chart and independently selectable patterns instead of comparing differently defined totals.
What matters in the support agreement?
Identify the manual, compatible consumables, replacement controller route, service location, warranty responsibilities, and return costs. A broad contact promise does not explain the complete arrangement.
How should I test the machine at home?
Thread it independently, wind a bobbin, change settings, and complete a modest real project. Keep the successful sample and notes so later troubleshooting has a reproducible starting point.
Final Recommendation
Choose a Poolin sewing machine only after exact model and control questions are settled. Compare EOC01RE and EOC02RE through the functions you need, then evaluate the complete supported offer against clearly named alternatives. Avoid paying for a capability borrowed from a different product page.




