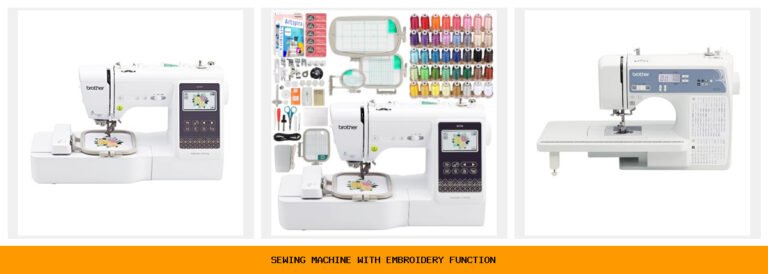
When it comes to sewing, the tension of your thread plays a crucial role in the quality of your stitches. If you’re using a Brother sewing machine, understanding how to adjust the tension can significantly impact your sewing results. Whether you’re a beginner or a seasoned sewer, mastering this skill can help you avoid frustrating snags and uneven stitches. In this article, we will guide you through the process of adjusting the tension on a Brother sewing machine, ensuring your projects come out looking professional and polished.
Table of Contents
- Understanding Thread Tension
- How to Adjust the Tension on a Brother Sewing Machine
- Testing Your Tension
- Common Issues and Solutions
- FAQ
Understanding Thread Tension
Thread tension refers to the amount of pull on the thread as it passes through the sewing machine. It affects how tightly the threads are pulled together, impacting the overall appearance and quality of the stitches. Tension is influenced by several factors, including the type of fabric, thread, and needle used. When the tension is set correctly, the upper and lower threads lock together neatly within the fabric, resulting in smooth and even stitches.
Why Tension Matters
Improper tension can lead to a variety of sewing problems, including:
- Loose Stitches: If the upper tension is too loose, the stitches may appear baggy and uneven.
- Puckering: Excessively tight tension can cause the fabric to pucker, creating an unprofessional look.
- Thread Breakage: Incorrect tension settings can put stress on the thread, leading to frequent breakage.
- Skipped Stitches: If the tension is too tight, it may cause the needle to skip stitches altogether.
How to Adjust the Tension on a Brother Sewing Machine
Adjusting the tension on a Brother sewing machine is a straightforward process. Follow these steps to ensure your tension settings are perfect for your sewing projects.
1. Identify the Tension Dial
Locate the tension dial on your Brother sewing machine. This is typically found on the front or side of the machine and is marked with numbers. The higher the number, the tighter the tension.
2. Use the Correct Thread and Needle
Before adjusting the tension, ensure you are using the appropriate thread and needle for your fabric. Different combinations may require different tension settings.
3. Start with the Recommended Settings
Most Brother sewing machines come with a recommended tension setting. Start by setting the dial to this number. Typically, a setting between 4 and 5 is standard for most fabrics.
4. Make Adjustments
To adjust the tension:
- If the stitches are too loose, increase the tension by turning the dial to a higher number.
- If the stitches are too tight, decrease the tension by turning the dial to a lower number.
5. Test Your Adjustments
Once you’ve made adjustments, it’s essential to test your settings on a scrap piece of the same fabric to see if the tension is now correct.
Testing Your Tension
Testing your tension is critical to ensure you achieve the desired stitch quality. Here’s how to do it effectively:
1. Sew a Test Sample
Using a scrap piece of your main fabric, sew a few lines of stitches. Make sure to observe both the front and back of the fabric. The stitches should look even and balanced on both sides.
2. Check for Balance
Look at the front side of your sample. The stitches should lie flat, and there should be no puckering. On the back side, you should see evenly spaced stitches with no thread showing through the fabric.
3. Evaluate Stitches
If the stitches do not look right, make further adjustments to the tension dial and repeat the testing process.
Common Issues and Solutions
Even with proper adjustments, you may encounter some common sewing issues related to tension. Here are solutions to help you troubleshoot:
Puckering Fabric
If your fabric is puckering, it usually indicates that the tension is too tight. To resolve this, try the following:
- Reduce the tension on the upper thread.
- Ensure you are using the correct needle size for the fabric.
- Check that the fabric is not being pulled through the machine too quickly.
Loose Stitches
When your stitches appear loose, follow these steps:
- Increase the upper thread tension.
- Check that the bobbin is correctly wound and threaded.
- Ensure you are using the appropriate thread type for your project.
Thread Breakage
If you experience frequent thread breakage, consider the following solutions:
- Decrease the tension on the upper thread.
- Make sure you are using the correct needle for the thread type.
- Inspect the thread path for any obstructions or rough edges.
FAQ
A: You should adjust the tension every time you change fabric types, thread, or needle sizes to ensure optimal sewing performance.
A: Generally, a tension setting of 4 to 5 is recommended for quilting, but always test on your specific fabric.
A: It is advisable to adjust the tension when switching between different thread types to maintain stitch quality.
A: If you encounter difficulties, check for threading errors, inspect the tension dial for damage, or consult the user manual for troubleshooting tips.
Adjusting the tension on a Brother sewing machine is a skill that can greatly enhance your sewing experience. By understanding how tension works and regularly testing your settings, you’ll be able to produce high-quality stitches on various fabrics. Whether you’re working on simple sewing projects or intricate embroidery designs, tension adjustments will ensure your work looks its best.
For those looking to add unique touches to their sewing projects, consider exploring modern embroidery techniques. Check out articles like Deck the Halls with Stunning Embroidery Designs! and Why the Service Brother Embroidery Machine Stole My Crafting Heart! to inspire your next creation.
In conclusion, mastering the adjustment of tension on your Brother sewing machine is essential for achieving the best sewing results. Remember to be patient, test your settings frequently, and enjoy the process of creating beautiful projects!