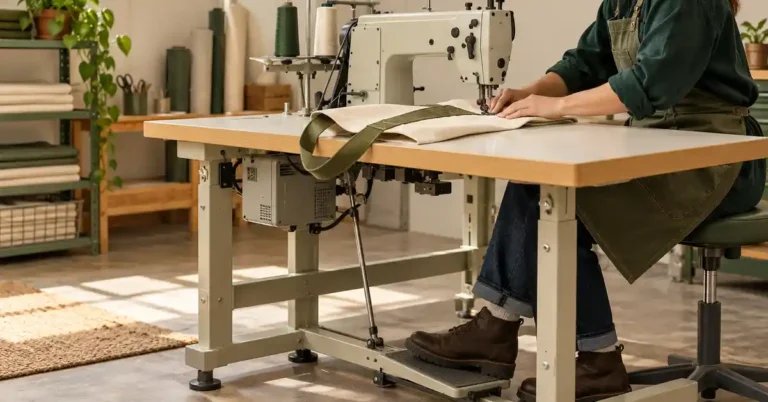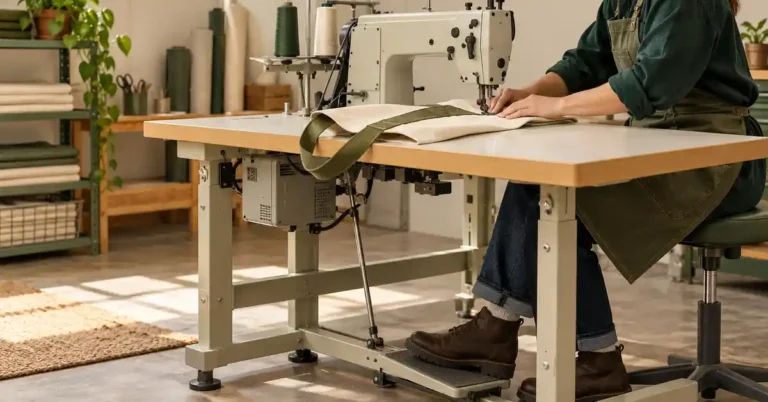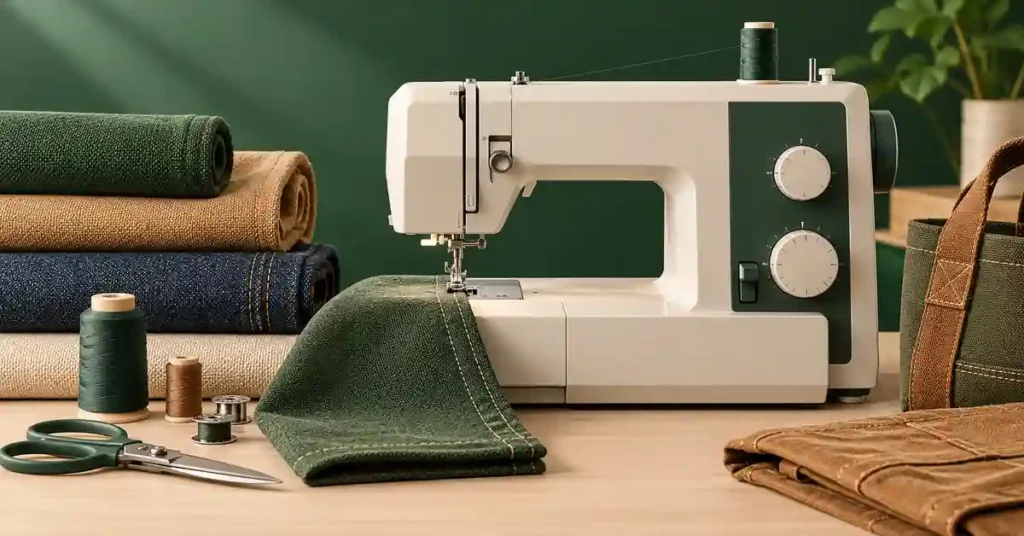
The best sewing machine for heavy fabric must manage the complete seam construction, not simply pierce a stack once. Dense canvas, quilted cloth, upholstery panels, and reinforced bags create different feeding and access problems. This guide compares household and industrial options, explains when a walking-foot accessory is insufficient, and connects the purchase decision to realistic project samples so you can select useful capacity without confusing motor claims with consistent sewing.
As an Amazon Associate, Practical Textile earns from qualifying purchases. Product links may earn us a commission.
Quick Answer
Compare Singer 4452 for suitable occasional household work, Brother ST371HD for another mechanical utility role, and Juki DNU-1541 when industrial unison-feed straight sewing is justified. None is a universal answer for every heavy fabric. Test the thickest actual seam, required thread, and finished surface before buying.
This guide compares published specifications and project fit; it does not report hands-on testing.
Singer Heavy Duty 4452
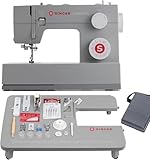
Compare the even-feed accessory on the intended construction.
Check Price on AmazonThis is a 4452 Holiday Bundle offer. Included accessories may differ from other 4452 packages.
Brother ST371HD

Test real crossings and check its documented limits.
Juki DNU-1541
No verified Amazon offer is linked for this model; read the buying checks below.
Confirm the complete station and exact model suffix.
Compare the Construction, Not a Layer Count
| Machine | Role | Boundary |
|---|---|---|
| Singer 4452 | Household utility with an even-feed accessory | Not industrial compound feed |
| Brother ST371HD | Mechanical household work | No assumption of adjustable foot pressure |
| Juki DNU-1541 | Industrial unison-feed straight seams | No general household zigzag or buttonholes |
Singer 4452: A Household Candidate for Defined Projects
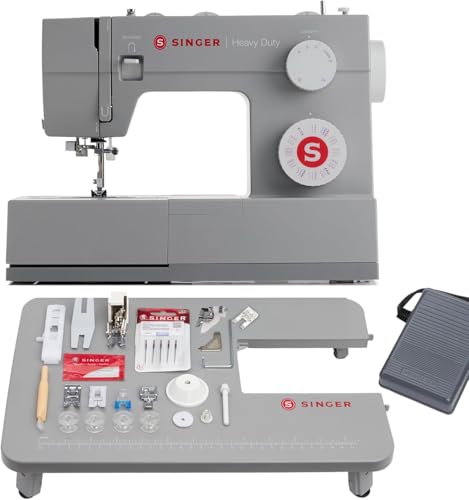

The 4452 belongs on the shortlist when ordinary household versatility remains important and the material stack falls within a suitable setup. Its advertised even-feed foot can help with particular layered operations. It does not enlarge the machine, change its needle system, or establish a universal leather and upholstery capacity.
Evaluate the point where your project changes thickness. An easy flat seam can conceal difficulty at a folded hem, binding junction, or webbing reinforcement. Ask to sew that transition slowly and inspect both faces. The controller should feel manageable at the pace you need.
Brother ST371HD: Compare Another Mechanical Approach

The ST371HD offers another household utility comparison. Check the actual foot package and manual rather than extending features from another Brother. In particular, do not buy it expecting adjustable presser-foot pressure. A heavy-duty name is not a specification for every control.
Try the same material with equally suitable preparation on both household candidates. If one sample uses a correct fresh needle and the other uses an unsuitable worn one, the apparent machine comparison is unreliable. Keep thread, construction, and the intended sewing result clearly identified.
Juki DNU-1541: When the Operation Justifies a Station
The DNU-1541 provides industrial unison feed for a specialized straight-seam role. Compare it when repeated layered work calls for that mechanism and the flat bed allows the required access. It should not be chosen merely because the word industrial sounds powerful.
Confirm whether the offer includes a compatible motor, controller, table, stand, and setup. Identify the complete suffix because related variants have different functions. Use the specified needle system and supported thread range. Our DNU-1541 guide explains the station checks.
Five Useful Selection Priorities
- Even feeding across the actual thickness transition.
- Acceptable needle holes and surface marking.
- Suitable needle and thread within the model’s range.
- Enough access for final assembly.
- Comfortable slow control and project support.
Two common compromises are worth accepting only deliberately. A household machine preserves stitch variety while limiting specialized heavy work. An industrial straight-seam station can address feeding but does not replace every garment function or fit every shaped project.
Compare our 4452 review, 4423 guide, and Brother range before assigning a household model to the job. For construction context, use the quilted jacket guide and bag project guide.
Project Preparation and a Repeatable Sewing Setup
The layered-jacket example below shows why a heavy-fabric purchase needs a complete construction sample. Fit, batting, seam bulk, and finishing can change the task after a machine has already passed an easy flat-seam demonstration.
Choose a jacket pattern for the material stack
Look at the pattern’s recommended fabrics, lining arrangement, seam finish, and quilting instructions. A design drafted for a light woven cloth should not automatically be treated as a quilted-jacket pattern. The finished shape can change when the same pieces are cut from thick layers. Select a suitable pattern or make a deliberate tested adaptation.
Check whether the style is lined, unlined with bound seams, reversible, or made from an existing quilt. Those approaches change the inside appearance and construction sequence. A reversible garment needs both surfaces and seams to be planned as visible parts of the design. A jacket that simply has an attractive lining is not necessarily constructed to be worn both ways.
Read the entire instruction sequence before choosing a size or cutting panels. Note any stages that depend on access to a flat piece. Pockets, embroidery, and quilting may be easier before particular seams are joined. A detail added late can become much harder once the garment has narrow sleeves and a closed body.
Check ease for the intended layers
Use the designer’s body chart and finished-garment measurements, then compare them with the clothing you plan to wear underneath. A jacket worn over a thin shirt and one worn over a substantial sweater have different requirements. Do not select size from the ready-to-wear label you usually buy or from a single chest measurement alone.
Check shoulder width, upper arm room, sleeve movement, body length, and closure overlap. Extra overall width does not automatically solve a restrictive armhole or an incorrectly placed shoulder. A fitting sample helps you distinguish a circumference issue from a shape or length issue before thick quilting makes adjustments more difficult.
Use representative bulk where it affects the fitting question. A very thin test fabric may reveal the general shape but not the comfort of a thick finished seam. Try sitting, reaching forward, and wearing the intended underlayer. Mark the accepted changes and transfer them to the pattern pieces rather than relying on unexplained pins in a sample.
Compare fabric and batting choices
Choose outer cloth, backing or lining, and batting as a combination. Weight, drape, care, thickness, and the quilting plan matter together. A favorite fabric can become much stiffer in a layered panel than it feels alone. Make a sample large enough to judge bending and seam bulk rather than relying on a tiny square held flat.
Follow the fabric and batting manufacturers’ preparation and care instructions. Some materials need prewashing or another preparation, and different layers can respond differently to cleaning. Do not assume a quilted sample will remain unchanged merely because each individual component looked stable before assembly.
Check the batting’s quilting-distance requirements before drawing a widely spaced decorative grid. The stitched design must support the chosen batting as well as create the desired appearance. If the material instructions and jacket design conflict, choose another combination or adjust the quilting plan before making the full panels.
Quilt panels before final cutting when the method requires it
Quilting can change a panel’s usable dimensions. If the pattern instructs you to quilt larger panels and then cut the garment pieces, follow its extra-allowance plan. Cutting every piece to final size before quilting can leave too little material for accurate seams if the layers draw in during stitching.
Mark the quilting pattern with a tested removable method. Baste the layers appropriately and work in a sequence that keeps them smooth. Inspect the back for folds before covering a large area. A decorative grid is easier to correct while only a few lines have been sewn than after the whole jacket panel is complete.
After quilting and any required preparation, lay the pattern pieces on the actual usable material. Check grain, directional motifs, matching, and seam allowances. Label left and right pieces clearly. A symmetrical-looking patchwork surface can still produce an unintended mismatch if a sleeve or front is cut in the wrong orientation.
Assemble thick seams without forcing the machine
Use an appropriate needle, thread, foot, and documented setup for the actual layers. Make a seam sample that includes the thickest intersection, such as a pocket edge, binding join, or layered front. A test through one flat quilted panel may not reveal the bulk at the finished junction.
Support the material’s weight and sew at a controlled pace. Do not pull a thick seam through a struggling machine. Stop if the needle deflects or strikes a part, and reconsider the construction or equipment. Reducing unnecessary stacked allowances where the pattern permits can be more effective than trying to solve every junction with a larger needle.
Press or shape seams using methods appropriate to all the layers. A hot iron that suits the outer cotton may not suit a lining or batting component. Test the sample and follow care directions. Avoid flattening a textured quilted panel so aggressively that it loses the appearance you wanted.
Finish inside seams deliberately
An unlined jacket often exposes the seam treatment, so choose a complete bound, enclosed, or other suitable finish. Binding adds material and can increase bulk where seams intersect. Test the final folded edge and stitching position on the representative stack before committing to many yards of finished seams.
For a lined jacket, check the lining’s room to move and its attachment points. Do not trap it into every outer seam unless the construction requires that. The lining should not pull the sleeves or hem into an awkward shape. Fit and inspect the complete arrangement, including any ease or opening specified by the pattern.
For a reversible design, inspect every seam and closure as part of both garment faces. A label, button back, or pocket attachment that is acceptable inside an ordinary jacket may remain visible when reversed. Plan those details early rather than trying to make them disappear with extra binding at the end.
Use a three-sample jacket decision
Make one quilted material sample, one full-thickness seam junction, and one fitting sample that represents the relevant structure. Each answers a different question. The material sample shows drape and surface; the seam sample tests the actual bulky join; the fitting sample assesses shape and movement. A successful result in one does not automatically answer the other two.
Keep the intended underlayer with the fitting notes. If the jacket works over a thin shirt but restricts movement over the sweater it was meant to accompany, identify where the fit needs attention. Adding width everywhere can change the silhouette without correcting a restrictive upper-arm or shoulder arrangement.
After a change in batting or backing, reconsider the seams and fit where their bulk matters. A lighter-looking outer cloth does not guarantee a lighter complete stack. Record the accepted combination and preserve enough offcuts for later closure or binding samples.
This small group of tests is particularly useful before cutting an existing sentimental quilt. Paper layout proves where the pieces fit, but it does not prove that the original quilt’s thickness and condition suit the jacket construction. Resolve those questions while the valuable material remains intact.
Choose points around the fabric, not a universal ranking
A universal needle can be useful for many ordinary sewing tasks, but its name is not a promise that it is optimal for every material. Knits, highly elastic fabrics, dense woven fabric, embroidery, leather, and particular decorative threads can call for different needle types. Compare the intended application on the package with the actual material rather than choosing a type because it sounds stronger.
A leather needle’s cutting action, for example, is a construction choice rather than an upgrade for any thick fabric. A reinforced denim needle and a stretch needle solve different problems. If a fabric tears or develops runs, stop and reassess the needle point and the seam. Continuing with a larger or sharper needle may make the damage more obvious.
Use a fresh sample to judge a changed needle. Repeatedly stitching the same damaged line on one scrap can disguise whether the new setup is better. Mark each sample with the needle type and size, thread, and stitch. Those notes make a comparison useful rather than turning a pile of unlabeled scraps into a memory test.
Frequently Asked Questions
Does more motor power guarantee better heavy-fabric sewing?
No. Feed, access, needle and thread compatibility, control, and surface appearance also matter. Test the complete construction rather than using motor advertising as a substitute for the intended seam.
Can I compare machines by the number of layers?
Only with carefully matched materials and construction. Several thin layers can behave differently from a dense folded crossing. Bring your actual sample instead of accepting an unrelated stack demonstration.
Is a walking-foot attachment enough?
It may help a suitable household operation within the machine’s limits. It does not create industrial unison feed or solve every access and thread requirement.
When is an industrial machine worth considering?
When the defined work, repetition, supported materials, and required feed justify a specialized station. Include installation, training, consumables, and service in the comparison.
What should the finished sample show?
Inspect both sides, the difficult transition, visible marks, stitch consistency, and handling at useful speed. A single successful puncture is not a complete acceptance test.
Final Recommendation
Select heavy-fabric equipment around the real seam and final assembly. Compare household candidates for appropriate occasional work and an industrial station for a justified specialized operation. A supported setup that repeatedly produces the required finish is more useful than a dramatic capacity claim.