The best sewing machine for patches depends on whether you are attaching a finished patch or creating its embroidery. Those are different processes, and buying for the wrong one can leave you unable to finish the project. This guide focuses on sewing prepared patches onto accessible garments and panels, compares three household machine options, and explains when thick materials, awkward placement, or production work call for a different equipment category.
As an Amazon Associate, Practical Textile earns from qualifying purchases. Product links may earn us a commission.
Quick Answer: Which Machine Should You Consider for Attaching Patches?
Compare the Brother XR9550 when controlled computerized sewing is useful, the Singer 4423 when you prefer mechanical controls, and the Brother ST371HD as another mechanical household option. Choose only after assessing the complete patch-and-garment stack and access around the placement. For thick leather assemblies, inaccessible sleeves, or repeated industrial work, investigate specialized equipment rather than assuming a domestic machine will fit the job.
These are research-based candidates for appropriate household work, not results from hands-on patch tests. We have not established a universal maximum thickness or tested every patch material.
Brother XR9550
Compare its speed-control workflow for accessible garment placements.
Singer Heavy Duty 4423
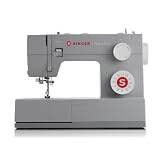
Assess the exact material stack and controller feel before choosing.
Brother ST371HD

Compare its utility functions without reading the name as unlimited capacity.
Are You Attaching a Patch or Creating One?
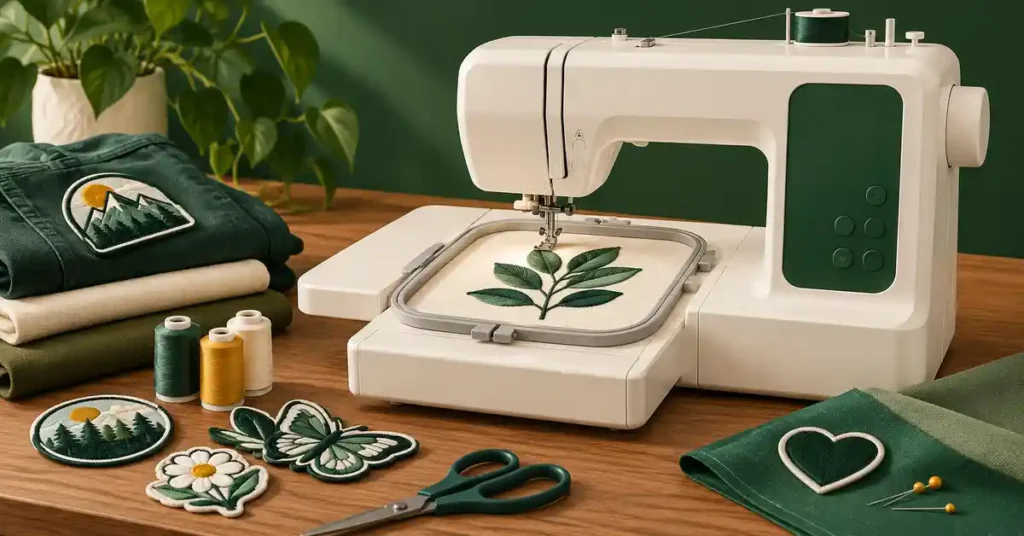
Attaching a prepared patch involves sewing it to a garment, bag panel, or other accessible surface. Creating an embroidered patch involves producing its stitched design on a suitable base material, then finishing the edge and planning attachment. An ordinary sewing machine can serve the first process without providing automatic embroidery for the second.
Make that distinction before choosing equipment. If you already have finished club patches and want to sew them onto jackets, compare garment access and seam control. If you want to produce logos repeatedly from digital designs, investigate an embroidery workflow and the additional work required to finish the patch.
Our Poolin embroidery guide explains a flat embroidery category, while our Smartstitch review considers repeated multicolor work. Neither should be confused with a guarantee that a finished embroidered patch can be sewn onto every assembled garment.
Compare Household Machines for Suitable Patch Attachment
| Model | Control approach | Why consider it? | Critical check |
|---|---|---|---|
| XR9550 | Computerized selection and speed control | Careful movement around a patch outline | Material stack and placement access. |
| 4423 | Mechanical controls | Utility sewing with a mechanical preference | Pedal feel and suitable feeding. |
| ST371HD | Mechanical controls | Another utility-sewing configuration | Exact foot, needle, thread, and material suitability. |
This shortlist applies to appropriate household constructions, not all patches on all materials. A thin cloth badge on a flat woven panel is a different job from a dense patch on a thick assembled leather vest. Compare the real seam you will sew rather than buying from the patch’s outside dimensions alone.
Brother XR9550 Review: Controlled Sewing Around Accessible Patches
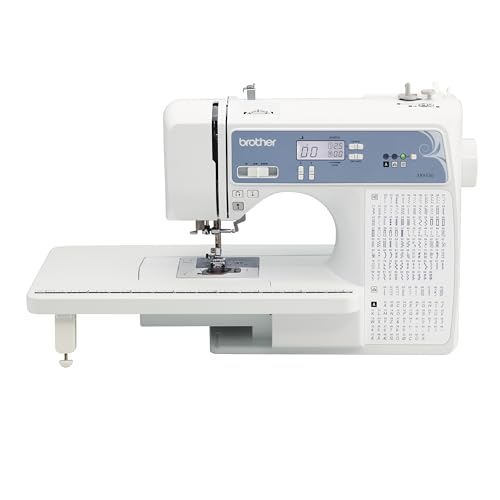

The XR9550 is relevant when you want a versatile computerized sewing machine with speed limitation. Around a patch outline, a manageable pace can help you approach corners and curves deliberately. The control is useful only when the material can feed normally and the placement is accessible.
Check the stitch and foot intended for the patch edge. A suitable straight stitch or zigzag may be appropriate depending on the patch construction and attachment requirements. The presence of many decorative selections does not establish which method is right for the finished item.
Before sewing the garment, test a comparable patch and fabric stack. Inspect the appearance, security, and any distortion. Keep the opposite garment layer clear through the full path. A computerized control system cannot detect every accidental fold underneath an assembled sleeve.
Our Brother sewing machine guide compares its general role with other models. Choose this category for its relevant controls, not because built-in lettering can replace automatic patch embroidery.
Singer 4423 Review: A Mechanical Household Option
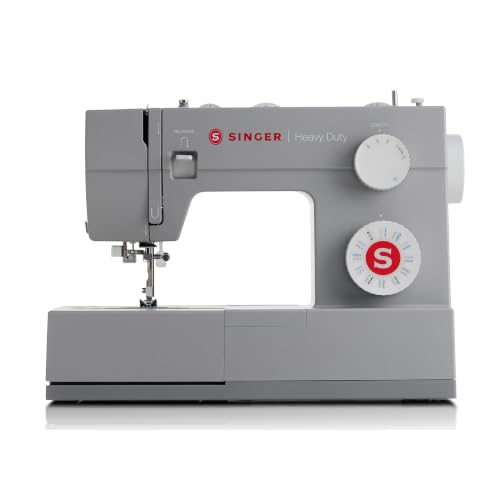
The Singer 4423 is a candidate when you prefer mechanical controls and the complete material stack is suitable for a domestic machine. Its general utility functions may cover attaching prepared patches to accessible woven garments or panels. The exact seam and fabric still need testing.
The standard model does not offer an independent maximum-speed slider, so pedal feel matters when following a small outline. Try controlled starts and stops rather than evaluating only a long straight seam. If you have difficulty maintaining a comfortable pace, compare another control arrangement before buying.
Adjustable presser-foot pressure is a setting to investigate within the instructions when feeding needs adjustment. It is not a guarantee that every dense patch, coated backing, or leather assembly can be sewn. A foot lifting high enough to accept the work does not establish safe stitching capacity.
Our Singer 4423 review discusses the difference between useful domestic functions and unrealistic heavy-material expectations. For patch work, that distinction matters more than the model name.
Brother ST371HD Review: Another Mechanical Configuration

The ST371HD provides another mechanical home-sewing option to evaluate. Its utility stitches and listed feet can be relevant to ordinary household work, but you still need to verify the correct combination for the patch and garment. Do not interpret its Heavy Duty description as a specification for specialized leather or industrial patching.
A nonstick foot, when appropriate and compatible, addresses surface behavior rather than every thickness or feeding problem. A dense stack can remain unsuitable even when its top surface glides more freely. Choose an accessory because it solves a diagnosed need, not because it sounds tougher.
If the placement sits in a narrow tube, the real limit may be geometry rather than motor capability. Try positioning a similar garment before deciding. A standard domestic arm cannot reach every awkward area merely because a patch is small.
Placement and Access Often Matter More Than Stitch Count
Check the entire path
Position the patch as intended and inspect the back of the work. Make sure lining, pockets, sleeves, zippers, and the opposite side of the garment stay clear while the whole outline is sewn. A clear starting point is not enough if the fabric becomes trapped when you turn a corner.
For bags and structured clothing, decide whether the panel can be embroidered or patched before assembly. That is often easier when the construction permits it. Opening a finished seam is a separate alteration decision and should not be assumed harmless merely to make the machine reach the area.
Secure placement appropriately
Use a positioning method suitable for the patch, garment, and machine instructions. If a patch has adhesive backing, verify whether it is intended to be sewn and whether the manufacturer specifies a particular method. Do not assume every temporary adhesive or backing behaves the same way under a needle.
Check alignment on the worn or correctly arranged garment, not just on a folded item lying conveniently on the table. A patch can be accurately stitched and still appear misplaced when the garment is used. Mark placement before sewing and recheck it before making an irreversible seam.
Stitch, Needle, Thread, and First-Sample Setup
Match the seam to the patch construction
A patch with a firm finished border may invite a different attachment path from a raw-edged fabric shape. Decide where the stitch should sit and how visible it should be. The correct choice depends on the edge and intended use rather than a universal recommendation to zigzag every patch.
For a zigzag or other wide stitch, confirm foot and needle clearance before operating the machine. For a straight seam close to a border, establish a guide and test the appearance on a comparable sample. Follow the machine’s instructions rather than moving the needle beyond what the installed foot safely permits.
Test the complete stack
Use an appropriate needle and compatible thread for both patch and garment. A dense embroidered surface and a lightweight shirt may present different requirements from a thin fabric patch on denim. Test the actual combination, including backing and any adhesive layer that will remain in the finished work.
Inspect both sides for loose formation, skipped stitches, puckering, and unwanted caught layers. Gently handle the sample as the finished item will be used. For a washable project, follow the material’s care instructions and consider a representative care test before treating the method as production-ready.
Stop when the setup is not working
Do not force the fabric or pull it behind the needle. If the machine struggles or the needle encounters resistance, stop and reassess the material and equipment. Disconnect power as directed before clearing a jam. A larger needle or more pedal pressure is not a universal remedy.
When Specialized Equipment Is the Better Question
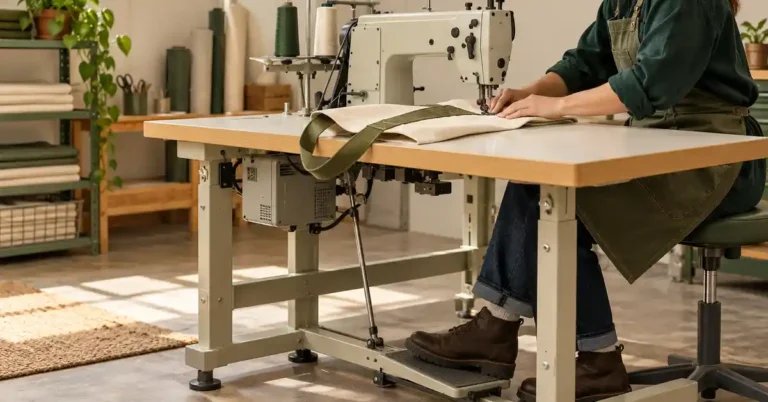
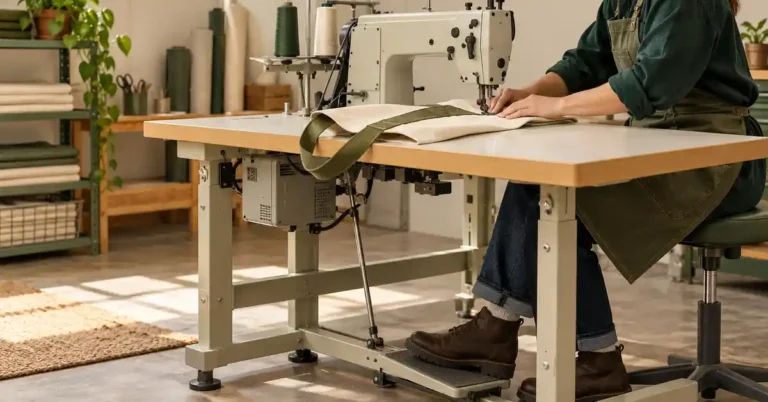
A thick assembled leather item, restricted opening, or repeated repair workflow can require a machine with a different arm shape, feeding arrangement, needle system, or thread capacity. Those are functional differences that ordinary household stitch counts do not describe.
Bring the finished item or a realistic equivalent to a qualified equipment demonstration. Include the difficult placement and seam stack. Ask to see the complete path, not just a patch sewn to a loose flat sample. Specialized equipment should be evaluated for the actual task rather than selected from a generic patch-machine label.
If the real goal is making embroidered patches at volume, investigate digitizing, hooping, edge finishing, and color-change workflow separately. Our Janome embroidery guide provides another category comparison. Attaching patches and manufacturing them should remain separate requirements in the buying plan.
Advantages and Limitations of This Household Shortlist
Useful strengths
- All three candidates retain functions for other household sewing.
- The shortlist compares computerized and mechanical control preferences.
- Speed limitation is available as a buying distinction rather than assumed universally.
- The machines can be assessed with a representative patch-and-fabric sample.
- Existing sewing skills can transfer to suitable accessible attachment work.
Important limitations
- None is a universal recommendation for thick leather or inaccessible placements.
- Ordinary sewing functions do not automatically create digitized embroidered patches.
Buying Checklist
- Define whether the job is attachment or embroidered-patch production.
- Check the complete material stack and the whole sewing path.
- Try the controller at a comfortable pace around a realistic outline.
- Verify stitch, foot, needle, and thread compatibility.
- Confirm included equipment, condition, electrical suitability, and service access.
- Compare total setup costs rather than a historical deal price.
A current Amazon listing can help you inspect the exact model and seller package, but a product page does not replace a material demonstration. Keep a successful sample and setup notes so the method can be repeated safely after purchase.
A Project Check Before You Commit
Check the patch’s final location before choosing a foot. A seam close to a pocket opening can be easy to reach, while the same patch on a closed sleeve may require a different assembly order. Confirm that only the intended layer sits beneath the needle and that the work can turn through the complete outline.
Frequently Asked Questions
Do I need an embroidery machine to sew on patches?
Not for every prepared patch. A suitable sewing machine can attach one to an accessible garment when the material stack and seam method are appropriate. Producing the embroidered design itself is a different process.
Can a household machine sew patches onto leather?
It depends on the specific material, patch, seam stack, thread, and access. Do not assume suitability from Heavy Duty branding. Request a realistic demonstration and investigate specialized equipment for dense or restricted work.
Should I use straight stitch or zigzag for patches?
Choose according to the patch edge, attachment requirements, and intended appearance. Test the complete sample and verify foot clearance for wide stitches. There is no single stitch method appropriate to every patch.
Can these machines make embroidered patches automatically?
The sewing models discussed here do not provide automatic hoop embroidery. Creating digital embroidered patches requires a suitable embroidery workflow, prepared stitch files, and a plan for edge finishing and attachment.
Why is a small patch difficult to sew onto a sleeve?
The limitation may be access rather than patch size. The tube may not fit the machine’s arm, or another fabric layer may enter the path. Evaluate placement and construction before assuming a more powerful domestic motor will solve it.
Final Recommendation
Start with the control arrangement and actual garment access: XR9550 for computerized speed control, 4423 for mechanical preference, or ST371HD as another mechanical comparison. Test the complete patch-and-material combination before relying on any of them.
Choose specialized equipment for a specialized placement or dense construction. If your aim is manufacturing embroidered patches, define that process separately so the machine you buy can complete the job you actually intend.