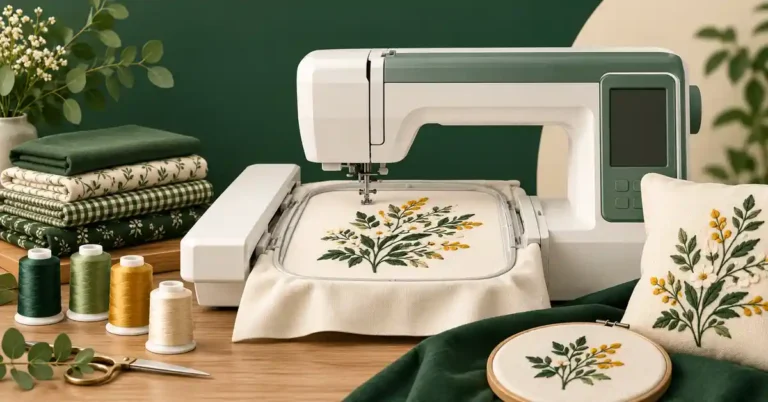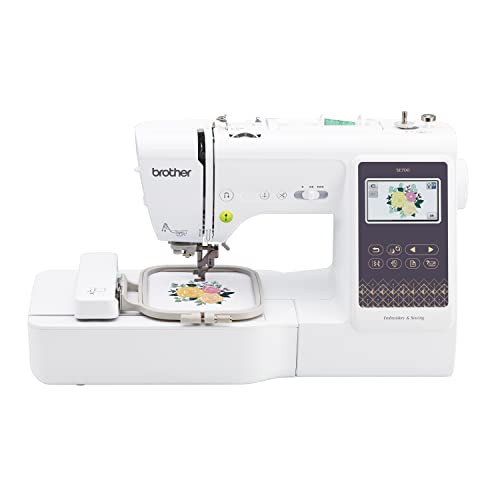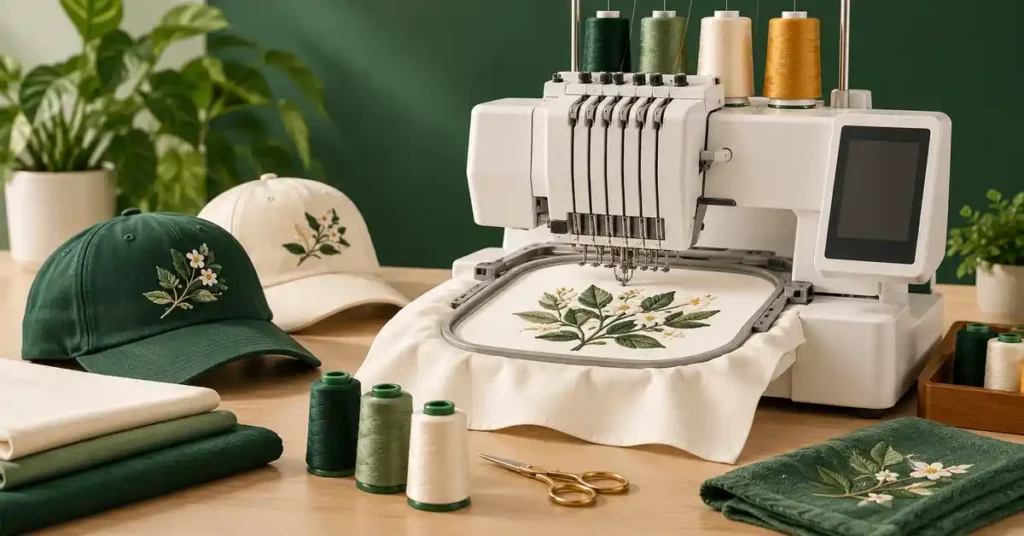
The best embroidery machine for hats and shirts must handle two different product constructions, not merely provide a flat field. Finished caps need compatible equipment and suitable designs, while shirts need workable access and fabric support. This guide compares a multi-needle route with qualified home alternatives, explains changeover and sample checks, and connects equipment choice to garment and hat planning before you commit to producing both products on one machine.
As an Amazon Associate, Practical Textile earns from qualifying purchases. Product links may earn us a commission.
Quick Answer
Compare a correctly equipped Smartstitch S-1001 for a single-head multi-needle cap-and-garment workflow. PE900 and EOC06 are separate home flat-embroidery comparisons, not equivalent finished-cap systems. Confirm driver, frames, loading fixtures, design preparation, and actual product samples before deciding one setup can serve both jobs.
This guide compares published specifications and project fit; it does not report hands-on testing.
Smartstitch S-1001

Check exact revision and complete cap equipment.
Brother PE900

A flat-hoop role, not a commercial cap-system substitute.
Poolin EOC06

Field size does not establish finished-cap capability.
Two Products Require Two Demonstrations
| Product | What to verify | Insufficient evidence |
|---|---|---|
| Finished cap | Compatible driver, frame, file, and actual cap style | A flat stitched logo |
| Shirt | Placement, opening, fabric support, and clearance | A loose swatch of similar fabric |
| Alternating orders | Changeover time and organized parts | Maximum stitch speed alone |
Smartstitch S-1001: Compare a Complete Multi-Needle Arrangement


The S-1001 has ten needle positions on one head. Prepared colors can reduce some manual changes, but the head still stitches one item at a time. Do not convert needle count into a claim that ten products are made simultaneously.
Confirm the exact current revision and package. The driver, cap frames, loading fixture, flat hoops, stand, training, and service are separate items to identify. A picture of a machine embroidering a cap does not prove those parts are included in your offer.
Use the actual cap style and shirt. A structured cap, unstructured cap, soft knit, and firm woven garment present different conditions. Ask to complete the setup and finishing for each rather than watching only a short section already prepared by the seller.
Cap Fields and Files Are Not Flat Embroidery Specifications
The usable cap area differs from the flat field. Curvature, seams, and driver clearance affect placement. A logo that fits the machine’s largest flat measurement may need a different prepared version for the cap.
Digitizing and design sequence matter. A file that works on a shirt is not automatically optimized for the curved item. Compare small lettering, registration, border quality, and visible distortion after unloading. Keep the exact approved cap, file version, thread mapping, and support notes together.
PE900 and EOC06: Qualified Home Alternatives

PE900 offers a five-by-seven dedicated embroidery role; EOC06 provides a larger flat-field comparison. They can be investigated for suitable shirt projects, but neither should be presented as the equivalent of a tubular commercial cap setup simply because a cap-related accessory appears in a search result.
Another legitimate workflow is decorating compatible hat panels before assembly when the pattern and design permit. That is different from embroidering a finished structured cap. Keep those methods separate when deciding what the machine must physically reach.
Five Potential Benefits and Two Workload Limits
- Prepared colors can reduce some operator rethreading.
- Compatible cap equipment can support a defined product range.
- Separate garment frames can serve appropriate shirt access.
- Repeatable job records can organize returning orders.
- Measured changeovers make capacity planning more realistic.
Two limits remain: one head still handles products sequentially, and changing between caps and garments consumes time and requires the correct setup. A machine purchase alone does not guarantee orders or profit.
Read our cap guide, Smartstitch review, and commercial comparison. Our PE900 guide, Poolin guide, and bucket-hat construction guide explain the distinct alternatives.
Project Preparation and a Repeatable Sewing Setup
The examples below compare garment preparation with planning a hat before assembly. Preassembly panel decoration is a distinct option; it must not be mistaken for proof that the same home machine can embroider every finished structured cap.
Decide between hand and machine embroidery
Hand embroidery and computerized hoop embroidery use different tools and preparation routines. A hand-stitched outline can be useful for a small personal detail, while a compatible machine design provides a programmed stitching sequence. A photograph, drawing, or font file is not automatically a machine-ready embroidery design.
For machine embroidery, confirm the file format, finished dimensions, and design instructions for the model. Editing and digitizing are different tasks from transferring a ready-made file. If the artwork needs to become an embroidery design, plan that process before loading a garment. Do not assume that the machine’s transfer application will create a suitable stitch file from any image.
If you choose hand embroidery, use a suitable needle, thread, support, and stitch for the garment. A delicate hand outline has different structural needs from a dense machine-filled emblem. Follow the intended method rather than moving instructions between the two simply because both use the word embroidery.
Embroider a sweatshirt without ignoring texture
Sweatshirt fabrics can differ in thickness, stretch, and surface. Examine the actual item rather than assuming that every fleece behaves identically. The backing, needle, thread, and design all need to suit the complete stack. A design suitable for a thin woven shirt may not produce the same result on a textured sweatshirt.
Where the surface requires it, compare an appropriate topping as part of the full sample. Judge whether stitches remain visually clear after that topping is removed in the permitted way. Keep the continuing backing role separate so a tidy surface does not conceal inadequate support below.
Check how the finished embroidery feels inside the garment and how it bends during wear. A large dense design can create a stiff area. Position and scale should suit the intended use, especially near cuffs, necklines, or other areas that move or rub. More stitches do not automatically create a better clothing decoration.
Embroider jeans with access and density in mind
Denim varies from lightweight stretch cloth to heavy rigid material. Check the actual fiber and construction, and use the machine’s documented needle and thread guidance. A suitable needle is part of the setup, not proof that every thick seam or multiple-layer intersection can be embroidered safely.
Plan whether the target area is accessible inside the leg. The machine must move the hoop without catching the opposite side. A finished narrow leg may need a different access strategy or another method. Do not force a garment into a setup that cannot keep its layers separate and move freely.
Keep the design clear of bulky hardware and seams unless the method is specifically planned for them. Test on matching material where possible. When using older jeans, inspect the target area for thinning or damage; dense stitching on weak fabric can create a new problem rather than a lasting decoration.
Worked example: one motif on three garments
Suppose you want the same small floral motif on a woven shirt, a knit sweatshirt, and denim jeans. The design dimensions may remain unchanged, but do not reuse the support plan automatically. Make three labeled samples using matching materials and the actual chosen backing. Record whether texture, stiffness, access, or needle behavior changes.
Compare them after support removal and appropriate care. If the woven sample lies flat but the knit distorts, investigate its design and support combination rather than resizing all three files immediately. If the jeans placement cannot be loaded without trapping the opposite leg, changing the backing does not solve the access problem. Treat each observation as information about a different part of the process.
Choose a pattern with complete information
Look for an identified designer, clear pattern pieces, a size range, printing instructions, and a construction guide. A photograph of a finished hat is not a usable pattern by itself. Check whether the design includes lining, a reversible method, or a particular brim finish, because those choices change the piece count and sewing sequence.
WeAllSew’s bucket-hat tutorials are useful starting resources that identify the patterns used in their projects. Follow the resource to the actual designer’s current instructions and files rather than assuming every hat image on a tutorial page is an independent downloadable pattern. Keep the pattern name and version with your sewing notes.
If the pattern is free, download through the authorized source and check any terms for use. Do not repackage the creator’s file as your own download. A useful personal project can be made from a free pattern while still respecting the designer’s instructions, ownership, and current distribution method.
Measure for the intended fit
Follow the pattern’s measuring method and record the head measurement in its stated units. Consider how the hat will actually be worn, including hair and the intended position. A hat measured high on the head can feel different when it is pulled lower. Use the designer’s fit guidance rather than adding a random universal amount.
Check whether the size chart describes the body measurement or the finished hat. Those are not necessarily identical numbers. Fabric thickness, seam construction, lining, and fit allowance can affect the result. Choosing the next larger size is not a precise substitute for understanding what the listed measurements mean.
Make a sample when fit matters or when you are changing materials. A small full hat often provides more useful information than a paper band because the crown depth and brim influence how it sits. Mark any changes and transfer them consistently to the pattern pieces rather than altering only one piece at the cutting table.
Check print scale and seam lines
Print the scale-check page first using the designer’s specified settings and measure it accurately. Page fitting or automatic scaling can change every piece. Do not print the full file and assume that a visually round crown means the scale is correct. Check the test square or other reference before assembling the pages.
Confirm whether seam allowances are included. Mark notches, fold lines, and the intended grain or direction. Similar curved pieces can be easy to confuse, so label crown, side, upper brim, lower brim, outer, and lining as appropriate. Keep cut pieces grouped by the pattern’s assembly stages.
Compare the matching seam lines if you are adapting the design. Curved raw edges can have different apparent lengths because their allowances lie on different sides of the curve. Forcing raw edges to match without considering the seam line can distort the hat. Preserve the designer’s notches and use a proper adjustment method when changing circumference or brim width.
Compare fabric, lining, and interfacing
Choose fabric around the desired structure and the pattern recommendations. A soft light hat and a firm wide-brim version need different support. A heavier outer cloth does not automatically remove the need to sample the brim, and a stiff interfacing can create an appearance very different from the tutorial photograph.
Prepare a layered swatch with the intended lining and interfacing. Bend it, sew a curved seam, and test the pressing method. Follow the interfacing manufacturer’s application instructions and the fabrics’ care requirements. A successful fuse on one cotton scrap does not establish the same result on a coated, textured, or heat-sensitive material.
Check shrinkage preparation before cutting. If outer and lining fabrics change differently in cleaning, the finished hat can distort. Choose compatible care needs and follow the supplier’s instructions. Keep the final material stack in the fit sample where its thickness affects the inside circumference.
Plan prints and embroidery before assembly
Lay out directional motifs so the finished hat makes sense from the intended viewing positions. A side band may place a print differently from the crown. Check whether the pattern uses one continuous band or several pieces, and allow for seams that interrupt the design. Do not rotate a directional fabric only to save a small scrap without checking the result.
If adding embroidery, a flat panel can be easier to access than the assembled hat. Choose a design that fits the panel, the machine’s supported area, and the seam allowances. Keep stitches away from areas that must be trimmed, folded, or joined unless the design deliberately accounts for that construction.
Sample the embroidery with the chosen backing and fabric before cutting the final panel. Hoop support and stitch density can change the panel’s dimensions or feel. The fact that a design fits a small field does not establish that the same placement will remain accessible inside the completed hat.
Frequently Asked Questions
Can one machine embroider hats and shirts?
A correctly configured system may serve both, but the actual products, drivers, frames, and files must be compatible. Demonstrate each workflow separately before treating that capability as established.
Does the flat field describe the cap area?
No. Cap geometry and equipment create different usable boundaries. Confirm the exact supported area and trace the real design with the correct setup.
Can a home machine replace a cap system?
Do not assume equivalence. Flat garment embroidery, preassembly panel decoration, and finished-cap embroidery are different operations requiring their own checks.
How should I calculate output?
Time placement, loading, changeover, stitching, interruptions, trimming, and inspection. Maximum speed and needle count do not establish finished products per hour.
What should I keep from an approved sample?
Save the exact product, file version, placement, frame, support, thread assignment, and settings. A repeat order needs more information than the design name alone.
Final Recommendation
Compare the complete S-1001 arrangement for a justified cap-and-shirt workflow, or choose a qualified home setup when the actual work is flat embroidery. Buy access, demonstrated samples, and usable support rather than expecting a large field to solve two different product constructions.