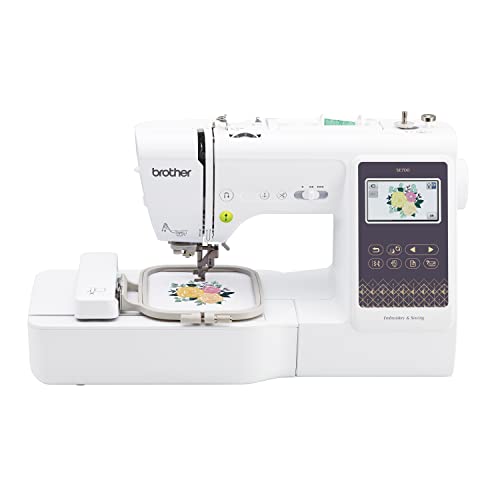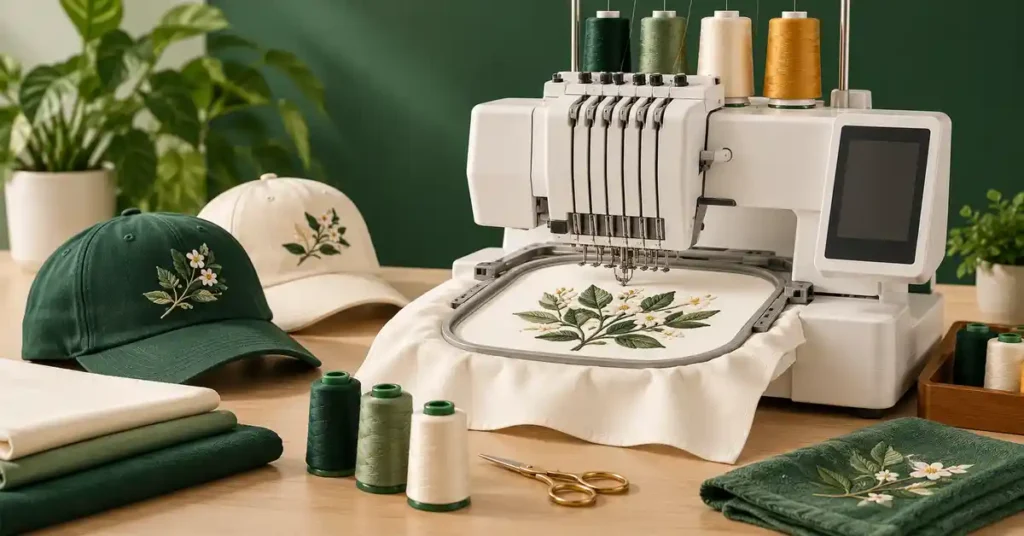
The best embroidery machine for hats and shirts must handle two different loading problems, not merely offer a large flat field. Structured caps need a compatible driver and prepared design, while shirts need suitable access and support. This guide compares equipment roles and explains demonstrations, cap clearance, garment hooping, file preparation, and complete job timing so you can choose a station that fits the products you actually plan to decorate.
As an Amazon Associate, Practical Textile earns from qualifying purchases. Product links may earn us a commission.
Quick Answer
Start with a genuine cap-capable system when structured hats are essential, then test the shirt workflow on the same station. Smartstitch S1001, Melco BRAVO, and BAi THE MIRROR are commercial roles to evaluate by exact configuration. The PE900 and EOC06 boxes are explicitly flat-work alternatives, not structured-cap recommendations.
This guide compares published specifications and project fit; it does not report hands-on testing.
Smartstitch S1001

Confirm the exact cap driver, frame, package, and actual cap sample.
Brother PE900

A 5×7 flat-work comparison, not a structured-cap system.
Poolin EOC06

Compare shirt designs and access; a large flat field does not establish cap capability.
Options organized by use
| Option | Reason to compare | Practical selection note |
|---|---|---|
| Melco BRAVO | Cap-system comparison | The manufacturer describes cap capability with the cap frame system installed; confirm the supplied package. |
| Melco EMT16X | Commercial cap workflow | Evaluate the exact cap driver and production arrangement rather than using its flat field as the cap specification. |
| Smartstitch S-1501 | Multi-needle cap comparison | Confirm the compatible driver, frame and actual stitching envelope for the cap style. |
| BAi THE MIRROR | Commercial cap comparison | Inspect the model-specific frame package, training and service route through the supplier. |
A finished cap is not a flat fabric panel
A structured cap includes shape, seams and stiffened material. The bill limits access, and the front center seam can challenge positioning and needle movement. Evaluate the blank you will actually sell, not a convenient unstructured demonstration cap.
A flat cap panel embroidered before assembly is a different production process. Do not use success on that panel to prove suitability for finished caps. The correct test includes the assembled blank, compatible holding system and a design prepared for the cap’s structure.
Compare the relevant equipment categories using the embroidery machine buying guide.
The cap driver and frame need their own specification
The machine’s flat embroidery field is not the same as the usable cap field. Obtain the exact driver and frame identification, compatibility information and cap envelope. Confirm whether those components are standard, optional or absent from the quoted package.
Ask about changing between cap and flat work. Include installation, alignment and storage time in the demonstration. A machine that can embroider caps may still be inconvenient if the supplied system is incomplete or difficult to change in your planned workflow.
Plan design files and project sizes with the embroidery designs and file guide.
Digitizing should account for the cap
A design prepared for a flat shirt may need a different sequence or support strategy on a finished cap. Manufacturer cap guidance discusses center-out approaches, but exact settings are model, cap and design dependent. Do not copy another machine’s numeric settings blindly.
Ask your digitizer to prepare for the intended cap material and stitching location. Then test the full design, including small letters and elements crossing the center seam. A file that opens and traces successfully has not yet demonstrated attractive cap embroidery.
Connect construction and decoration steps using the sewing and embroidery project guide.
What to inspect after the stitchout
Check registration, legibility, distortion near the seam, proximity to the bill and the inside finish. Inspect after releasing the cap, because holding pressure can conceal problems during stitching. Compare repeated samples where possible.
Watch the operation as well: loading, tracing, stitching, unloading and finishing. Count interventions only from a real observed trial if you want to report them. A maximum speed specification should not be turned into a cap-per-hour promise without that job-level evidence.
Training and support are part of the purchase
A cap system introduces its own setup and maintenance learning. Ask who provides instruction on the exact driver and cap gauge, and how replacement parts or service are obtained. Include the actual cap kit in the quotation.
Keep a written setup record for every tested cap style. Different blanks can behave differently even when their fronts look similar. A consistent cap workflow is built from the machine, design, blank and holding system together, not from purchasing a large-field machine alone.
Five advantages and two limitations
Advantages
- A cap-specific system addresses finished-cap access.
- Exact frame identification clarifies quoted capability.
- Real blank tests reveal center-seam and bill constraints.
- Job-level demonstrations include loading and finishing.
- Model-specific training supports repeatable setup.
Limitations
- Flat-field specifications do not establish cap embroidery dimensions.
- Cap digitizing and hooping can remain demanding even on capable equipment.
Check the exact listing and documentation
Melco BRAVO: Manufacturer information for Melco BRAVO
Melco EMT16X: Manufacturer information for Melco EMT16X
Smartstitch S-1501: Manufacturer information for Smartstitch S-1501
BAi THE MIRROR: Manufacturer information for BAi THE MIRROR
Smartstitch S1001: Check the Cap and Flat Specifications Separately


The S1001 is a ten-needle single-head machine. The manufacturer distinguishes its flat field from the cap-system area. Do not use the approximately 9.5×14.2-inch flat measurement as a promise about hat placement. Confirm the current cap driver, frame, supported height and width, and the exact accessories included in the offer.
Multiple needles prepare different thread colors on one head; they do not stitch ten separate garments at once. Record the whole workflow on the actual cap and shirt design. Setup, loading, stops, finishing, and inspection remain part of the job even when thread changes become less manual.
Our Smartstitch review and Smartstitch versus BAi comparison explain further buying questions. Use the exact model and package rather than copying details from another machine in the range.
Shirts Need Their Own Access and Support Test
A shirt can be easy to show flat on a table but awkward to load without catching the opposite layer. Test the intended blank and placement. A small sleeve, pocket, or finished garment section can create access limits independent of whether the design fits the field.
Choose stabilizer and any topping according to the fabric, design, and finish. Stretch knit, a woven uniform shirt, and a textured sweatshirt can require different preparation. Keep the material appropriately supported without distorting it during hooping.
Inspect the result after releasing the hoop and finishing the support as directed. A logo that looks neat while the material is held taut may show distortion afterward. Keep a completed sample and record the setup for repeat orders.
A Design That Works on a Shirt May Need Cap Preparation
The same artwork can require a different stitch program for a curved cap construction. Center seams, panel structure, bill clearance, and the intended location affect what can be stitched reliably. Do not assume that reducing a shirt file’s size makes it cap-ready.
Ask a qualified digitizer or supplier to prepare and demonstrate the design for the actual cap. Inspect lettering and registration as well as the overall outline. The usable stitched result is the target, not simply fitting the screen preview into a displayed rectangle.
Separate a customer’s artwork and placement approval from technical sampling. An approved picture does not establish that the design stitches well on the chosen blank. Retain both the approval and a proven file-and-material setup before committing to a repeated batch.
When a Flat-Work Machine Is the Better Limited Purchase
If the real offering is small suitable shirt designs and no structured-cap production, a machine such as the PE900 may deserve comparison. Its role is dedicated 5×7 embroidery, with item access and preparation still checked. It should never be presented as equivalent to a commercial cap driver simply because a small hat can appear in an accessory photograph.

The EOC06 provides a larger flat-field comparison for suitable designs. It remains a different workflow from the cap systems described here. A larger rectangle does not solve curved loading, clearance, or commercial cap preparation.
Read our PE900 guide and Poolin review for those limited roles. Choose them only when the actual product requirements fit, rather than buying a flat-work machine first and expecting an unsupported cap conversion later.
Request Two Complete Demonstrations
Bring one representative cap and one representative shirt with the designs you expect to repeat. Ask to see loading, alignment, the full stitch-out, removal, finishing, and inspection. Record which frames, stands, software functions, and optional equipment were used.
Repeat the sample where possible. A single easy run does not establish consistent behavior across different blanks or designs. Note interventions and rejected samples as well as successful stitch time. Compare the same test with each supplier instead of judging unrelated prepared displays.
Confirm who trains the operator and what support is available for the actual location. Cap loading and ordinary flat embroidery require learned routines. A machine’s price should be compared as an installed, supported system rather than as an isolated head.
Measure Complete Jobs Before Promising Delivery
Record design preparation, blank handling, hooping, loading, color changes, stitching, unloading, trimming, support removal, and inspection. Use several representative jobs. Maximum stitch speed is not a direct prediction of finished hats or shirts per hour.
Consider the order pattern too. A batch of identical caps creates a different need from individual names on mixed garments. More heads and more prepared colors address different constraints. Choose the configuration that improves the observed workflow rather than the most impressive number in a sales summary.
Our commercial workflow guide explains a broader selection process. Keep capacity claims based on your own complete trials and update the records when the blank or design changes.
Include delivery, unloading, installation, power requirements, and operator access in the quotation. Check that the machine can enter and operate in the proposed room with the cap system fitted. A station that fits on a floor plan may still need additional clearance for loading garments, changing frames, or carrying out the maintenance specified in the manual.
Record the exact blank model as well as the design. A different cap structure, seam, or shirt fabric can change the result even when the artwork remains unchanged. Recheck the relevant sample before treating a new supplier or garment variation as an identical repeat order.
A Project Check Before You Commit
Include changeover in the demonstration if you plan to alternate caps and shirts. Ask to remove the cap equipment, install the flat or garment setup, load the next item, and return to the original arrangement. The procedure may be manageable, but it adds operator time and requires organized storage of compatible parts.
Test the same logo in the versions prepared for each product. A file that works on a flat shirt is not automatically optimized for a curved cap. Compare the final placement, lettering, registration, and surface appearance after unloading. Record which garment, cap style, support, thread, and design version produced the approved result. This gives later repeat orders a practical specification and avoids treating the machine name as the only variable that determines quality.
Store the cap and garment settings with the corresponding samples. Clearly identify each file version and compatible equipment. This prevents a successful shirt setup from being reused on a cap without the changes required by its different construction.
Frequently Asked Questions
Can any embroidery machine sew structured caps?
Do not assume that. Check the exact cap system, clearance and machine compatibility with the assembled cap.
Is the cap field the same as the flat field?
No such assumption should be made. Obtain the cap driver and frame specifications separately.
Can I reuse a shirt design without changes?
It may need cap-specific preparation. Evaluate sequence, support and the real cap seam in a full sample.
Should I use another machine’s speed and feed settings?
No. Follow the exact model guidance and a tested setup for the cap and design.
What should a cap demonstration include?
Loading, alignment, tracing, a complete stitchout, unloading and inspection on the exact blank style.
Final Recommendation
Choose a complete cap system if structured hats are part of the recurring work, and prove the shirt process separately. Compare the S1001, BRAVO, or exact BAi configuration through actual products and a full quotation. Choose a flat-work-only machine only when the intended offering does not require cap capability.