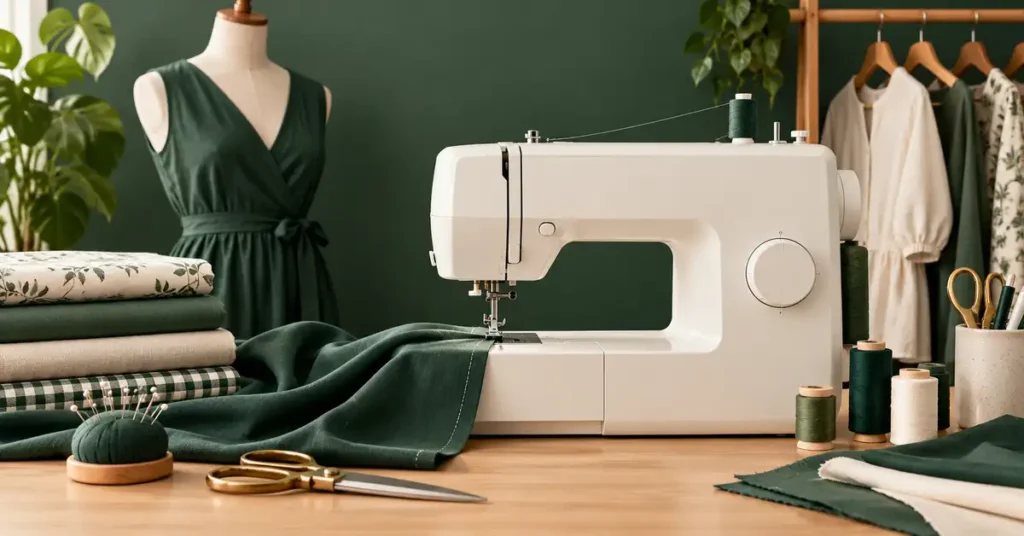
The best sewing machine for home use should suit the work, available space, and frequency of sewing in your household. A machine stored between repairs needs a different setup from one used daily for garments or quilts. This guide compares mechanical and computerized choices, explains what ordinary home sewing actually requires, and connects the purchase to workstation planning so your machine becomes a usable tool rather than an inconvenient acquisition.
As an Amazon Associate, Practical Textile earns from qualifying purchases. Product links may earn us a commission.
Quick Answer
Compare Brother GX37 for direct mechanical sewing, Brother CS5055 for electronic stitch selection, and Singer 9960 when additional electronic conveniences justify the cost and space. Choose by the tasks performed regularly. None of these machines automatically digitizes and hoop-embroideries a downloaded logo.
This guide compares published specifications and project fit; it does not report hands-on testing.
Brother GX37
Check storage, controller comfort, and actual utility seams.
Brother CS5055
A display does not imply every automation feature.
Singer Quantum Stylist 9960

Compare controls you will use and the complete package.
Check Price on AmazonThis offer bundles the Singer 9960 with a SteamCraft Plus 2.0 iron. Other 9960 offers may not include the iron.
Start With the Weekly Sewing
| Home task | Useful priority | Candidate |
|---|---|---|
| Occasional woven repairs | Simple setup and controllable starts | GX37 |
| Mixed household sewing | Visible electronic stitch selection | CS5055 |
| Frequent varied projects | Useful finishing and pace controls | 9960 |
Brother GX37: Keep Ordinary Sewing Direct
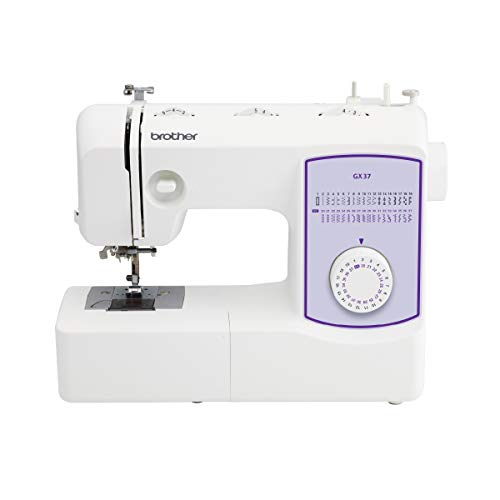

The GX37 provides mechanical stitch selection for a general household role. Compare it when the work is familiar utility sewing and direct dials suit you. Ask to thread it, wind a bobbin, start slowly, and make a buttonhole on supported project fabric. A simple interface still needs clear instructions.
Storage and setup affect how often a home machine is used. A unit that is awkward to reach or place securely can discourage a short repair. Try the complete routine, including controller placement and moving the machine safely, instead of judging only the demonstration on a permanent showroom table.
Brother CS5055: Understand the Specific Electronic Features
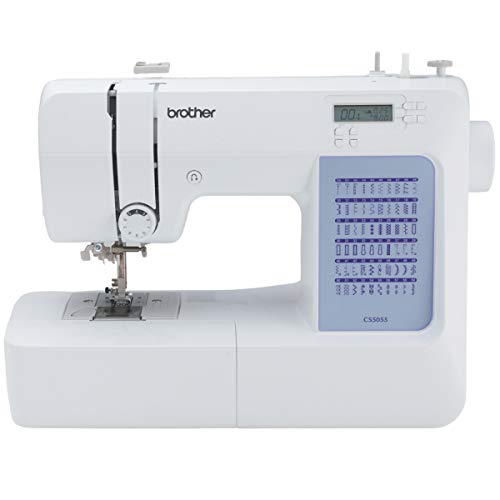
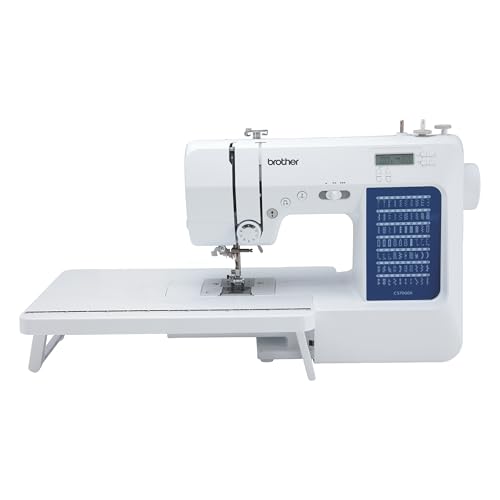
The CS5055 offers computerized stitch selection with a display. It does not add a speed slider, start/stop operation, automatic thread cutting, or a memorized needle-stop key. This matters if the reason for choosing electronics is a particular convenience rather than simply a clearer selection interface.
Its household role can suit varied utility projects when the actual controls meet your needs. Compare the stitches you expect to use, not the whole decorative menu. Select a basic seam, change the setting, and return without assistance. The machine should be understandable after the sales demonstration ends.
Singer 9960: Pay for Conveniences That Remove Repeated Work
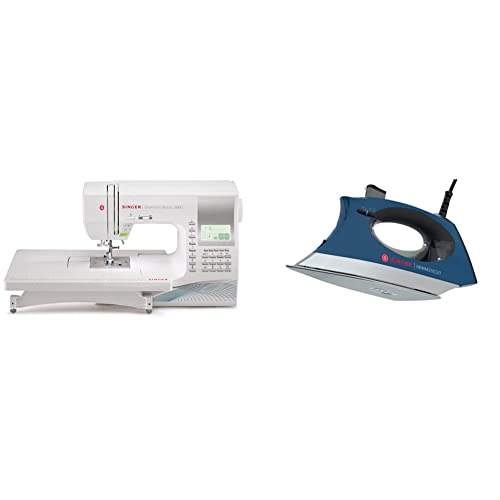
The 9960 deserves comparison when electronic pace control, needle positioning, automatic cutting, and a broad selection serve frequent sewing. A machine used once a month may not justify those additions in the same way as one used for repeated garment construction.
Check whether the actual table and supplied feet fit the room and projects. Decorative sewing and lettering remain different from automatic embroidery. If a downloaded logo is the goal, choose a documented embroidery category instead of assuming the largest household stitch count answers that need.
Five Advantages to Seek and Two Practical Limits
- Routine stitches that match the household’s actual repairs.
- A control layout you can operate independently.
- Accessories that cover recurring construction tasks.
- Clear documentation and accessible support.
- A station that can be set up securely and comfortably.
Two limitations remain important: household machines do not cover every heavy production operation, and a wide table cannot enlarge internal clearance. The choice should fit the material and construction as well as the room.
Use our pants repair guide, clothing comparison, and quilting guide to define the tasks. The GX37 review, Brother range, and operating-style comparison explain the candidate differences.
Project Preparation and a Repeatable Sewing Setup
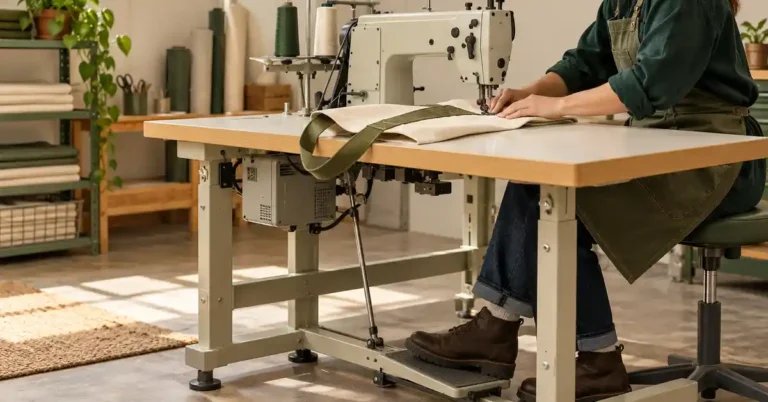
A home machine must fit its operating space as well as its storage shelf. The following workstation checks connect the model shortlist to stable support, comfortable positioning, and an organized routine that makes everyday sewing practical.
Measure the working footprint, not just the machine body
Place the machine on a temporary suitable surface with the accessories you expect to use. Include an extension table, embroidery attachment, hoop travel, spool stand, and access to the bobbin area where relevant. A stored machine may fit a narrow shelf even though its working arrangement needs much more clear space.
Make a simple paper plan of the room. Mark chair movement, drawers, doors, electrical outlets, and walking routes. A table that technically fits between two walls may prevent you from reaching a side compartment or pulling the chair back. Check how a heavy machine will be moved into position before ordering furniture with a recessed opening.
If two operations share the surface, plan the changeover. A cutting mat, pressing area, and sewing machine all need space, but placing every tool permanently on the same small table can leave no usable fabric support. Decide what will be stored temporarily and what must remain accessible during sewing.
Compare a flat surface with a recessed cabinet
A flat desk is flexible and can serve more than one purpose. The machine’s sewing bed sits above the desk, so an extension table may help create surrounding support. Check that the machine’s feet sit securely and that any mat or accessory does not make the setup less stable. A padded surface is not automatically a cure for vibration.
A recessed cabinet can place the sewing bed closer to the surrounding work surface, but the opening, lift, and insert need to suit the exact machine. Confirm compatibility through the cabinet and machine documentation. A cabinet described as fitting most machines may still require a model-specific insert or have limits on weight, depth, or attachment clearance.
For embroidery, verify that the attachment and hoop can operate in the intended position. A cabinet arrangement that works for ordinary sewing may not provide appropriate access or movement for embroidery. Ask for the configuration you will actually use rather than relying on a photograph of a different machine in the same cabinet.
Test stability with the intended load
Read the manufacturer’s load and use instructions. Consider the machine, accessories, stored supplies, and the weight of the work resting on the surface. Do not assume a general furniture weight rating proves suitability for the movement of an operating machine. Keep the legs or locks configured exactly as the furniture instructions require.
Check for wobble on the actual floor and inspect any adjustable feet. A thick rug, uneven board, or damaged leg connection can change stability. If the table moves during ordinary operation, stop and resolve the cause before working at higher speed. Adding unrelated heavy objects to the tabletop is not a substitute for a suitable stable structure.
For a folding table, confirm that the locking arrangement is fully engaged and that cables or stored objects cannot interfere with it. For a wheeled cabinet, use the intended locking system and follow its operating instructions. A convenient mobile setup still needs a secure working position before sewing begins.
Arrange the chair, pedal, and lighting together
Sit at the table with the machine in place. Check that you can see the needle area, guide the fabric, and operate the pedal without reaching awkwardly. There is no one table height that suits every person, chair, or machine bed. Evaluate the combined arrangement rather than buying from a single height recommendation without trying it.
Keep knee space clear of drawers and stored boxes. Place the pedal where it remains stable and usable, and route the cable so it does not create a trip or snagging point. The surface should let you guide fabric without resting its whole weight on a small unsupported edge.
Check lighting with the machine switched on in the intended working location. A task lamp can help where the room light casts a shadow, but keep it clear of moving attachments and hot pressing tools. Manage cables and plug arrangements according to the equipment instructions instead of stretching cords across the work area to reach a distant outlet.
Plan storage around the sequence of work
Keep frequently used tools accessible without placing them in the path of the fabric. Needles, bobbins, presser feet, and the manual can be organized near the machine. Store sharp items safely and avoid open containers that catch thread or fabric edges. A shallow organized drawer can be more useful than a large bin whose contents must be emptied to find one foot.
Keep pressing, cutting, and sewing surfaces distinct when heat or sharp tools could damage the furniture. A tabletop is not automatically suitable as an ironing surface. Follow the furniture and pressing-tool instructions. A temporary arrangement should still protect the surface and keep hot equipment away from unstable storage areas.
For a shared room, define a short setup and closing routine. Confirm locks, clear cables, position the machine, and put tools away securely after use. That routine can make a compact workspace practical without leaving a half-assembled sewing station where someone else needs to walk or work.
Organize parts and routine care
Keep compatible bobbins, feet, needles, and tools identified by model. Follow the manual’s cleaning and lubrication directions; not every machine requires user oiling in the same places. Remove lint only through the access and methods described by the manufacturer. Avoid guessing which screws or covers are intended for ordinary user maintenance.
Photograph a known working setup and keep the manual accessible. For a specialist foot, store a successful sample and its settings with the accessory instructions. This turns the part into a repeatable tool instead of an unfamiliar object that must be rediscovered each time. Return the machine to an appropriate ordinary-sewing setup after the project is complete.
Distinguish the parts that hold, feed, and form the stitch
The presser foot holds the work in the sewing area, while the feed dogs help move it according to the machine’s feeding arrangement. The needle carries the upper thread through the material, and the hook and bobbin system participate in forming the stitch. These parts interact, so a symptom visible at the fabric does not automatically identify one faulty component.
The needle plate is also sometimes called a throat plate. Check the terminology in your manual rather than treating two familiar names as proof of two different parts. Plates can differ in opening shape and intended use. A narrow straight-stitch opening should not be assumed to permit a wide zigzag stitch.
The upper take-up and tension path is separate from presser foot pressure. A loose-looking stitch and a fabric-feeding problem therefore need different initial questions. Inspect threading and the sample before changing thread tension; inspect feeding, layer handling, and foot settings before assuming the fabric needs to be held more tightly.
For an occasional-use machine, keep a small setup card with the correct bobbin type, threading reference, and successful utility-stitch settings. Store the controller and essential feet together. Returning to sewing after several weeks should not require guessing which parts belong to the machine. A modestly equipped station that can be restored confidently may be more useful than a complicated package that stays packed away because setup feels uncertain.
Frequently Asked Questions
Is a mechanical machine enough for home use?
It can be when the intended seams and controls are provided. Mechanical operation is not automatically inferior for repairs, and computerized operation is not automatically easier for every person.
Do I need embroidery capability?
Only when automatic hoop designs are part of the plan. Ordinary repairs and garment seams do not require it. Adding that mode can change cost, space, and workflow.
What matters for a shared room?
Measure the operating arrangement, storage, lifting routine, controller position, and fabric support. A machine that fits while stored may need substantially more space during work.
Should I buy the largest accessory bundle?
Compare the compatible items you will actually use. Duplicate basics do not compensate for a missing control, suitable table, clear manual, or workable service route.
What is the best first test at home?
Complete a small real project using its intended fabric. Include threading, bobbin winding, stitch changes, and the finishing functions influencing the purchase, then save a successful sample and settings.
Final Recommendation
Choose GX37 for a suitable direct-control workflow, CS5055 for useful electronic selection, or 9960 when its conveniences improve repeated work. The best home machine is the one that fits the tasks and a comfortable station, with enough instruction to use it consistently.