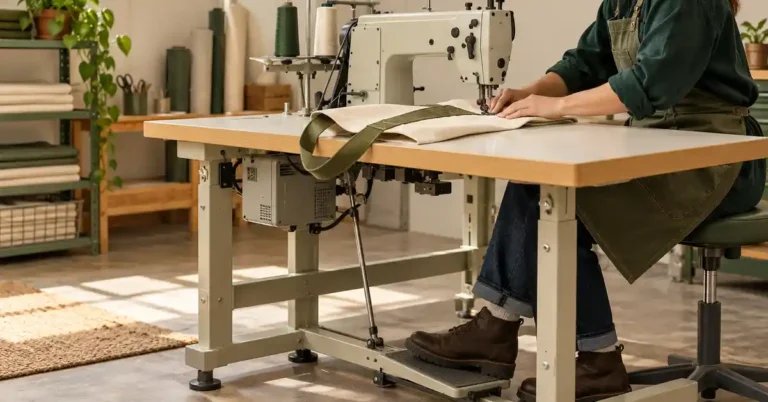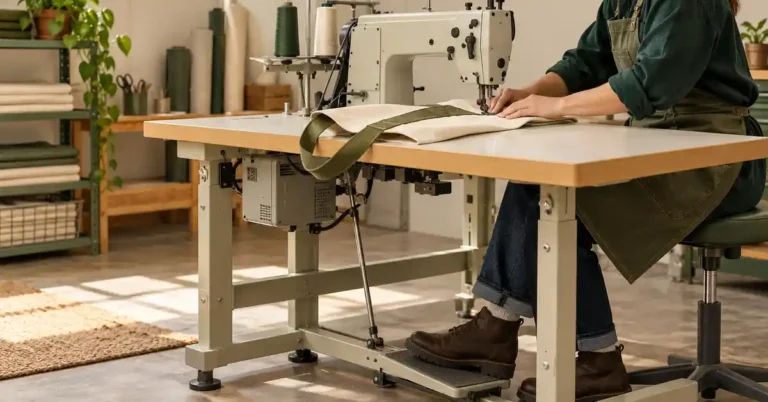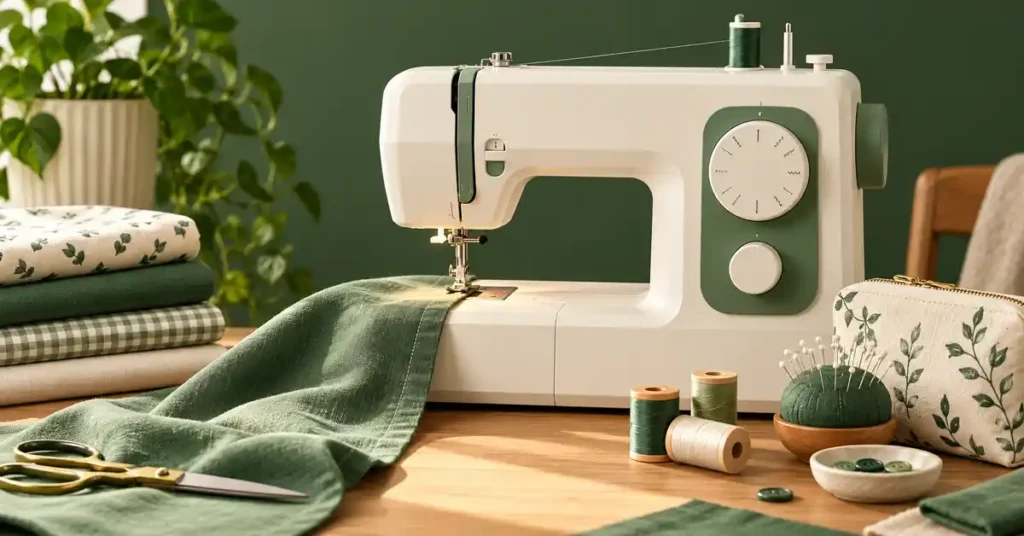
The best sewing machine under $1,000 should remove a limitation you can name, such as awkward speed control, repeated trimming, or inadequate project support. Spending the full allowance does not automatically improve every seam. This guide compares useful household upgrade paths, explains the difference between machine price and workstation cost, and connects the decision to quilt construction so you can choose features around projects rather than a premium marketing label.
As an Amazon Associate, Practical Textile earns from qualifying purchases. Product links may earn us a commission.
Quick Answer
Compare Juki HZL-F300 for electronic conveniences and box feed, Singer 9960 for a different feature-rich household package, and Brother XR9550 when a simpler complete offer already meets the work. Treat the ceiling as a maximum, not a target. Verify the current delivered price and required optional accessories.
This guide compares published specifications and project fit; it does not report hands-on testing.
Juki HZL-F300
No verified Amazon offer is linked for this model; read the buying checks below.
Add optional table and knee-lifter costs when required.
Singer Quantum Stylist 9960

Evaluate useful functions and supplied accessories.
Check Price on AmazonThis offer bundles the Singer 9960 with a SteamCraft Plus 2.0 iron. Other 9960 offers may not include the iron.
Brother XR9550
Do not pay more if the actual needs are already met.
Name the Upgrade Before Choosing It
| Recurring difficulty | Useful comparison | Check |
|---|---|---|
| Repeated finishing motions | Automatic cutting and needle positioning | Exact function and operating sequence |
| Short detailed seams | Electronic pace control | Comfortable starts and stopping |
| Layered projects | Feed, suitable feet, and support | Representative sandwich and handling |
Juki HZL-F300: Compare the Whole Station
The F300 offers electronic controls, automatic cutting, and box feed. These features can matter for repeated sewing, but they should be tested on the operation that currently causes difficulty. The mechanism’s name is not a substitute for a sample of your fabric and seam.
The wide table and knee lifter are optional unless the seller includes them. Add those costs before comparing with an already equipped package. A showroom machine can display accessories not included in the base offer, so request a written inventory.
Singer 9960: Functions Need a Purpose
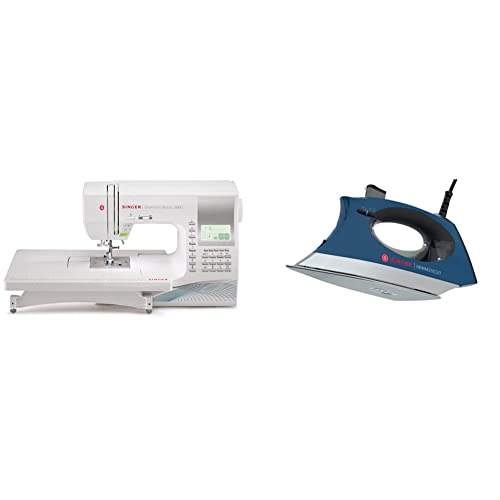
The 9960 provides a broad computerized household comparison. Its controls and finishing conveniences deserve attention when they improve a task you repeat. A larger stitch library is less persuasive if the main requirement is handling a bulky quilt or starting a short seam slowly.
Navigate the usual settings yourself and make a complete sample. Ask how the selected stitch behaves after a change or restart according to the manual. The value is an interface you can use consistently, not a demonstration that only an experienced salesperson can reproduce.
Brother XR9550: Keep the Unspent Budget
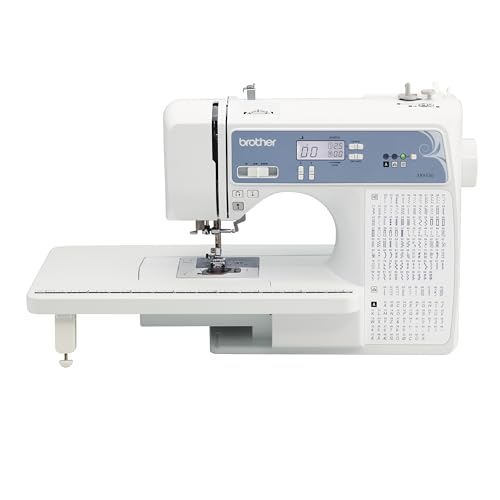

The XR9550 offers a speed slider and table package for household sewing and quilting. It belongs in the comparison even when you can spend more. If its actual controls and sample results meet the need, the remaining budget can support instruction, materials, or a better workspace.
Check the foot inventory rather than assuming all quilting accessories have the same role. Sewing lettering is not automatic hoop embroidery. If embroidery is essential, compare that category separately instead of expecting an expensive general sewing machine to acquire it through software alone.
Five Upgrade Benefits and Two Remaining Limits
- Controlled pace can improve the comfort of detailed work.
- Needle positioning helps manage planned pivots.
- Automatic cutting can reduce repeated finishing motions.
- Suitable feet and support can improve project handling.
- Usable instruction helps make the functions repeatable.
Two limits remain: no household feature list establishes unlimited heavy-material capacity, and a table does not enlarge the internal working space. Decide whether those boundaries still fit the project before paying.
For comparison, read our Janome guide, Brother range, and quilting guide. Our quilted jacket example and operating-style comparison help define the actual requirement.
Project Preparation and a Repeatable Sewing Setup
Quilt construction provides a practical way to test whether an upgrade improves repeated work. The following binding and T-shirt-quilt checks identify material and handling requirements that a feature list alone cannot resolve for the buyer.
Types of Binding
When it comes to quilt binding, there are several popular methods to choose from. Each type has its own advantages and is suited for different styles of quilting.
Single-fold binding is the simplest form, made from strips of fabric folded in half. This type is usually suitable for lightweight quilts or wall hangings.
Double-fold binding is more common for quilts. The fabric strip is folded in half and then pressed, creating a finished edge on both sides when sewn. This method provides more durability and a polished look.
Bias binding is cut on the diagonal of the fabric and is particularly useful for quilts with curved edges. This type of binding allows the fabric to stretch and conform to shapes more easily.
Preparing the Binding
Preparation is key for successful quilt binding. Here’s a step-by-step guide on how to prepare your binding strips.
For double-fold binding, cut strips of fabric that are 2.5 inches wide. You’ll need enough strips to go around the perimeter of your quilt, plus a little extra for good measure. Calculate the total length needed by measuring the quilt’s sides and adding them together.
If your quilt is large, you may need to sew multiple strips together to create a long enough piece. To join strips, place two strips right sides together at a 90-degree angle and sew diagonally from corner to corner. Cut the excess fabric and press the seam open.
Fold the binding in half lengthwise with the wrong sides together and press. This will create a clean edge for sewing.
Attaching the Binding
Once your binding is prepared, it’s time to attach it to your quilt. Follow these steps for a clean finish.
Starting at the center of one side of the quilt, align the raw edge of the binding with the raw edge of the quilt. Leave a few inches of the binding hanging off the end, and pin it in place.
Using a straight stitch, sew the binding to the quilt, maintaining a 1/4-inch seam allowance. Remove the pins as you sew, and ensure the binding stays aligned with the quilt edges.
When you reach a corner, stop sewing 1/4 inch from the edge. Lift the presser foot and pivot the quilt. Fold the binding up to create a mitered corner, then bring it back down and continue sewing along the next edge.
Finishing the Binding
After attaching the binding to the front of the quilt, you’ll need to finish it on the back side.
Fold the binding over to the back side of the quilt, covering the stitching line. Pin or clip it in place to secure.
Using a straight stitch, sew the binding down on the back side. You can either sew close to the edge of the binding for a more visible stitch or closer to the quilt for a more concealed look.
Once sewn, give the binding a final press to ensure it lays flat and looks polished.
Common Issues and Solutions
Even experienced quilters encounter challenges when machine sewing quilt binding. Here are some common issues and how to resolve them.
If you notice that your binding is uneven, it may be due to inconsistent cutting or sewing. Ensure you are using a quilting ruler and rotary cutter for precision.
Fabric bunching can occur if the binding is pulled too tight while sewing. Allow the binding to relax naturally and handle it gently to prevent this issue.
If your binding isn’t laying flat, it could be due to inadequate pressing. Always press your binding at each stage to ensure it lays correctly.
Prepare T-shirts before deciding the block size
Sort the shirts by fabric condition, print size, sentimental importance, and usable panel area. A printed image near a side seam may not provide the same cutting room as one centered on a wide shirt front. Decide what must remain visible, then plan the block around that requirement rather than trimming important lettering to fit an arbitrary grid.
Clean and inspect the shirts as appropriate for their materials before cutting. Check for thin spots, holes, and areas that have stretched. Plan any reinforcement or replacement with the owner before permanently cutting a sentimental item. Photograph the original shirts if preserving a record matters to the project.
Use a stable cutting and support plan for the knit panels. Suitable interfacing or stabilization may help control stretch, but follow the product’s heat, pressure, and application instructions and test a shirt scrap first. Printed or decorated areas may respond differently to heat. Do not fuse directly over an untested print simply because the interfacing instructions permit heat on the fabric itself.
Assemble a T-shirt quilt top deliberately
Choose a grid, framed-block, or other planned layout and calculate the seam allowances. If panels differ in size, add suitable fabric framing as the pattern requires rather than stretching a small panel to fit a larger space. Stable alignment matters more than forcing every graphic into identical dimensions.
Baste or otherwise control the layers when joining stabilized knit panels to woven framing. Use a suitable needle and stitch for the actual combination, and avoid pulling the knit under the foot. Press as the materials allow without flattening or damaging the printed design. Check the top on a flat surface as rows are added so a growing distortion is caught early.
Plan the quilting around the materials and design. A dense stitch pattern over every print may not be necessary or appropriate, but insufficient quilting can also fail to support the chosen batting and layers. Follow the batting’s maximum spacing guidance and the pattern’s construction. Test the proposed quilting on a representative panel before working across a valuable graphic.
Prepare the layered quilt for machine work
Make sure the backing and batting are sized and arranged for the quilting method. Keep the top smooth without stretching it out of shape. Baste using a suitable method and check that the layers remain aligned. A clean flat preparation is easier to manage than trying to correct large folds while the quilt is already under the machine.
Support the quilt’s weight around the sewing area. A wide table beside the needle can help, but the rest of the fabric should not pull downward off a small desk. Work in a manageable order and reposition calmly. A larger quilt is a material-handling task as well as a stitching task.
Use the documented setup for straight-line or free-motion quilting. Those methods involve different foot and feed arrangements. A sample should include the actual batting, backing, top, and any stabilized knit. Inspect both surfaces and check for trapped folds before quilting a large section.
Finish binding with a full-layer sample
Before attaching binding to the quilt, make a small practice edge with the same layer thickness. Check the cut binding width, attachment seam, fold coverage, and final stitching position together. A binding width copied from another project may not wrap the new stack in the same way.
For corners and the final join, follow one consistent demonstrated method rather than combining partially remembered instructions from different constructions. Mark stopping points where the method requires them. A small corner sample helps you understand the folds without the weight of the whole quilt making the task harder.
After the binding is complete, inspect the back for missed sections. A tidy line on the front does not prove the lower folded edge was caught all the way around. Correct a local gap with a suitable secure finish and check neighboring stitches. Avoid trimming close to a join until the completed edge has been inspected.
Keep a project worksheet
Record the pattern or original layout, cut sizes, seam allowance, fabric preparation, batting, backing, and quilting method. Keep one sample of the layered stack and binding. This is especially useful when a quilt takes several sessions or combines donated T-shirts whose materials differ.
For a rag quilt, add the clipping and cleaning notes from the sample. For a T-shirt quilt, record the stabilization method and any prints that require special care. The worksheet helps preserve the reasoning behind the construction, rather than leaving the finished quilt with only a general washing guess.
Frequently Asked Questions
Should I spend the entire $1,000?
No. Choose the supported setup that meets the work. Remaining money can improve materials, instruction, lighting, or support more usefully than extra functions without a project purpose.
Is every shortlisted offer inside the ceiling?
Check the exact current package. Tax, delivery, condition, and optional accessories can change the total. A comparison candidate is not a guarantee that every seller qualifies.
Does box feed replace a walking foot?
Do not treat feed names and accessories as interchangeable. Check the mechanism, compatible foot, and project instructions, then test the actual stack and finished seam.
Can these machines finish large quilts?
Handling depends on bulk, design, internal space, support, and technique. Test a representative sandwich and movement rather than inferring capacity from a table photograph.
What makes an upgrade worthwhile?
A clear improvement in a recurring task, supported by comfortable operation and repeatable samples. Identify the current limitation first so the purchase solves something specific.
Final Recommendation
Compare F300, 9960, and XR9550 around the limitation you want to remove. Calculate the complete station and keep spending proportional to the benefit. A well-chosen upgrade changes the work you do repeatedly, not just the number of features available.