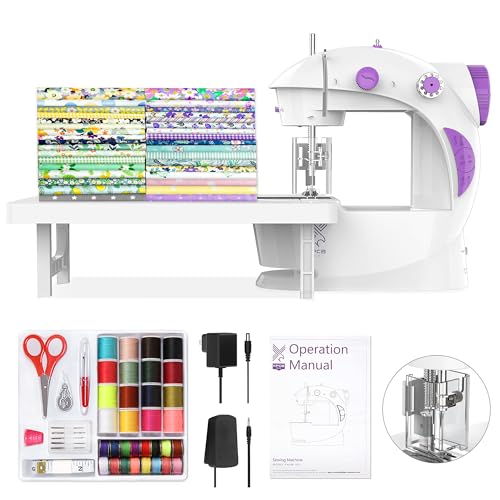
Are you tired of dust settling on your sewing machine or struggling to find a way to protect it from accidental spills? A DIY sewing machine cover is not only a practical solution but also an opportunity to express your creativity. With a little fabric and some basic sewing skills, you can create a cover that fits your machine perfectly while reflecting your personal style. In this article, we’ll guide you through the process of making a custom sewing machine cover that will not only protect your machine but also add a touch of charm to your sewing space.
Materials Required
Before you get started, gather the necessary materials to ensure a smooth sewing experience. Here’s a list of what you’ll need:
| Material | Quantity | Notes |
|---|---|---|
| Fabric | 1-2 yards | Choose a fabric that complements your sewing space. |
| Batting or Fleece | 1-2 yards | For extra padding and protection. |
| Thread | 1 spool | Match the thread to your fabric. |
| Scissors | 1 pair | For cutting fabric. |
| Measuring Tape | 1 | To measure your sewing machine. |
| Iron | 1 | For pressing fabric and seams. |
Measuring Your Machine
The first step in creating a custom sewing machine cover is to measure your machine accurately. This ensures that the cover fits snugly and provides the necessary protection. Here’s how to do it:
1. Measure the Width
Measure the widest part of your sewing machine from left to right.
2. Measure the Depth
Measure the depth of your machine from the front to the back.
3. Measure the Height
Measure from the base to the highest point of the machine, including any attachments.
Cutting the Fabric
Once you have your measurements, it’s time to cut your fabric. Here’s a simple guide to follow:
1. Calculate the Dimensions
Add a 1-inch seam allowance to all sides of your measurements. This will give you extra fabric to sew the edges neatly. For example, if your machine is 18 inches wide, you will cut the fabric to 20 inches wide.
2. Cut the Fabric
Using your measurements, cut out the main fabric pieces and the batting. You will need:
- Two pieces for the sides (width x height)
- One piece for the top (width x depth)
- One piece for the front (depth x height)
3. Cut the Batting
Cut the batting or fleece to the same dimensions as your fabric pieces. This will provide additional insulation and protection for your sewing machine.
Sewing the Cover
Now comes the fun part—sewing your custom cover! Follow these steps to sew your cover together:
1. Attach the Batting
Layer your fabric pieces with the batting. Place the batting underneath the fabric and pin them in place. This will keep the batting aligned while you sew.
2. Sew the Sides
Start by sewing the side pieces to the top piece. Place the right sides of the fabric together, aligning the edges, and sew along the seams.
3. Attach the Front
Next, attach the front piece to the sides and top. Again, make sure the right sides are together and sew along the edges.
4. Finish the Edges
To ensure durability, finish the edges of your seams with a zigzag stitch or a serger. This prevents fraying and adds a professional touch.
Adding a Personal Touch
Your sewing machine cover is an opportunity to showcase your personality. Here are a few ideas to customize your cover:
1. Embroidery
Add some embroidered designs to your cover. You can use designs from Merry and Bright Embroidery Designs to create a festive look or personalize it with your name or initials.
2. Pockets
Consider adding pockets on the front or sides of your cover for storing small sewing accessories. This not only adds functionality but also makes your cover more unique.
3. Fabric Paint or Appliqué
Use fabric paint or appliqué to add fun designs or patterns that reflect your style. This can include anything from floral motifs to geometric shapes.
Finishing Touches
After you’ve sewn your cover and added personalized touches, it’s time to finish it up:
1. Press the Cover
Use an iron to press your seams flat, giving your cover a polished look. Be sure to use the appropriate heat settings for your fabric type.
2. Inspect Your Work
Check for any loose threads or unfinished edges. Make any necessary adjustments to ensure your cover is neat and tidy.
3. Fit the Cover
Place the cover over your sewing machine to ensure it fits well. If it’s too loose or tight, make the necessary adjustments before finalizing your project.
FAQ
A: Most fabric covers can be machine washed on a gentle cycle. Be sure to check the care instructions for your specific fabric and allow it to air dry to maintain its shape.
A: Yes! Just ensure that you take accurate measurements of each machine and adjust your fabric pieces accordingly.
A: This project is beginner-friendly! Take it step by step, and don’t hesitate to watch online tutorials for additional guidance.
Conclusion
Creating a DIY sewing machine cover is a practical and enjoyable project that allows you to protect your valuable machine while expressing your creative flair. By following the steps outlined above, you can craft a cover that is both functional and beautiful. Whether you choose to add embroidery, pockets, or unique fabric designs, the result will be a personalized piece that enhances your sewing experience. So gather your materials and get started on this rewarding sewing adventure!
For more sewing inspiration and projects, check out these links: