An elastic waistband can be made with an enclosed casing or by attaching suitable elastic directly to the garment. The method changes the cutting allowance, sewing sequence, and way the waist stretches for dressing. This guide explains both approaches, shows how to plan a practice example, and helps you avoid twisting, uneven gathers, and a waistband that fits while worn but will not pass over the hips. Check your sample.
Quick answer
Choose the waistband method before cutting. Fit the actual elastic, allowing for its join, and confirm that the complete opening stretches enough for dressing. For a casing, provide enough room for the elastic to lie flat and leave an insertion opening. For an attached method, use a stitch and elastic suited to the required stretch. Test the finished waistband construction on a sample first.
Compare casing and attached methods
A casing encloses the elastic inside a fabric channel. It can allow later elastic replacement when access is planned, and it keeps the elastic away from direct skin contact. The channel must be wide enough for the elastic and correctly finished. A casing that is too narrow encourages folding or twisting; an excessively loose channel may allow unwanted movement.
An attached method stitches the elastic to a garment edge or waistband component according to a particular construction. It can control the elastic’s position and create a different appearance, but it also asks the seam to stretch as required. An ordinary non-stretching straight seam should not be assumed to suit a waist that must expand considerably when dressing.
Choose from the garment and material requirements rather than treating one method as universally more professional. A comfortable gathered skirt, fitted activewear garment, and pair of woven lounge pants have different construction needs. Read the pattern instructions and make a representative sample when changing the specified waistband style.
| Method | Useful characteristic | Main planning check |
|---|---|---|
| Enclosed casing | Elastic can remain free inside | Channel width and dressing access |
| Exposed elastic waistband | Elastic contributes to the visible finish | Edge attachment and stretch recovery |
| Sewn-in elastic construction | Can keep position controlled | Suitable elastic and seam behavior |
| Separate fabric waistband with casing | Allows a distinct waist section | Correct circumference and seam allowances |
Measure the body and the dressing opening
Measure where the waistband will sit, not automatically at a general size-chart waist point. Also measure the widest area the closed garment must pass over. A waistband can feel comfortable once in place but fail to stretch far enough to be pulled on. This is particularly important when a woven garment has no separate opening.
Fit the actual elastic temporarily before cutting away all extra length. Allow for the intended overlap or join and test it in the position where it will be worn. Elastic products with the same width can differ in firmness and recovery. A fixed instruction to subtract the same number of inches from every waist measurement is therefore not a reliable universal rule.
Check the garment’s fabric opening too. Stretchy elastic cannot make a non-stretch fabric ring larger than its sewn circumference. If the fabric waist opening is too small to pass over the hips, the design needs a suitable opening or a different construction. Stretching the elastic harder does not change that fabric limit.
Plan a casing example accurately
For a simple illustrative casing, suppose the elastic is three-quarters of an inch wide. The channel needs additional space to move freely, plus the chosen raw-edge fold or seam allowance. The exact allowance depends on fabric thickness and construction. Calculate the folds on paper and test a short sample rather than making the channel exactly the same width as the elastic.
If turning the garment edge into a casing, mark the first narrow fold and the final casing depth. If using a separate waistband, account for its attachment seam as well. Clearly distinguish finished width from cutting width. Mixing those measurements can produce a channel that is too narrow even when the original arithmetic looked correct.
Consider how seams will sit inside the channel. An unfinished bulky allowance can obstruct the elastic-threading tool. Press or arrange the allowances as the construction requires and keep the insertion opening accessible. A small amount of planning here can prevent the elastic from catching halfway around a nearly finished garment.
Sew an enclosed casing
Prepare the fabric edge according to the chosen method, pressing or basting the folds if the material permits. Sew the casing line evenly, leaving a clearly marked opening for the elastic. Keep the width consistent around the garment. A narrow section at one seam can stop the elastic even when the rest of the casing is roomy enough.
Secure one end of the elastic so it cannot disappear into the channel. Feed the other end through with a suitable safety pin or threading tool, moving the fabric along gradually. Keep the elastic flat. If it twists, correct it before joining the ends rather than hoping the gathers will hide the twist.
Temporarily join or overlap the ends and try the garment. Check comfort, recovery, and dressing access. Once satisfied, make the permanent join using a method appropriate to the elastic and machine. Stretch the join gently to inspect it, distribute the gathers, and only then close the insertion opening.
Sew an attached elastic waistband
Read the pattern’s exact method and use an elastic intended for that application. Some elastic products are suited to being stitched through differently from others. Choose a compatible needle, thread, and stretch-capable stitch according to the material and machine instructions. Test the seam through the amount of stretch the garment needs before sewing the complete waist.
Divide the elastic and garment waist into matching sections. Match those points, then distribute the material between them. Stretch only the part the method requires while keeping the garment fabric controlled. Pulling both layers indiscriminately can distort the waist and make the stitch line uneven.
Sew at a manageable pace and keep the elastic clear of accidental folds. Stop to check the underside before continuing around the whole waist. If the pattern requires turning the elastic inward and stitching again, test that complete folded construction too. A seam that stretches correctly before the second pass may behave differently after the final fold.
Use a suitable ordinary sewing setup
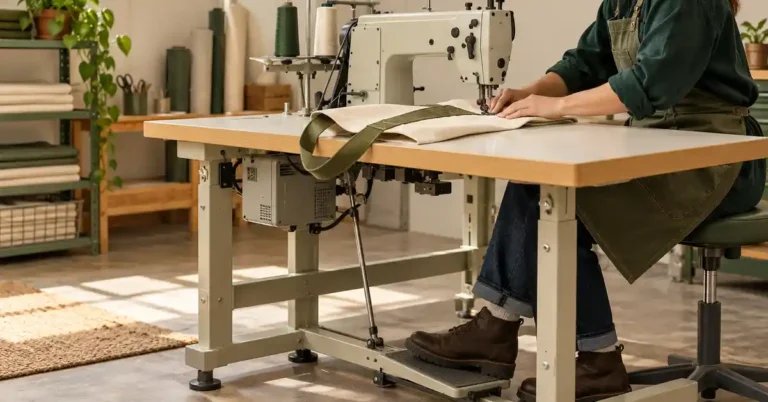
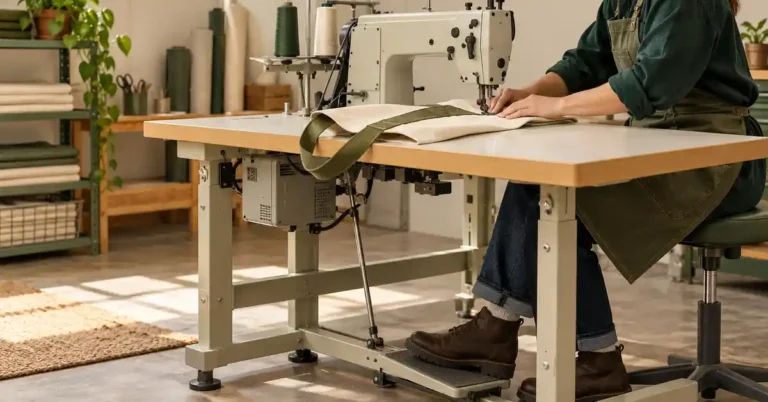
Many elastic waistbands can be made on a suitable domestic sewing machine. The phrase elastic waistband does not establish that you need a separate specialist machine. Production equipment can serve particular high-volume operations, but the ordinary home construction should be chosen from the garment method and the capabilities documented for your machine.
For sewing through stretch materials, check the appropriate needle point and stitch rather than assuming the thread alone provides stretch. A suitable seam is a combination of fabric, needle, thread, stitch formation, and handling. Test recovery after stretching the sample and inspect for skipped stitches or a seam that remains wavy.
Presser foot pressure, where user-adjustable, is different from thread tension. Use the documented control and record the starting point before making a change. If the model does not provide that adjustment, choose supported techniques and accessories. Do not turn an unidentified screw to imitate a feature described on another machine.
Distribute and control gathers
After joining the elastic, spread the gathers evenly around a casing. Place the garment on a flat surface and compare corresponding sections. A dense bunch at one side can make the garment hang unevenly even when the elastic length is correct. Section marks make it easier to restore a balanced distribution.
Some constructions include small securing stitches at selected seams to reduce movement. Use them only where suitable and keep enough stretch for dressing. Stitching across every part of a free-moving casing can unintentionally change the waistband into another construction. Decide what should remain free before adding extra lines of stitching.
Try the garment while sitting and moving, not only while standing in front of a mirror. Check that the waist does not roll, dig in, or allow the garment to slide excessively. Make changes while the insertion opening or unfinished seam still provides access. It is easier to adjust a temporary fit than a fully enclosed waistband with many decorative rows.
Troubleshoot common waistband problems
| Problem | Check first | Useful correction |
|---|---|---|
| Elastic twists in the casing | Threading and channel width | Reopen, flatten, and reassess the channel |
| Waist will not pass over hips | Fabric opening and elastic extension | Add suitable access or correct the construction |
| Stitching breaks | Required stretch and stitch choice | Make a new representative stretch sample |
| Gathers are uneven | Section matching and distribution | Redistribute before adding securing stitches |
| Waist feels stiff or bulky | Material stack and elastic choice | Reduce unnecessary layers or choose a better method |
Do not correct an uncomfortable waistband only by making it tighter. First identify whether the problem is rolling, insufficient recovery, an unsuitable position, or excessive bulk. A tighter loop can hide one symptom while making dressing and comfort worse. Record the result of a fitting change before applying it to another garment.
Plan for care and later replacement
Follow the care needs of the fabric, elastic, and trims together. Elastic recovery can change with use and care, so inspect a favorite garment’s waistband rather than assuming its original length remains appropriate indefinitely. Replace deteriorated elastic with a compatible product and reassess the fit.
When designing an accessible casing, keep a note of the elastic width and join method. That makes later replacement more straightforward. If the waistband is attached permanently, understand that changing the elastic may require opening more stitching. Repair access is a useful design choice, but it should not leave an unfinished opening that catches or unravels during wear.
Check the fabric opening before cutting the elastic shorter
Make a paper note of two different measurements: the comfortable wearing position and the opening needed for dressing. Then check the actual sewn fabric circumference and the elastic’s usable extension. A woven opening can remain the limiting factor even when the elastic stretches readily.
If the garment does not pull on, identify which component stops first. Shortening the elastic may make the wearing fit tighter without solving the access problem. A suitable opening or construction change can be more relevant than another adjustment to the elastic loop.
For a second version, keep the successful elastic product and casing or attachment sample identified. A replacement with the same nominal width may have different recovery or firmness. Repeat the fitting and full-edge sample where the material or method changes, rather than treating one original cut length as the permanent pattern for every waistband.
This distinction also helps troubleshooting: twisted elastic, an uneven casing, and insufficient dressing access are different faults. Solve the observed construction problem instead of applying the same tighter-loop response to all three.
FAQ
How much shorter should elastic be than the waist?
There is no universal subtraction. Fit the actual elastic at the intended position, include the join allowance, and test comfort and recovery. Different products and garment styles behave differently, so use the pattern and a temporary fitting rather than a fixed rule.
Why can the waistband fit but not pull on?
The elastic or fabric opening may not extend enough to pass the widest dressing point. A woven fabric ring has a limit independent of the elastic inside it. Check both measurements and add a suitable opening when the design requires one.
Do I need a special elastic waistband machine?
Many ordinary waistbands can be made on a suitable domestic machine with the correct construction and supported stitch. Specialist production machines address different operations and volume. Start with the actual garment method and the documented capabilities of your equipment.
Can I sew through any type of elastic?
Check the elastic manufacturer’s intended use and the pattern method. Products differ in construction and how they behave when stitched. Test the actual elastic and seam through the needed stretch before applying it to the garment.
Should the elastic remain loose inside a casing?
In a free-moving casing method, it should lie flat and move as intended. Some patterns include selected securing stitches. Follow the construction deliberately rather than adding extra stitching everywhere, which can change the behavior and restrict stretch.
Conclusion
Choose the waistband method early, fit the actual elastic, and test the full construction for dressing as well as wearing. Keep the channel even, the elastic untwisted, and the stitch suited to the needed stretch. Those checks produce a more dependable result than applying one elastic-length formula to every garment.
Reference and further instructions
Use the exact machine manual, pattern instructions, and material care directions for your project. The techniques and original practice examples in this guide should be sampled with your own materials. Linked designers retain ownership of their patterns; download their current instructions from the original source.