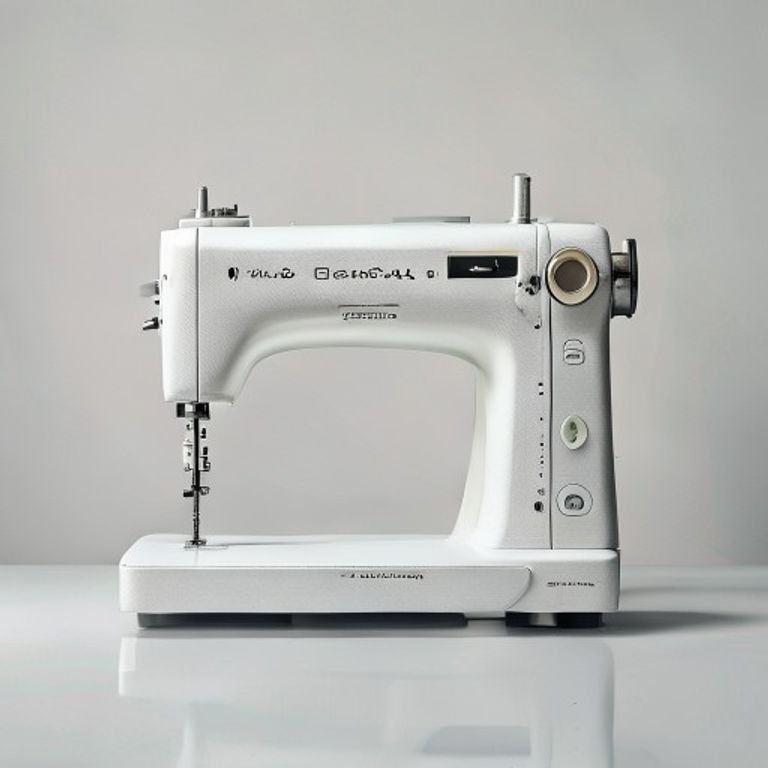
Sewing machines have transformed the way we create and craft, making it easier for both beginners and seasoned professionals to bring their ideas to life. Among the many components that ensure the smooth operation of these machines, the power switch plays a critical role. Understanding how the sewing machine power switch works, along with its importance and maintenance, can significantly enhance your sewing experience. This article delves into everything you need to know about sewing machine power switches, ensuring you can operate your machine safely and effectively.
Table of Contents
- What is a Sewing Machine Power Switch?
- Types of Power Switches
- How to Use the Sewing Machine Power Switch
- Troubleshooting Common Issues
- Maintenance Tips for Sewing Machine Power Switches
- FAQs
What is a Sewing Machine Power Switch?
The sewing machine power switch is a simple yet essential component that controls the operation of the machine. It allows the user to turn the machine on and off, providing a safe and convenient way to manage its operation. Typically located on the front or side of the machine, this switch can either be a toggle, button, or foot pedal, depending on the model and brand.
Types of Power Switches
Understanding the different types of power switches can help you choose the right sewing machine or troubleshoot issues with your current model. The following are the most common types:
Toggle Switch
A toggle switch is a simple on/off switch that provides a clear indication of the machine’s status. This type is often found on traditional sewing machines.
Push Button Switch
Push button switches are increasingly common in modern sewing machines. They tend to be more compact and can sometimes control multiple functions, including speed settings.
Foot Pedal Switch
The foot pedal switch is popular among quilters and seamstresses who prefer hands-free operation. By pressing the pedal with your foot, you can start and stop the machine, allowing you to concentrate on guiding the fabric.
How to Use the Sewing Machine Power Switch
Using the sewing machine power switch is straightforward, but it’s essential to follow proper procedures for safety and optimal performance.
Turning On the Sewing Machine
- Ensure that the sewing machine is properly plugged into a power source.
- Locate the power switch—whether it’s a toggle, push button, or foot pedal.
- If using a toggle or push button, switch it to the ‘On’ position. For a foot pedal, simply press down on the pedal.
Turning Off the Sewing Machine
- Stop the sewing process by releasing the foot pedal or switching off the toggle/push button.
- Unplug the machine from the power source for added safety, especially when performing maintenance or changing needles.
Troubleshooting Common Issues
Even the best sewing machines can have issues with their power switches. Here are some common problems and how to troubleshoot them:
Power Switch Not Responding
If your power switch isn’t responding, check the following:
- Ensure the machine is plugged into a functional outlet.
- Inspect the power cord for any visible damage.
- Check if the fuse or circuit breaker has tripped.
Foot Pedal Malfunction
If your foot pedal isn’t working:
- Ensure it is correctly plugged into the machine.
- Examine the foot pedal for any broken parts or wear.
- Test the foot pedal with another sewing machine, if possible, to confirm if the issue is with the pedal or the machine.
Maintenance Tips for Sewing Machine Power Switches
Regular Cleaning
Dust and debris can accumulate around the power switch, potentially causing it to malfunction. Use a soft cloth to clean the area regularly. For more thorough cleaning, refer to your sewing machine’s manual.
Inspect for Damage
Periodically check the power switch and cord for any signs of damage or wear. Look for frayed wires, cracks, or loose connections, and address any issues immediately.
Use Surge Protectors
To protect your sewing machine from power surges, consider using a surge protector. This can help prevent damage to the power switch and other electronic components.
FAQs
A: If the power switch feels loose, it may require tightening or replacement. Consult your sewing machine’s manual for specific instructions or visit a professional technician.
A: If you are comfortable with basic electrical repairs, you may replace the power switch yourself, but it is recommended to seek professional help to avoid any risks.
A: Cleaning the power switch area should be done regularly—ideally every few weeks—to prevent dust and debris buildup.
In the world of sewing and embroidery, understanding and maintaining your sewing machine’s power switch is crucial for optimal performance. Whether it’s a toggle, push button, or foot pedal, each type serves the same fundamental purpose—allowing you to control your machine easily and safely. By familiarizing yourself with the functionality, troubleshooting techniques, and maintenance tips outlined in this article, you can ensure that your sewing machine remains in excellent condition for years to come. Remember, a well-maintained machine contributes to beautiful creations, whether you’re working on a stunning embroidery project or transforming your table with one of the many stunning embroidery kits available.
For enthusiasts interested in enhancing their sewing skills, consider exploring resources like Naturally Stunning Embroidery Fit for a Queen!, or dive into Transform Your Table with These Stunning Embroidery Kits!. If you’re on the hunt for the best materials, you might find Perle 8 Embroidery Thread: A Crafter’s Dream Come True! to be a perfect match for your projects. And for those considering a new machine, check out our reviews on the Singer Embroidery Machine Futura and the Brother NQ3550W Sewing and Embroidery Machine.