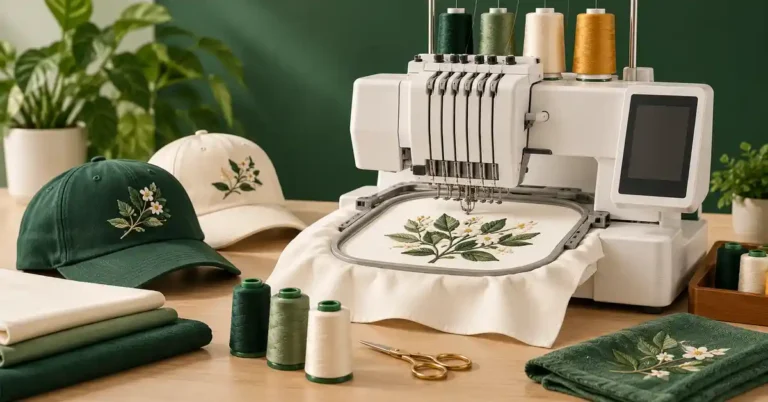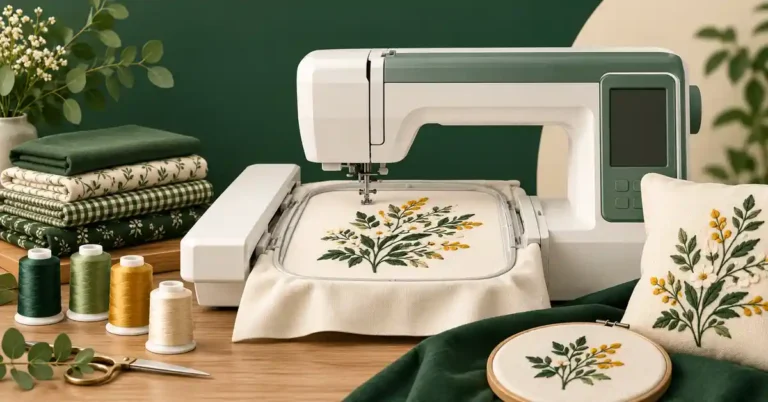
Embroidery machine digitizing is a crucial skill for anyone looking to elevate their embroidery projects. It transforms digital images into stitch files that sewing machines can interpret, allowing for intricate designs to be reproduced with precision. As the world of embroidery continues to evolve, understanding the nuances of digitizing becomes increasingly important for hobbyists and professionals alike. This comprehensive guide will delve into the fundamentals of embroidery machine digitizing, its benefits, and tips for getting started.
What is Embroidery Machine Digitizing?
Embroidery machine digitizing is the process of converting artwork into a format that embroidery machines can read. This process involves creating a digital file that contains specific instructions on how the embroidery machine should stitch the design, including stitch types, order, and density. Digitizing is essential for ensuring that the final embroidered product accurately reflects the original design.
Importance of Digitizing in Embroidery
Digitizing plays a significant role in the embroidery process for several reasons:
- Precision: Proper digitizing ensures that the design is accurately reproduced on fabric, maintaining the integrity of the original artwork.
- Efficiency: Well-digitized designs can be stitched quickly and efficiently, minimizing thread breaks and fabric damage.
- Customization: Digitizing allows for customization of designs, enabling embroidery enthusiasts to create unique pieces tailored to their needs.
The Digitizing Process
The process of digitizing involves several key steps that ensure the final product is of high quality. Below are the primary stages involved in digitizing:
1. Image Selection
The first step in digitizing is selecting the right image or design. High-resolution images are preferable, as they provide more detail for the digitizing process. It’s essential to consider the complexity of the design, as intricate images may require more advanced techniques to digitize effectively.
2. Choosing the Right Software
Once you have your image, the next step is selecting the appropriate digitizing software. There are many software options available, ranging from beginner-friendly to advanced professional choices. Some popular options include:
| Software | Best For | Price Range |
|---|---|---|
| Wilcom Embroidery Studio | Professional digitizers | High |
| Embird | Intermediate users | Medium |
| SewArt | Beginners | Low |
3. Understanding Stitch Types
Different types of stitches are used in embroidery, and understanding their applications is vital for successful digitizing. Common stitch types include:
- Satin Stitch: Ideal for borders and lettering, providing a smooth finish.
- Fill Stitch: Used to fill larger areas with a series of overlapping stitches.
- Running Stitch: A simple stitch often used for outlines and drawing effects.
4. Testing and Refinement
After digitizing your design, it’s crucial to test it on fabric. This step helps identify any issues with stitch density, thread breaks, or overall design appearance. Based on the test results, you may need to refine the design. This may involve adjusting stitch types, density, or even the order in which stitches are applied.
Common Mistakes in Digitizing
Even experienced digitizers can make mistakes that may compromise the quality of the final product. Here are some common pitfalls to avoid:
- Neglecting Fabric Type: Different fabrics react differently to stitches; failing to consider this can lead to poor-quality results.
- Improper Stitch Density: Too dense can cause fabric puckering, while too sparse may lead to gaps in coverage.
- Ignoring the Stitch Order: The order in which stitches are applied can affect how the design looks and how easily it can be embroidered.
Best Practices for Successful Digitizing
To ensure the best results from your digitizing efforts, consider the following best practices:
- Invest in Quality Software: Choosing the right software can significantly impact the quality of your digitized designs.
- Practice Regularly: The more you digitize, the better you will understand the nuances of different designs and fabrics.
- Seek Feedback: Sharing your designs with others can provide valuable insights and help you improve your skills.
Frequently Asked Questions
A: For beginners, SewArt is a highly recommended software due to its user-friendly interface and affordable price.
A: It depends on your skill level and the complexity of the design. If you’re just starting, you might consider hiring a professional until you gain more experience.
A: Consider the stitch type and design complexity when selecting fabric. Cotton and canvas are great for most embroidery projects, while stretchy fabrics may require special considerations.
In conclusion, embroidery machine digitizing is an essential skill for anyone looking to take their embroidery projects to the next level. With the right tools, techniques, and practice, you can create stunning designs that truly reflect your artistic vision. Whether you are a hobbyist or a professional, understanding the fundamentals of digitizing will empower you to produce high-quality embroidered pieces that stand out. For those looking for inspiration or additional resources, check out our reviews on the PE570 Brother embroidery machine, or explore Bernina embroidery machine prices to find the right fit for your needs. Don’t forget to check our Top Picks for Best Embroidery Digitizing Services for professional assistance, or consider looking into the Brother embroidery machine hat attachment for customizing hats. For those contemplating the MT 1501 Embroidery Machine Price, our comprehensive review will help you make an informed decision.