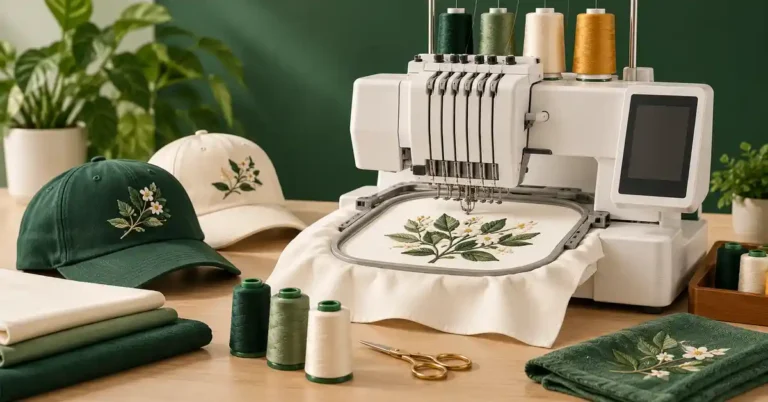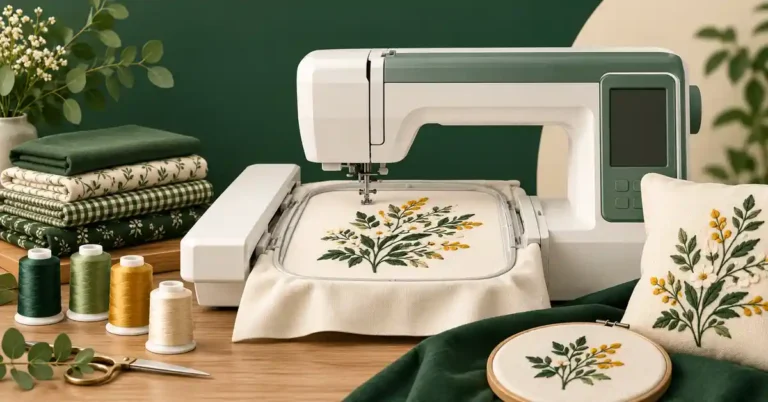
Embroidery machines have transformed the world of sewing, allowing both beginners and seasoned professionals to create intricate designs with ease. However, one of the pivotal aspects that can significantly affect the quality of your embroidery is the machine tension. Understanding how to adjust and maintain your embroidery machine tension is essential for achieving flawless results. In this article, we will delve into the intricacies of embroidery machine tension, why it matters, and how to ensure your projects turn out beautifully.
What is Embroidery Machine Tension?
Embroidery machine tension refers to the amount of pull exerted on the upper and lower threads during the embroidery process. Proper tension ensures that the threads work harmoniously, creating a balanced stitch that appears smooth and professional. Each embroidery machine model may have different tension settings, and understanding how to manipulate these can make a significant difference in your projects.
Types of Tension
Embroidery machines typically feature two types of tension: upper tension and lower tension. The upper tension is controlled by a dial or knob, while the lower tension is usually fixed in the bobbin case. Both need to be adjusted correctly to achieve optimal results.
Importance of Tension in Embroidery
The significance of proper tension cannot be overstated. Incorrect tension can lead to various problems, impacting the overall quality of your embroidery. Here are a few reasons why maintaining the right tension is crucial:
1. Prevents Thread Breakage
When tension is too tight, it can cause the thread to snap during stitching, leading to interruptions and frustration. On the other hand, if the tension is too loose, the thread may not create a consistent stitch, resulting in looping or puckering.
2. Ensures Even Stitching
Correct tension allows for even stitches that lie flat against the fabric. This is particularly important for intricate designs, where uneven stitching can detract from the overall appearance.
3. Reduces Puckering
Puckering occurs when the fabric gathers unevenly due to incorrect tension. This can be a significant issue, especially with lightweight fabrics, as it can ruin the design and make the finished product look unprofessional.
How to Adjust Embroidery Machine Tension
Adjusting the tension on your embroidery machine is a straightforward process, but it requires attention to detail. Here’s a step-by-step guide to help you make the necessary adjustments:
1. Gather Your Supplies
Before you begin, make sure you have the following items:
- Your embroidery machine
- Embroidery thread
- Fabric for testing
- Tension adjustment tool (if necessary)
2. Check Your Thread Type
The type of thread you use can influence the tension settings. For instance, rayon, polyester, and cotton threads all have different tension requirements. Be sure to consult your machine manual for recommended settings based on thread type.
3. Adjust Upper Tension
Start by adjusting the upper tension dial. If you notice that the top thread is too tight, loosen the tension by turning the dial counterclockwise. Conversely, if the stitches appear too loose, increase the tension by turning the dial clockwise.
4. Adjust Lower Tension
Lower tension adjustments are typically made on the bobbin case. To increase tension, tighten the screw on the bobbin case; to decrease tension, loosen it. Be cautious, as small adjustments can lead to significant changes in stitch quality.
5. Conduct a Test Run
After making adjustments, run a test stitch on a scrap piece of your chosen fabric. Evaluate the stitch quality and make further adjustments as needed.
Common Tension Issues and Solutions
Even with the best practices, you may encounter some common tension issues. Here are a few problems and their corresponding solutions:
| Issue | Symptoms | Solution |
|---|---|---|
| Thread Breakage | Frequent snapping of upper or lower thread | Check and adjust upper tension. Ensure thread is threaded correctly. |
| Puckering | Fabric gathers unevenly | Loosen upper tension. Use stabilizers if necessary. |
| Uneven Stitches | Stitches appear loose or tight in patches | Check both upper and lower tension settings. Test different thread types. |
| Looping | Thread loops on the underside of the fabric | Tighten upper tension. Ensure the bobbin is correctly wound and inserted. |
Best Practices for Maintaining Tension
To ensure consistent results with your embroidery projects, follow these best practices for maintaining proper tension:
1. Regular Maintenance
Keep your machine clean and well-oiled according to the manufacturer’s instructions. Regular maintenance can prevent many tension-related issues.
2. Use Quality Threads
Invest in high-quality embroidery threads. Cheap threads can lead to breakage and inconsistent tension, affecting the overall quality of your work.
3. Monitor Fabric Types
Different fabrics require different tension settings. Always adjust your tension based on the type of fabric you are using to avoid issues.
4. Document Settings
Keep a record of your tension settings for different fabrics and threads. This will save you time in the future and help you achieve consistent results.
FAQ
A: It’s recommended to check your tension settings before starting a new project or when changing threads or fabrics.
A: Yes, using the wrong needle size or type can affect tension. Always choose the appropriate needle for your thread and fabric.
A: Uneven bobbin winding can cause tension issues. Ensure the bobbin is properly inserted and the thread is wound evenly and tightly.
A: If stitches are breaking or fabric is puckering, the tension may be too tight. If there are loops or uneven stitches, it may be too loose.
In conclusion, mastering embroidery machine tension is essential for anyone looking to create high-quality embroidery projects. By understanding the fundamentals of tension, how to adjust it properly, and maintaining best practices, you can avoid common pitfalls and achieve stunning results. Whether you are an experienced embroiderer or just starting, take the time to experiment with your machine settings and enjoy the creative process.
For more insights into embroidery, check out our articles on Exploring the Best Embroidery Fonts for Hats, and if you’re in the market for a new machine, see our Review: PR600 Embroidery Machine. Transform your projects with our guide on Top Quilting & Embroidery Machine and discover Embroidery Machine Easy to Use for Beginners and Pros. If you need to make space, learn How to Sell Embroidery Machine Fast: Top Tips & Tricks.