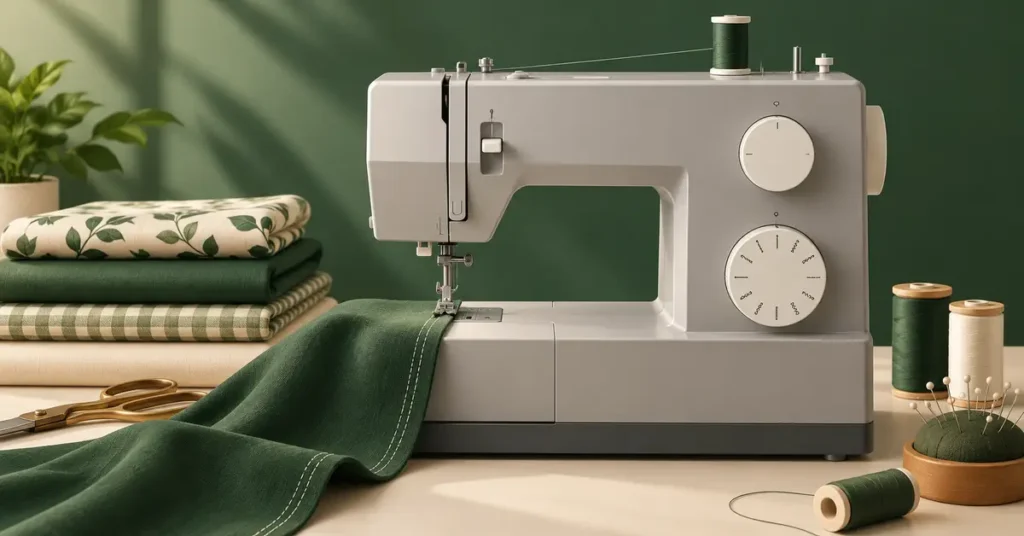
The Singer Tradition 2277 offers a mechanical route into household sewing, but its value depends on the actual offer and condition as much as the feature list. A refurbished or used machine needs different checks from a complete new package. This review explains its utility functions, stitch-count terminology, alternatives, and practical starter projects so you can decide whether a supported 2277 purchase makes sense for your regular repairs and sewing.
As an Amazon Associate, Practical Textile earns from qualifying purchases. Product links may earn us a commission.
Quick Answer
Compare the Tradition 2277 when direct mechanical selection and ordinary household functions meet the plan. Singer identifies 23 stitches, 97 applications, a one-step buttonhole, and a needle threader. Check exact condition, accessories, controller, and support before comparing its usable cost with a different machine.
This guide compares published specifications and project fit; it does not report hands-on testing.
Singer Tradition 2277

Confirm current offer, condition, and supplied essentials.
Brother GX37
Evaluate the same utility tasks and complete support package.
Singer Heavy Duty 4423
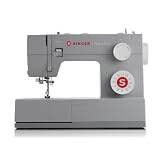
Compare actual controls rather than family resemblance.
Tradition 2277: Features With a Practical Purpose
| Feature | What to check |
|---|---|
| 23 stitches, 97 applications | Selections and uses are different counts |
| One-step buttonhole | Several samples in supported garment fabric |
| Needle threader | Operation with supported needle and thread |
| Length and width adjustment | Settings needed by the project |
| Free arm | The actual opening fits and remains accessible |
What the 2277 Does Well as a Buying Proposition

The Tradition 2277 focuses on mechanical household sewing. Direct selection can be useful for a learner who wants to understand stitch settings without navigating a large electronic menu. That does not make setup automatic: correct threading, bobbin loading, needle choice, and fabric handling remain essential.
The advertised stitch applications describe ways of using the available selection. They should not be compared directly with another machine’s count of independently selectable patterns. Identify the seams in your next project and check that those actual operations are provided.
The one-step buttonhole is useful for simple garments, but the machine does not choose correct interfacing or placement. Make several examples on the intended material, open one carefully, and check the finish. A demonstration on stiff cotton alone may not predict a soft garment’s result.
Condition Can Decide the Value
Older, refurbished, and marketplace offers need a written inventory. Confirm the correct controller, feet, bobbins, manual, covers, and stated service or return arrangement. A photograph of a complete model package does not prove that every item comes with the seller’s unit.
Ask to wind and load a bobbin, rethread the upper path, sew forward and reverse, and demonstrate the buttonhole. Powering on is not enough. If no sewing test is available, include the uncertainty and any inspection cost in the purchase comparison.
Use the model’s documented bobbin and needle requirements rather than borrowing parts from a similar Singer. Accessories that appear to fit are not automatically compatible. Keep the manual and successful sample settings with the machine.
Five Advantages and Two Limitations
- Direct mechanical selection provides a focused interface.
- Length adjustment supports varied utility tasks.
- Width adjustment offers appropriate stitch variation.
- The one-step buttonhole supports ordinary clothing.
- A needle threader assists repetitive setup.
Two limitations deserve attention: this is not an electronic convenience upgrade with every modern control, and the economics of an older offer depend on condition and missing parts. Neither should be hidden behind a low headline price.
Compare the Complete Alternatives
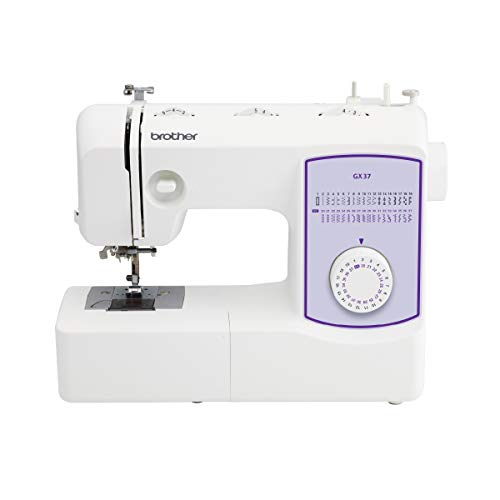

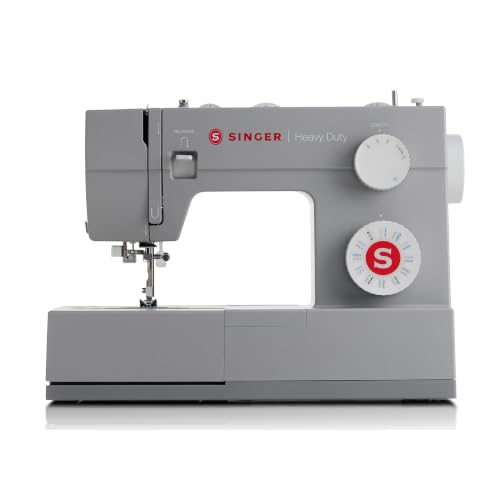
The GX37 and 4423 provide separate mechanical comparisons. Try the same seam, supported buttonhole, and controlled start on each. Compare usable delivered cost, not only the main listing price or number of included accessories.
Our GX37 guide, 4423 review, and Singer Simple comparison explain neighboring choices. Read the scrunchie project, repair guide, and operating-style guide to define a useful starter workflow.
Project Preparation and a Repeatable Sewing Setup
Small elastic-based projects can reveal whether the 2277 setup feels manageable. The following waistband and scrunchie preparation examples support a realistic learning routine without implying that every material or construction belongs within household capacity.
Use a suitable ordinary sewing setup
Many elastic waistbands can be made on a suitable domestic sewing machine. The phrase elastic waistband does not establish that you need a separate specialist machine. Production equipment can serve particular high-volume operations, but the ordinary home construction should be chosen from the garment method and the capabilities documented for your machine.
For sewing through stretch materials, check the appropriate needle point and stitch rather than assuming the thread alone provides stretch. A suitable seam is a combination of fabric, needle, thread, stitch formation, and handling. Test recovery after stretching the sample and inspect for skipped stitches or a seam that remains wavy.
Presser foot pressure, where user-adjustable, is different from thread tension. Use the documented control and record the starting point before making a change. If the model does not provide that adjustment, choose supported techniques and accessories. Do not turn an unidentified screw to imitate a feature described on another machine.
Check the fabric opening before cutting the elastic shorter
Make a paper note of two different measurements: the comfortable wearing position and the opening needed for dressing. Then check the actual sewn fabric circumference and the elastic’s usable extension. A woven opening can remain the limiting factor even when the elastic stretches readily.
If the garment does not pull on, identify which component stops first. Shortening the elastic may make the wearing fit tighter without solving the access problem. A suitable opening or construction change can be more relevant than another adjustment to the elastic loop.
For a second version, keep the successful elastic product and casing or attachment sample identified. A replacement with the same nominal width may have different recovery or firmness. Repeat the fitting and full-edge sample where the material or method changes, rather than treating one original cut length as the permanent pattern for every waistband.
This distinction also helps troubleshooting: twisted elastic, an uneven casing, and insufficient dressing access are different faults. Solve the observed construction problem instead of applying the same tighter-loop response to all three.
Understand the two measurements
The fabric rectangle controls the visible fullness and width. The elastic controls the opening and how the scrunchie stretches around hair. These measurements are related, but they do different jobs. Making the fabric longer creates more gathers; it does not automatically make the elastic grip tighter. Shortening the elastic can make the opening smaller without improving the fabric’s appearance.
For a practice example, cut one woven-fabric rectangle 20 inches long and 4 inches wide. With a quarter-inch seam along the long edges, the flattened tube will be approximately one and three-quarter inches wide before gathering. The exact finished appearance changes with fabric thickness, pressing, and the method used to close the ends. Treat this as a starting sample, not a universal size.
Choose an initial elastic length that you can test comfortably for the intended hairstyle. Allow extra length for an overlap join. Do not fix a universal length from an online recipe without trying the actual elastic: two elastics of the same width can stretch and recover differently. If making a gift, avoid claiming that one size will suit every hair thickness or wearing preference.
Choose fabric for the result you want
Lightweight or medium-weight woven cotton is useful for learning because it usually presses clearly and is easier to control than a slippery surface. A soft draping fabric can produce a different look, but may need more careful cutting and handling. Very thick fabric creates bulky joins, while a fabric that frays heavily requires enough seam allowance and secure stitching.
Choose a fabric that you can wash in a suitable way for a hair accessory. Prewash if the material is likely to shrink or release color, following its care instructions. A small scrap should be long enough for the full rectangle without an accidental weak join. Check for holes, damaged fibers, or unevenly faded areas before using a remnant.
If the fabric has a directional print, consider how it will look when gathered. A long motif may disappear into folds. A strong stripe can make an uneven seam more visible. Neither is a reason to avoid the material, but a small sample lets you decide whether the design works before sewing several accessories from the same fabric.
Gather a small, useful tool kit
You need the fabric, suitable elastic, matching sewing thread, a compatible needle, scissors or a rotary cutter, a ruler, and pins or clips. A safety pin or appropriate elastic-threading tool helps feed the elastic through the tube. A hand-sewing needle is useful for closing a small opening discreetly. An iron can help prepare stable folds when the fabric permits pressing.
A domestic sewing machine that forms a suitable straight stitch can handle many ordinary woven-fabric scrunchies. You do not need a specialist scrunchie machine for this basic method. Check the manual for your needle and thread combination. The rectangle may be small, but the same threading and needle checks still matter when the fabric is thin or slippery.
Set up the work so loose elastic and the turning tool do not become tangled with the pedal or garment area. Keep the cut piece flat and mark the seam allowance if that helps you sew accurately. A consistent narrow seam is easier to turn and close than one that wanders between very small and very large allowances.
Sew the fabric tube
Fold the rectangle lengthwise with the right sides facing each other. Align the long raw edges. Clip or pin them without stretching one edge longer than the other. Mark a quarter-inch seam allowance for the practice version. Begin with a small scrap of the same fabric if the feed dogs tend to catch the edge at the start.
Sew along the long edge, securing the ends appropriately. Leave the short ends open so you can turn the tube. For a first version, use a steady pace and keep the seam allowance even. Do not pull the material behind the foot to help it feed. If the tube twists, stop and flatten the layers before you sew farther.
Check the seam before turning. A missed layer or an extremely narrow section can split when the scrunchie is stretched. Fix any weak section now, when the seam is easy to reach. If you finish or trim the allowance, keep enough material to protect the seam. Bulky or sharply uneven trimming can show through a lightweight fabric.
Turn the tube without damaging it
Use a suitable tube-turning tool or a safety pin attached securely to one end of the fabric. Feed the end gradually through the tube instead of pulling hard at one point. Work a short distance, move the gathered material along, and continue. A narrow tube in thick fabric may simply be too tight to turn conveniently; increasing the fabric width is often easier than forcing it.
Once the right side is out, smooth the seam and check that the tube is not twisted. You may position the seam on one flattened edge or leave it less visible inside the gathers. Press gently if suitable for the fabric, but do not flatten a textured fabric merely to make it look like cotton. The goal is a clean tube with a sound seam.
Turn a small amount of one short end inward to create a finished closing edge. Baste that fold if the fabric refuses to stay in place. Preparing it now can make the final closure easier after the elastic is inside. Keep the other end accessible rather than trying to join the fabric while the elastic is still loose on the table.
Frequently Asked Questions
Does the 2277 have 97 built-in stitches?
Singer distinguishes 23 stitches from 97 applications. Applications describe uses of the selection. Compare the actual stitch chart and required operations instead of treating the totals as interchangeable.
Is the 2277 computerized?
It is a mechanical household model. If electronic speed limiting or automatic trimming is central to the purchase, compare a model that explicitly provides that function.
Can a beginner use it?
A learner can evaluate it through threading, controlled starts, a utility seam, and a buttonhole. Clear instruction and a sound complete machine matter more than a beginner label.
Should I buy a used example?
Only when demonstrated condition, documentation, complete equipment, and total cost justify it against alternatives. Missing controllers or model-specific parts can change the apparent saving.
What is a sensible first project?
Choose a modest task using manageable fabric and a clear construction. Practice the key seam first, then complete the item rather than testing only a few stitches on a scrap.
Final Recommendation
Consider the Tradition 2277 for a supported mechanical household purchase with realistic expectations. Confirm condition and essentials, compare the same utility samples across alternatives, and learn a repeatable setup through a modest project before expanding the workload.