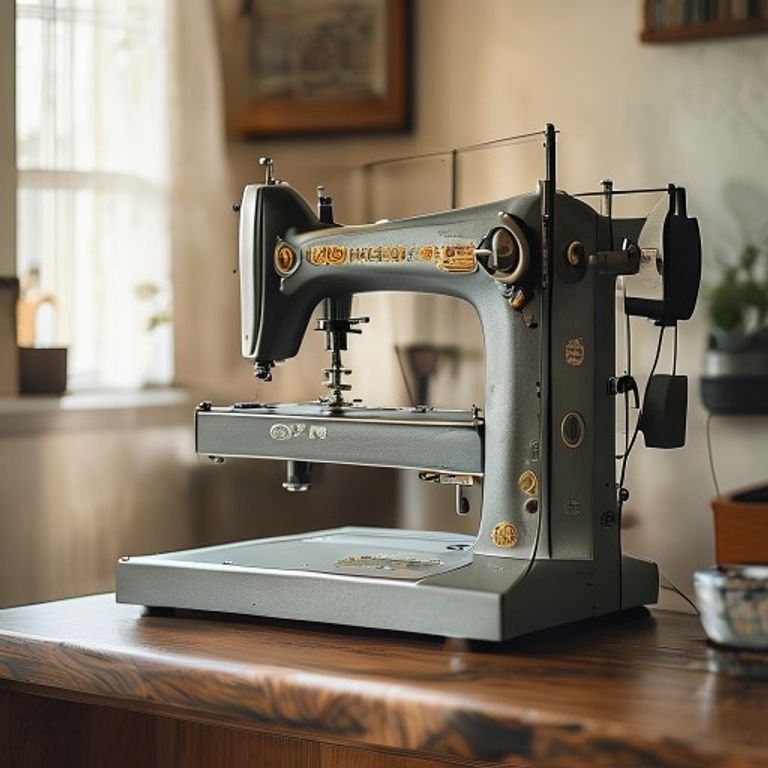
Creating custom patches with an embroidery machine can be a rewarding and enjoyable project for sewing enthusiasts. Whether you’re looking to personalize your clothing, create unique gifts, or even start a small business, learning how to make a patch with an embroidery machine opens up a world of creativity. In this guide, we will delve into the step-by-step process of making patches, the types of materials needed, and tips for ensuring your patches turn out perfectly every time.
Table of Contents
- Materials Needed
- Choosing Your Design
- Hooping Your Fabric
- Stitching the Patch
- Finishing Touches
- Troubleshooting Common Issues
- Frequently Asked Questions
Materials Needed
Before you start making patches with your embroidery machine, gather all the necessary materials. Here’s a list of what you’ll need:
| Material | Description |
|---|---|
| Embroidery Machine | A machine that can create embroidery designs. |
| Stabilizer | Essential for preventing fabric distortion; choose an appropriate type based on your fabric. |
| Embroidery Threads | High-quality threads in various colors for your design. |
| Patch Fabric | Felt, cotton, or twill are popular choices for making patches. |
| Scissors | For trimming excess fabric and threads. |
| Iron | To press your patch after stitching. |
Choosing Your Design
The design is a crucial aspect of making a patch. You can either create your own design or use pre-made embroidery designs available online. When selecting a design, consider the following:
- Complexity: Start with simple designs if you’re a beginner.
- Size: Ensure your design fits within the embroidery area of your machine.
- Format: Check that your design is in a compatible format for your embroidery machine.
Hooping Your Fabric
Hooping is the process of securing your fabric and stabilizer in the embroidery hoop. Proper hooping is essential for achieving clean, precise stitches. Follow these steps:
- Cut a piece of stabilizer slightly larger than your hoop.
- Place the stabilizer in the hoop and tighten it securely.
- Cut your patch fabric to size, making it slightly larger than the design.
- Place the fabric on top of the stabilizer, ensuring it is centered.
- Close the hoop and ensure the fabric is taut.
Stitching the Patch
Once your fabric is hooped, it’s time to start stitching. Here’s how to do it:
- Load your design onto the embroidery machine.
- Select the appropriate thread colors for your design and thread the machine.
- Begin the stitching process. Monitor the machine closely to ensure everything runs smoothly.
- Once the design is finished, carefully remove the hoop from the machine.
Finishing Touches
After stitching, there are a few important steps to finalize your patch:
- Remove the patch from the hoop.
- Trim any excess fabric around the edges of the patch, leaving about a 1/4 inch border.
- Use an iron to press the patch, removing any wrinkles and ensuring the stitches are secure.
- If you plan to use the patches as iron-on, apply fusible web to the back of the patch.
Troubleshooting Common Issues
Even seasoned embroiderers face challenges from time to time. Here are some common problems and how to address them:
- Thread Breaking: Check the tension settings and ensure you are using the right type of thread for your machine.
- Puckering Fabric: Ensure you are using the correct stabilizer for your fabric type.
- Design Not Stitching Properly: Verify that your design is properly digitized and formatted for your machine.
Frequently Asked Questions
A: While you can use various fabrics, it’s best to choose materials like felt, cotton, or twill for durability and ease of use.
A: You can sew the patch onto the fabric or use fusible webbing to iron it on, depending on your preference.
A: A medium-weight cutaway stabilizer works well for most patch projects, but the choice may depend on your fabric type.
A: Yes, you can hand-embroider patches, but using a machine will allow for more intricate designs and faster production.
In conclusion, making a patch with an embroidery machine is a fantastic way to express your creativity and produce personalized items. By gathering the right materials, selecting an appropriate design, and following the outlined steps, you can create beautiful patches to embellish clothing, bags, or other accessories. Remember to troubleshoot any issues as they arise and don’t hesitate to experiment with different designs and techniques. Happy stitching!