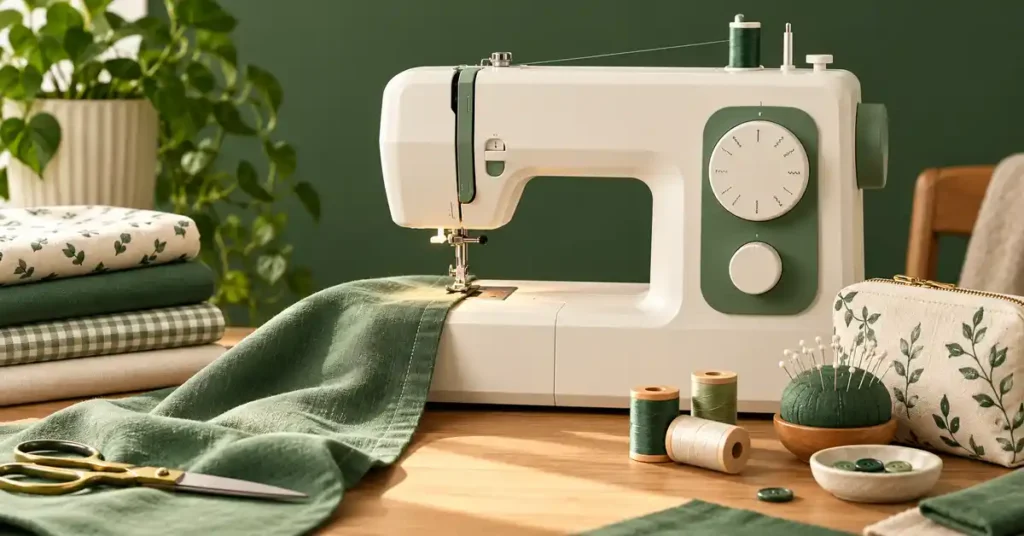
The best sewing machine for bag making depends on the construction, not simply whether the outer fabric is called canvas, cotton, or leather. Linings, interfacing, handles, and folded corners create very different demands. This guide compares household roles for suitable bags and explains complete seam samples, project access, feeding, and preparation so you can choose equipment that fits the items you actually make rather than an attractive flat fabric demonstration.
As an Amazon Associate, Practical Textile earns from qualifying purchases. Product links may earn us a commission.
Quick Answer
Compare the Brother ST371HD for compatible mixed household bag work, the Singer 4423 for mechanical operation with pressure adjustment, and the PQ1600S for a defined straight-stitch station. Dense reinforced bags may require an appropriate industrial feed and access configuration. Test the thickest complete junction and the partly assembled item’s access before buying.
This guide compares published specifications and project fit; it does not report hands-on testing.
Brother ST371HD

Evaluate ordinary utility work and the actual complete seam stack.
Singer Heavy Duty 4423
Compare pressure adjustment and comfortable slow control.
Brother PQ1600S

A narrower station when other required operations are covered.
Compare the Hardest Junction, Not Only the Outer Fabric
A bag can be easy to sew along most of its side seam and difficult where a handle, lining, reinforcement, and folded allowance meet. Make that complete stack before shopping. A smooth sample through two loose layers is not evidence about the finished junction.
| Machine | Bag-making role | Check carefully |
|---|---|---|
| Brother ST371HD | Suitable household bags and utility sewing | Complete stack, accessory fit, and surface feeding |
| Singer 4423 | Mechanical work with pressure adjustment | Pedal control and ordinary domestic limits |
| Brother PQ1600S | Dedicated suitable straight stitching | Other stitches and specialized feeding remain separate |
Brother ST371HD: A General Household Bag Role


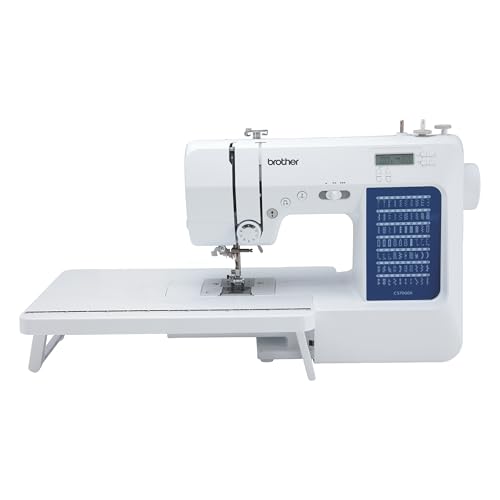
The ST371HD is worth comparing for appropriate fabric bags that also need ordinary utility sewing. A tote with a lining and zipper is a broader household construction than simply sewing a heavy outer panel. The machine should handle each required operation within its intended limits.
Its included nonstick foot can be evaluated on suitable surfaces that resist sliding. That addresses friction rather than adding industrial compound feed. Do not assume the model includes adjustable presser-foot pressure or that a heavy-duty label establishes a universal bag-material capacity.
Try the complete junction, a zipper operation where relevant, and a normal lining seam. Inspect both faces and the movement of the layers. Our Brother machine comparison explains where this role sits beside computerized and specialist options.
Singer 4423: Mechanical Adjustment for Suitable Construction
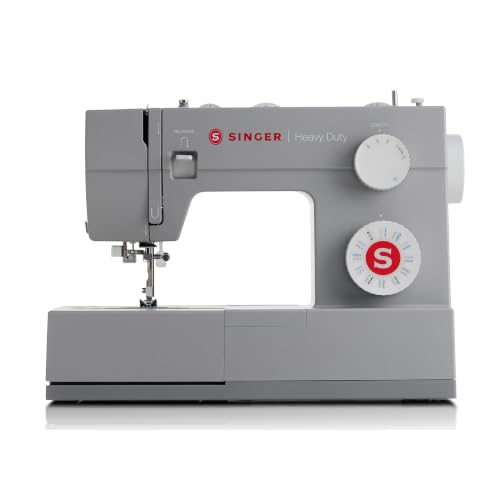
The 4423 provides another mechanical household option with adjustable presser-foot pressure. Evaluate that adjustment with an appropriate needle, thread, foot, and material sample. It is not a way to convert the machine into industrial equipment or safely force an oversized reinforced stack through.
Its available utility stitches can matter when the bag includes fabric components requiring more than straight sewing. Compare the actual operations rather than the larger marketing application count. A useful machine is one that completes the required construction, not the one with a number that sounds most powerful.
Try slow starts at a suitable folded intersection. The model has no independent computerized speed slider. Our 4423 review and 4432 comparison help distinguish related packages without treating stitch count as a thickness rating.
Brother PQ1600S: A Straight-Stitch Station With Boundaries

The PQ1600S can be compared when repeated suitable straight seams deserve a specialist station. Its table and operating controls may support an organized workflow, but the reason to choose it should be a clear recurring operation rather than an expectation that specialization makes every bag material suitable.
It does not provide zigzag or buttonholes. Its pin-feed feature should not be confused with industrial compound walking-foot feed. If your project requires a different mechanism or access shape, compare equipment that actually supplies it.
Plan the second-machine and workspace question before buying. If the lining, closure, or another operation stays on a general-purpose machine, consider how the bag moves between stations. A specialist should improve that process rather than create an awkward changeover for every short seam.
A Partly Assembled Bag Creates an Access Test
A flat panel may fit comfortably while a stiff three-dimensional bag becomes difficult to turn. Review the construction order and identify operations that are easier before assembly. Check whether the needle can reach the intended seam without trapping another layer or forcing the item into position.
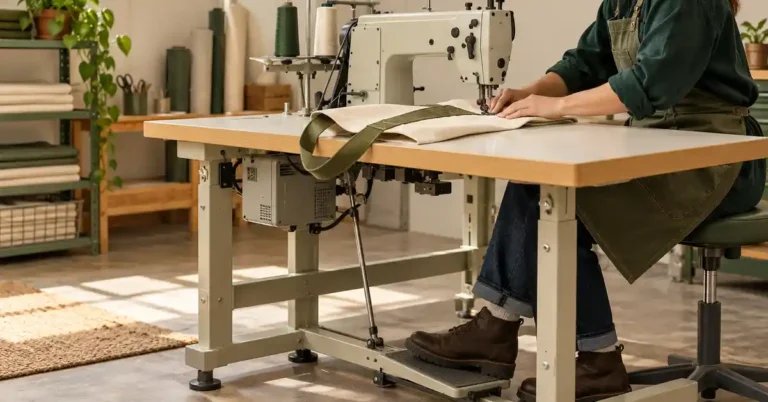
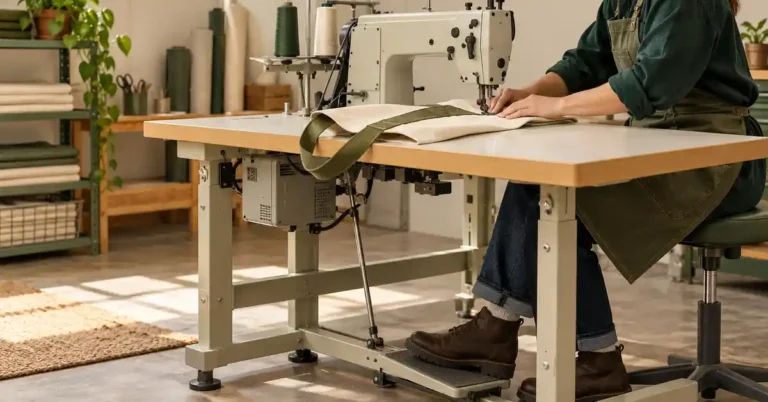
Industrial cylinder-bed and post-bed machines address different access requirements from an ordinary flat-bed household model. Neither is automatically the answer to every bag. Ask a qualified supplier to demonstrate the actual assembly when those requirements determine the purchase.
Do not remove essential reinforcement merely to make a project fit a smaller machine. Structural requirements and intended use should control the design. An attractive line of stitching does not establish a load rating for handles or attachments.
Five Useful Buying Priorities
- Test the complete reinforced junction.
- Include lining and closure operations.
- Match the actual feed system to the material.
- Check access after partial assembly.
- Compare the whole workstation and support.
Two Limits
- A flat scrap is not proof about a finished bag seam.
- Domestic accessories do not establish industrial compound-feed capability.
Choose fabric and support for the job
A stable woven fabric is useful for learning the sequence because it is easier to mark, press, and align than a slippery or highly stretchy material. The fabric still needs to suit the intended item. A light pouch for small cosmetics and a tote intended for heavier contents should not be treated as the same structural project.
Consider whether interfacing or another support is needed. Follow the product’s application and care instructions, and test the actual outer fabric and lining together. Adding a stiff layer can change turning, seam bulk, and the way a small flap folds. More interfacing does not automatically make a bag stronger or more useful.
Prepare the cloth according to its care needs and project plan. Check print direction, color release, and usable fabric width. Keep labels for any support material. The original measurements below are starting examples for an ordinary woven sample, so a substantial change in thickness or construction deserves a new paper and sewing test.
Keep the basic tools simple
Use a ruler, suitable marking tool, scissors or a rotary cutter and mat, matching thread, compatible needle, and pins or clips. A seam gauge helps keep folds consistent. A pressing tool can help where all the materials allow it. You do not need a specialist bag machine for every small woven-fabric project, but the complete layer stack must suit the equipment.
Test the thickest junction before sewing the full item. Handle attachments, folded hems, wallet divisions, and flap edges can contain several more layers than an ordinary side seam. A machine that sews one flat layer smoothly has not yet been tested on the finished construction. Stop if the needle strikes, bends, or struggles.
Compare the three projects before adding complexity
| Project | Main learning task | Useful next variation |
|---|---|---|
| Flat tote | Body seams, top fold, and handles | A tested lining or pocket |
| Envelope makeup pouch | Turning and a lined flap | A suitable supported closure |
| Folded wallet | Pocket placement and divisions | A revised paper layout for actual contents |
Finish one working sample before adding a zipper, boxed base, thick padding, or multiple hardware pieces. Each extra feature can change seam bulk and access. A zipper pouch needs its own opening construction; it is not created simply by sewing a zipper across the envelope flap after the basic item is complete.
Diagnose fit and construction problems
If the finished item is smaller than expected, compare seam allowances and fold lines with the paper plan. If corners will not turn neatly, inspect material thickness and allowance bulk rather than pushing a sharp tool through them. If an opening twists, check grain, alignment, and whether one layer was stretched during sewing.
For a weak handle or pocket attachment, inspect the supporting fabric and full layer stack. More stitches through the same damaged tiny area may weaken it further. Open enough of the construction to repair sound material appropriately or redesign the attachment. A decorative topstitch line should not be assumed to replace structural reinforcement.
Keep an original project record
Save the cut sizes, seam allowance, fold diagram, fabric, support material, and changes you made. Photograph the paper mockup and the finished sample with a ruler where useful. That record makes the second version a controlled improvement rather than another attempt to remember a rectangle size from a loose scrap.
When sharing these practice examples, distinguish them from the original files of other designers. If you choose a published bag pattern instead, keep its name, version, instructions, and use terms with the project. A useful comparison article should help someone find the correct resource without redistributing a creator’s pattern as its own download.
Confirm Parts, Settings and Support
Check the needle system, permitted thread, compatible feet, and correct bobbins for the exact machine. A thicker-looking thread is not automatically suitable for a domestic tension system. Follow the manual and test the complete setup before sewing the final material.
For applicable Brother models, our needle guide and tension guide provide background. Our walking-foot guide helps frame accessory compatibility without treating an attachment as an industrial conversion.
Use our tote, pouch, and wallet construction guide to plan manageable practice projects. Confirm the seller’s return terms, training, service route, and exact package before buying, especially when a used machine needs missing accessories or repair.
Keep Two Different Buying Samples
Retain a sample of an ordinary seam and another of the hardest planned junction. They answer different questions. A difficult reinforced intersection does not erase the usefulness of a household machine for compatible work, while a smooth lining seam does not prove the machine can complete the whole bag.
Label each with the materials and setup used. If the design or reinforcement changes, make the relevant sample again before cutting special fabric. This creates an understood reference for future projects and a clearer question for a seller or service provider.
A Project Check Before You Commit
Check the final assembly step, not only the first panel seam. A bag may sew easily while flat and become awkward when the lining, zipper ends, binding, and side seams meet. Make a practice corner with the actual reinforcement and webbing. Ask to load, turn, and remove it from the machine so the demonstration tests access as well as penetration.
Decide how visible surface marks can be tolerated. Some bag materials retain pressure or feed marks even when the seam is technically sound. Inspect the exterior after the sample rests, and test any proposed foot change on a matching offcut. Record a successful setup before repeating it on expensive pieces. This makes the machine comparison specific to your bag construction instead of a generic claim about sewing many layers.
Frequently Asked Questions
Can a household machine make bags?
Many suitable fabric bags can be made on an appropriate household machine. The complete stack, access, needle and thread requirements, and intended use determine suitability. Dense reinforced construction may require another equipment class.
Is a heavy-duty name enough for leather bags?
No. Leather type, thickness, folded seams, feeding, access, thread, and needle requirements matter. Test the actual construction and compare specialized equipment when the work demands it.
Does every bag need a walking foot?
No. Evaluate the problem and material first. A compatible attachment can help some household layer-control tasks, but it does not replace every feed system or make an unsuitable stack appropriate.
Is the PQ1600S an all-purpose bag machine?
It is straight-stitch-only equipment. Choose it for a defined suitable role and decide how any other required stitches will be handled. Its pin feed is not industrial compound walking-foot feed.
What sample should I bring to a demonstration?
Bring the thickest complete junction with lining, reinforcement, folded allowances, and relevant hardware or zipper material. Include a normal seam too. Ask to evaluate access and handling at the difficult stage of assembly.
Final Recommendation
Choose a bag-making machine through the actual construction. Compare the ST371HD and 4423 for compatible household utility work, and the PQ1600S for a defined straight-stitch station. When feeding or access calls for specialized equipment, begin in that class. A repeatable complete seam and practical assembly sequence are stronger buying evidence than a heavy-looking fabric demonstration.