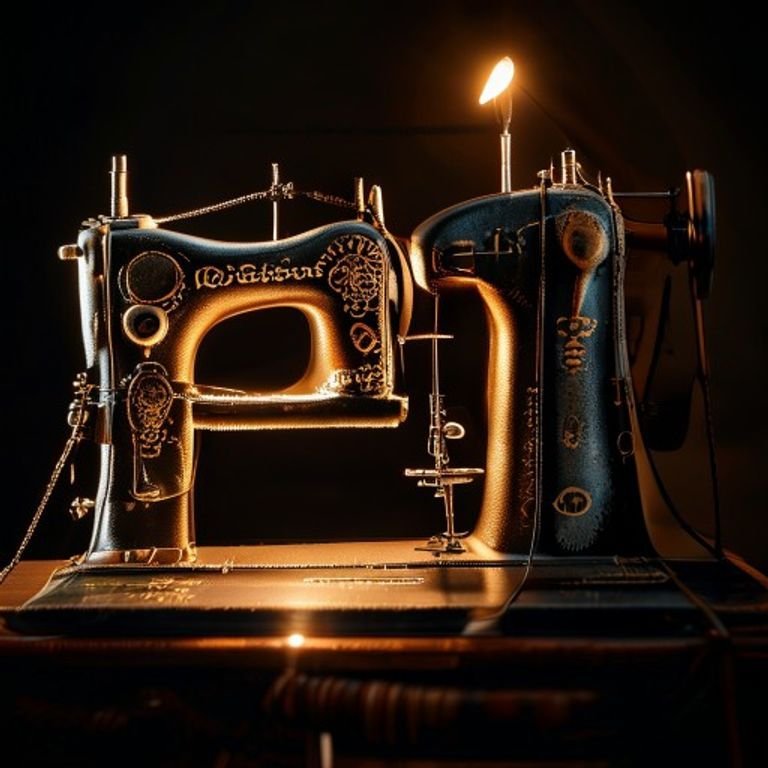
Maintaining your sewing machine is crucial for achieving the best results in your sewing and embroidery projects. One essential aspect of this maintenance is changing the sewing machine needle regularly. A clean and sharp needle is vital for ensuring smooth stitching, preventing fabric damage, and prolonging the life of your machine. In this article, we’ll explore the importance of needle changes, how to do it correctly, and various tips to make the process easier for both beginners and experienced sewists.
Table of Contents
- Why Change Your Sewing Machine Needle?
- When to Change Your Sewing Machine Needle
- How to Change Your Sewing Machine Needle
- Choosing the Right Needle for Your Project
- Caring for Your Needles
- Common Issues Caused by Old Needles
- Frequently Asked Questions
Why Change Your Sewing Machine Needle?
Changing your sewing machine needle regularly is essential for several reasons:
- Quality of Stitching: A dull or damaged needle can create uneven stitches, puckering, or skipped stitches, which can ruin your fabric.
- Fabric Protection: A damaged needle can snag or tear your fabric, leading to costly mistakes.
- Machine Longevity: Using a worn-out needle can cause wear and tear on your machine, potentially leading to more serious mechanical issues.
When to Change Your Sewing Machine Needle
Knowing when to change your sewing machine needle is crucial. Here are some guidelines:
- After Every Project: If you’re sewing multiple layers or heavy fabrics, consider changing the needle after each project.
- After 8-10 Hours of Sewing: For regular sewing, it’s advisable to change your needle after about 8-10 hours of continuous use.
- When Switching Fabric Types: Different fabrics require different needles. Always change your needle when switching from one fabric type to another.
- Visible Damage: If you notice any bends, chips, or dullness, it’s time for a change.
How to Change Your Sewing Machine Needle
Changing your sewing machine needle is a straightforward process. Follow these steps for a hassle-free experience:
Steps to Change Your Needle
- Turn Off Your Machine: Always turn off your sewing machine before making any adjustments.
- Remove the Presser Foot: Lift the presser foot lever and remove the presser foot if necessary.
- Loosen the Needle Clamp Screw: Use a screwdriver to loosen the needle clamp screw, holding the needle in place.
- Remove the Old Needle: Slide the old needle out of the needle clamp.
- Insert the New Needle: Ensure the flat side of the needle is facing the back of the machine and push it up into the clamp.
- Secure the Needle: Tighten the needle clamp screw until it’s snug, but be careful not to overtighten it.
- Reattach the Presser Foot: If you removed it, reattach the presser foot.
- Turn On Your Machine: Power your machine back on and perform a test stitch to ensure everything is in order.
Choosing the Right Needle for Your Project
Selecting the correct needle for your sewing project is just as important as changing it regularly. The needle type and size can significantly affect your sewing outcome. Here’s a quick guide:
| Needle Type | Recommended Fabric Types | Size |
|---|---|---|
| Universal Needle | Woven and knit fabrics | 70/10 to 90/14 |
| Ballpoint Needle | Knit fabrics, jersey | 70/10 to 90/14 |
| Sharps Needle | Lightweight woven fabrics, silk | 60/8 to 80/12 |
| Jeans/Denim Needle | Denim, heavy fabrics | 90/14 to 110/18 |
| Embroidery Needle | Embroidery, decorative stitching | 75/11 to 90/14 |
Caring for Your Needles
Proper care of your sewing needles can help prolong their life and maintain their effectiveness. Here are some tips:
- Store Properly: Keep needles in a cool, dry place and avoid dropping them, as they can bend easily.
- Use a Needle Case: Consider using a needle case to prevent damage and keep track of different needle types.
- Check Regularly: Periodically inspect your needles for signs of wear, and replace them as needed.
- Avoid Unnecessary Changes: Only change the needle when necessary to avoid wear on the needle clamp.
Common Issues Caused by Old Needles
Using an old or damaged needle can lead to various sewing problems. Here are some common issues:
- Skipped Stitches: A dull needle may not penetrate the fabric properly, causing skipped stitches.
- Puckering: An old needle can create uneven tension, leading to puckered seams.
- Fabric Damage: A bent or rough needle can snag or tear fabric, ruining your project.
- Thread Breakage: An old needle can create friction against the thread, leading to frequent breakage.
A: It’s recommended to change your needle after every project, or after 8-10 hours of continuous use, or if you notice any damage.
A: No, it’s important to use the appropriate needle type and size for your fabric to avoid damaging it and to ensure the best stitching results.
A: Turn off your machine immediately, remove the broken needle pieces, and replace it with a new one.
Frequently Asked Questions
A: If you notice skipped stitches, puckering, or fabric snagging, your needle may be dull and should be replaced.
A: A universal needle is designed for both woven and knit fabrics, while a ballpoint needle is specifically for knits and jerseys to prevent damage.
A: While it’s not strictly necessary, it is recommended to change the needle to match the thread type for optimal performance.
In conclusion, changing your sewing machine needle is a simple yet crucial part of sewing machine maintenance that can significantly affect your sewing outcomes. By understanding the importance of regular needle changes, knowing when to change your needle, and selecting the right type for your projects, you can enhance your sewing experience and produce high-quality results. For those interested in expanding their sewing skills, exploring vibrant embroidery designs or machine appliqué can add a creative flair to your projects. Check out resources like Vibrant and Detailed Embroidery & Screen Printing or Stunning Machine Appliqué Designs: A Craft Lover’s Dream! to find inspiration and elevate your sewing journey!