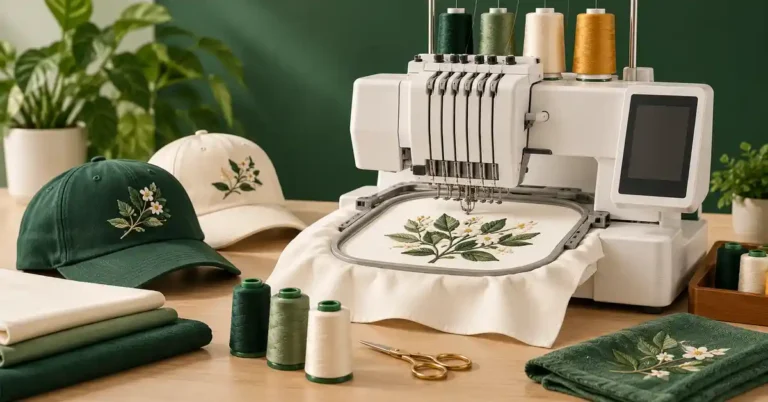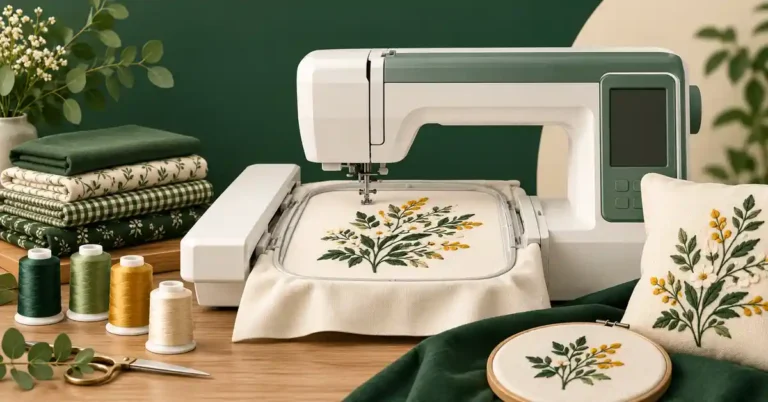
Embroidery machines have opened up a world of creative possibilities for crafters and small business owners alike. One of the most popular applications for these machines is making patches, a versatile way to personalize clothing, accessories, and even home décor. Patches can feature intricate designs, logos, or motivational quotes, making them a favorite among DIY enthusiasts. If you’re curious about how to get started with making patches using an embroidery machine, you’ve come to the right place. In this article, we’ll cover everything from the necessary materials to tips for achieving professional-looking results.
Understanding Embroidery Machines
Embroidery machines come in various types, including single-needle and multi-needle machines. Single-needle machines are great for beginners, while multi-needle models offer advanced features and capabilities, making them ideal for professional use. Understanding the capabilities of your machine is crucial when planning to make patches. For example, some machines can handle larger designs or include automated features that simplify the stitching process. If you’re serious about embroidery, consider investing in a high-quality machine.
Materials Needed for Making Patches
Creating patches requires several materials, each playing a vital role in the process. Here’s a list of essential items you’ll need:
| Material | Description |
|---|---|
| Embroidery Thread | Choose quality threads that are colorfast and durable, suitable for your design. |
| Fabric | Use sturdy fabric such as canvas, denim, or felt as the base for your patch. |
| Stabilizer | Stabilizers support the fabric during stitching, preventing distortion. Refer to the Perfect Stabilizer for Polyester Embroidery Projects! for more info. |
| Backing Material | Consider using iron-on backing or adhesive backing for easy application later. |
| Design Software | Software allows you to create or modify designs before stitching. |
Designing Your Patch
The design is crucial when making patches. Here are some steps to help you design effectively:
Choosing a Design
Begin by selecting a design that complements your project. This could be a logo, text, or a graphic. You can find pre-made designs online, or you can create your own using embroidery software.
Adjusting Size and Shape
Ensure that the design fits well within the dimensions of your patch. Typical sizes range from 2×2 inches to 4×4 inches, but you can customize this based on your needs. Keep in mind that complex designs may require a larger patch size.
Testing Your Design
Before finalizing your design, perform a test stitch on a scrap piece of fabric. This allows you to evaluate the stitching quality, check color choices, and make adjustments as needed.
Setting Up Your Embroidery Machine
With your materials and design ready, it’s time to set up your embroidery machine. Follow these steps:
Loading the Design
Transfer your design to the embroidery machine using a USB drive or direct connection, depending on your machine’s functionality. Follow the manufacturer’s instructions for uploading designs.
Preparing the Fabric
Cut the fabric to the desired size, ensuring it is larger than the design area. Attach the stabilizer to the back of the fabric to provide support during stitching.
Hooping the Fabric
Carefully place the fabric and stabilizer in the embroidery hoop. Make sure it is taut but not stretched, as this can affect the stitching quality.
Stitching Your Patch
Now that your embroidery machine is set up, you can start stitching your patch. Here’s a step-by-step guide:
Starting the Stitching Process
Begin the stitching process by selecting the correct settings for your design. This includes thread tension, speed, and stitch type. For patches, a combination of satin stitches and fills often provides the best results.
Monitoring the Stitching
While the machine stitches, keep an eye on the process. Watch for any thread breaks, needle issues, or fabric misalignment. Address any problems promptly to avoid ruining the patch.
Finishing Your Patch
Once the stitching is complete, it’s time to finish your patch. Here’s what to do:
Removing from the Hoop
Carefully remove the patch from the embroidery hoop. Gently pull away the stabilizer, being cautious not to disturb the stitches.
Trimming the Edges
Trim the excess fabric around the patch, leaving a small border (about 1/4 inch) to prevent fraying. You can also use pinking shears for a decorative edge.
Applying Backing Material
Attach your chosen backing material, whether it’s iron-on or adhesive. Follow the manufacturer’s instructions for applying it correctly.
Common Mistakes to Avoid
Even seasoned crafters can make mistakes when making patches. Here are some common pitfalls to watch out for:
Using Inappropriate Fabrics
Some fabrics may not hold up well under the stresses of embroidery. Avoid stretchy or flimsy materials when creating patches.
Ignoring Stabilization
Failing to use stabilizers can lead to distorted designs. Always choose the right stabilizer for your fabric type.
Skipping the Test Stitch
Never skip the test stitch. This crucial step helps identify potential issues before you commit to the final fabric.
FAQ
A: The time varies based on the complexity of the design and the speed of your machine, but typically, it can take anywhere from 30 minutes to several hours.
A: While you can use various fabrics, it’s best to choose sturdy materials like canvas or denim for durability.
A: Use high-quality polyester or rayon embroidery thread for the best results, as they are strong and colorfast.
A: While not mandatory, using embroidery design software can make it easier to create and modify designs for your patches.
In conclusion, making patches with an embroidery machine is an engaging and fulfilling endeavor that allows for unlimited creative expression. By understanding your machine, selecting the right materials, and following the proper steps, you can create stunning patches that stand out. Whether you’re looking to personalize clothing, create gifts, or start a small business, mastering the art of patch-making can open new doors in your sewing and embroidery journey. Happy stitching!